Author: Michael Gutelli

  • TILE TILE TILE

    HOW ARE WE AT WEEK 5 OF THE ONE ROOM CHALLENGE ??!?

    Yup, that absolutely needed to be in ALL CAPS for you to feel our stress level regarding this challenge! As I mentioned last week Michael and I both have full time jobs and this challenge is happening after work and on the weekends. Before I go on any further, make sure you check out weeks 1 through 4 if you haven’t had a chance yet. You can see where we are coming from, what we are looking for with inspiration and what we’ve done along the way!
    Now back to our current status on our master bathroom. Yes, lots and lots happened this past week. But I am not going to lie both Michael and I were hoping to be further along then we currently are. Our original plan for this post was to chat about adding our finishing touches. But we are n’t quite at that point yet. So instead we are going to chat about the progress we’ve made. Mistakes we’ve made over the past week and what still needs to happen before our final reveal next week! I guess this will just make that final reveal that much more dramatic.
    Yes, we’ve got a ways to go as you can see we’re missing a few things ? But this week was a major task. Heated flooring went in, tile, tile and more tile. Michael is going to jump on here to chat about our heated flooring in case that is something that interests you. But he can tell you how much he loves cutting tile with his sweet new wet saw in the bed of his new truck? it’s the small things in life you guys! That really seems to make us happy!
    M: Howdy! So, we thought we were really smart by pre-ordering some supplies a month before we had demo day…and the heated floor kit was part of that larger order. What we didn’t know at the time was less is more. Meaning, if the square footage of the floor space is 42 sq/ft then don’t order 70 sq/ft because you CAN NOT cut it down to size. This mistake cost us 2 extremely valuable days, but we made it happen. 
    Since we got a little behind with tiling we are still waiting to put our vanity into our space. But we do have it and you guys it’s stunning!!! Clearly we’ve got quite the list between now and next week so let’s just make a check list because you know I love them and clearly Michael loves getting them from me too!
    • Finish tiling
    • Grout
    • Add shower doors
    • Add shower fixtures
    • Add toilet
    • Place vanity
    • Place and customize countertop
    • Newe plumbing
    • Connect sinks and fixtures
    • Install towel bar and toilet paper roll holder
    • Install and paint trim
    • Finishing style touches
    • Clean
    • Shoot
    • Reveal
    ???? all our fingers and toes that everything on this to do list gets done without some ridiculous late nights on our end. But Michael always makes it happen no matter what. So one thing we know is that next week you will get to see our modern master bathroom makeover reveal from us! ?
    Much love-
    Danielle & Michael
  • MASTER BATHROOM RENOVATION UPDATE

    We’ve hit the half way point on our one room challenge master bathroom renovation! It’s hard to believe. If you’re just joining us for the fist time make sure to check out all of our progress.
    Week 1  |  Week 2  |  Week 3
    Since Michael and I both work full time, this one room challenge happens for us on the weekends and a few days during the week. And, we happen to travel often…so we may lose a weekend here and there, too. It’s kind of crazy to think you can actually gut an entire bathroom and make it brand new in less than 6 weeks. But we did the same thing last year in our master bedroom – but instead of taking the room down to studs we spent that extra time adding new hardwood floors, trim and doors throughout our entire 2nd floor. You can check out the reveal here!
    This week we are going to chat about all of our progress from drywall, mud and tape to cement boards, electrical, paint and tile decisions. We even got a chance to swing by Rob’s workshop to check-in on our custom vanity build! The boys sure thought that was rad!
    master bathroom renovation process
    master bathroom renovation process
    master bathroom renovation process
    M: Hey guys! I will be the first to admit that mudding and taping can seem like a daunting task. In the 15+ years that I’ve been doing this (whether full-time or as a hobby), mudding and taping was a step I avoided like the plague. But in time I’ve gotten fond of the task…there’s just something rewarding in it. I won’t give you a step-by-step here (if you really want one just let us know and we can create it) but will tell you how I do it and a way to make it easy on yourself. First, make sure you have 3 different sized knives – 6in, 8in and 12in. Starting with the smallest blade apply a generous coat of mud to your seams and screws. By generous I do not mean globs, I mean enough to where you will need to sand it to blend in…but go over it to make smooth. One you hit a seam, add tape and go over with another coat of mud. For me that is my first coat. Let dry and apply your next layer with the 8in blade. Then finally a final layer with you 12in blade. When it comes time to sand the thickness in size will ensure you get a much smoother blend. 
    master bathroom renovation process

    master bathroom renovation process

    Tips on how to pick the right paint for your space

    Paint can be the one element that quickly and simply transforms your space. So when it comes to picking the right color/shade you want to make sure you’ve got it right. Here are some easy tips and tricks to picking out that perfect paint for your space.
    • Decide on a color you want to work with
    • Pick out different shades of the color you like
    • Bring the paint samples (strips) home
    • Put the paint in the room you are going to use it
    • Make sure to view the paint facing the way you will actually see it. For example, if it’s going on the wall you want the paint to be viewed on the wall, that way the light hits it the same way you are going to see it.
    • Once you’ve narrowed down your choices to a few options (3-4) go buy the samples and paint some on you wall space
    • Make sure to do the samples all over to see the different lighting the space gets.
    • Look at the paint early morning, mid day and at night, that way you can see how the paint reads in all the different natural light.
    M: Prior to drywall, mud and tape, and of course paint, we needed to do some additional electrical work. Since we are going from a single sink to dual, we needed to remove a window and add 2 more boxes to give us 3 sconces versus 1. All of this customization commotion creates curiosity amongst our two helpers in training. The boys just love watching and hearing all about how things are done. As parents who are passionate about our work these moments make our hearts melt. So our advise is to always take a moment, even when on an insane deadline, and teach. It’s those moments that will make any reveal that much more special. 
    master bathroom renovation process
    master bathroom renovation process
    master bathroom renovation process
    This space has been all about the tile. Although it’s a small space there is a whole lot of tiling going on. I decided I wanted to go big and bold with our flooring, so we went with a black and white pattern to draw attention to the space and help give the room a little more depth. Inside the shower we went with a marble look to provide a luxurious feel with the black French Shower Doors. On the floor inside the shower we are going with a hexagonal mosaic tile to give another layer to the shower space and help with the slipping aspect too!  I know I know…I’d dying to show you the tile too but we didn’t get it in yet. So I’ll leave you with these rad boxes on our stairs making their way into the bathroom.
    master bathroom renovation process
    I am loving how the space is coming together and I cannot wait to show you even more next week. A few more design aspects we’ve got going on are the sconces on the wall and oval natural wood mirrors we will be adding next week!
    Thanks for checking in with us! More to come next week.
    Much love –
    Danielle and Michael
  • MASTER BATHROOM VANITY IDEAS

    Wow, we are already into week 3 of the One Room Challenge. If you’re just now joining us make sure to check out our first two weeks to get yourself up to speed on our design inspiration and progress thus far. During week 1 we laid out all of our design inspiration for our master bathroom and on week 2 we took you though a step by step process of just how to gut your own bathroom. So here we are on week 3 and we are going to start chatting about a major bathroom detail…the master bathroom vanity inspiration to be specific.

    When we started talking about what we wanted in a bathroom vanity the process seemed daunting. Like, where do we even start? So let me break it down for you in a way that I could at least wrap my head around and  get my ideas flowing. I’ll then go ahead and link a few of my favorite finds, and in the coming weeks we’ll give a status update on our beautiful custom built vanity.

    (CREDIT)

    Here’s a list of things you need to know before you start looking for your own bathroom vanity.

    1. Plumbing is everything when it comes to vanities – You need to be able to see how your current vanity plumbing works. Does the plumbing come in from the floor or the wall? Is the pluming easy to access?
    2. Bathroom square footage – You need to know how much space you can work with. The best way to do this is measure out your existing vanity to see where you are currently so you get a better idea of what you are working with. Then you can go larger, or smaller, depending on your needs.
    3. Number of sinks – This one is pretty simple, but do you want one or two. Going from one sink to two isn’t all that difficult.
    4. Height of your vanity – Every one is different, especially when you’re looking to customize a space. We recommend going with that works best for you. For us, were going 36 inches tall for our mater bathroom, and with a 2 inch countertop we’ll be at 38 total!
    5. Width of vanity – This goes with how much space you’ve got! Knowing your sizing allows for you to maximize your vanity needs and desires.
    Now let’s get into the the fun part of picking out the vanity with yet again another list to help you think through what you want.

    (CREDIT)

    What do you want in a bathroom vanity?

    1. Style – Freestanding, corner, wall mounted, cabinet style, pedestal.
    2. Sink Type – Under-mount, vessel, drop in, integrated.
    3. Countertop – Stone, tile, ceramic, concrete.
    4. Hardware – Knobs, pulls, both.
    5. Faucets – Wall mount, vanity mount, centerset or widespread. A Centerset Faucetcomes with a combined spout and valves on a single base unit. The centerset can have either a single handle mixing lever or two handles mounted on plate. A Widespread Faucet comes with a separate hot and cold water handle.
    6. Storage  What are you looking for your vanity to do? A guest bathroom or kid’s bathroom stores things drastically different that that of a master bathroom! 
    7. Color & Finish – Clearly this is important with any bathroom aesthetic.
    Now after thinking about all these things we landed on building a custom vanity. The first reason we loved this idea is it allowed us to maximize the space we are working with. We also LOVE the idea of working with local businesses and building dreams together. For our vanity we are working with Rob and Jen from 28th & Chairs. We started this process by answering all the above questions. And we’ve answered them below to give you an idea as to what we are looking for.

    (CREDIT)

    What to know before you start looking for a vanity.

    1. Plumbing – Our plumbing comes from our floor. This means we need the back of our vanity to be open, or a very thin backing for custom cuts for pic and lines to fit.
    2. Size of your bathroom space –We’re at about 80 Sq/ft (give or take a few with our pitched roof).
    3. Number of sinks – 2
    4. Height of your vanity – 36 inches for the vanity plus counter giving us an overall height of 38 inches. Yup, we know this is high but we want to customize the height to give us more storage.
    5. Width of vanity – 64 inches

    (CREDIT)

    Design ideas for a bathroom vanity.

    1. Style of vanity – Freestanding
    2. Type of sink –Under mount
    3. Countertop – Ceramic
    4. Hardware –  Both
    5. Faucets – Vanity mount with widespread faucet.
    6. Storage – Since this is our only bathroom upstairs, storage is essential and drawers for makeup is a must. While I don’t have a ton of makeup I do have enough that it needs room to be stored and I’ve found that drawers work best here. We also want a place to store additional towels and necessities underneath on a shelf area.
    7. Color & Finish- We are going with a painted wood. For this project we went with Sherwin Williams Salty Dog color. And knowing that we are painting a vanity our finish is very important to ensure it lasts with use…especially the everyday wear and tear with two kids.
    I’ve put together a list of different vanities that we dig. I’ve tried to give you guys easy shop-able vanities of varying price points too. I am taking inspiration from each of these vanities when building our own. For those of you that live in our area, we are working with Rob from 28th and Chairs, and I know he’s always willing to chat about custom built pieces.

    (CREDIT)

    10 Bathroom Vanity Inspirations for Building Our Own

    Make sure to check back in next Wednesday as we promise to show you exactly what our bathroom looks like in its then current state. We will touch base on all our tile selection, paint, drywall, tape and mudding too!
    Much love-
    Danielle & Michael
  • A STEP BY STEP GUIDE TO GUTTING YOUR OWN BATHROOM

    As with any project we do, Demo Day seems to be Michael’s absolute favorite day of the entire project. Honestly, I am starting to see this as a growing trend amongst all of our friends and their husbands and my boys? It’s got to be the smashing of walls and anything we really don’t need that gets them going. I’m not going to lie, swinging a hammer through the wall is pretty liberating!
    To make this demo project more fun for everyone we’re going to break it down with a step by step guide for you all to get in on the DEMO DAY ACTION! Clearly this part is brought to you by Michael ?. BUT first, take a look at our week 01 post to see what we have planned!
    master bathroom demo day
    M: Hello everyone! Now, I’m no Chip Gaines but I’ve been taking part in demo days since before it was a cool thing to do. It’s been almost 20 years since my first ever demo and each it just gets better every time. But it isn’t a game where you go in, swing a hammer and let everything drop to the middle of the room. There’s a level of planning and precision that must be in place to ensure a safe, sufficient and streamlined process. This is especially important for anyone living through a renovation, like we are.
    My step by step approach as outlined here:
    1. Clear the space – Begin by removing any personal items from the space you’re about to demo. This doesn’t mean store them in a corner of the room – actually move them clear of the space. You want to keep those valuable items (for us this meant the abundance of shampoos and perfumes) clean and safe.
    2. Prepare yourself and your surroundings – Load up your tool belt with the right screwdrivers, a hammer, pry bar and a knife. Cover all of the surrounding floors with tarps or sheets and place buckets/trans bins nearby to collect debris. If you’re NOT removing the floor in the space being demo’d, go ahead and cover that too.
    3. Shut down the electrical and water – This is key before you even think about swinging a hammer. Once you shut the electrical down you can begin removing all faceplates, outlet, switches, lighting and fans located in your space. As for water, you’ll want to drain each line by turning on your faucet or shower and allowing the water to drain out. When it comes to toilet removal, do a final flush and vacuum out any left over water with a shop vac prior to removing the toilet from the floor.
    4. It’s time to get busy – I like to begin with the larger items such as vanities or cabinetry. How you remove them depends on a few variables – if you want to repurpose them in a different space, be very careful to not destroy them. But if you’re like me, this is all about having fun and destroying everything that comes in your way. So get the pry bar or crow bar and hammers ready and start swinging! Once those are removed I recommend moving on to the shower or tub. Again, be cautious if you plan to repurpose…but this is a time where a ton of fun can be had! And it also serves as your full body workout for the day.
    5. Removing the detail work – This means all the base trim, door/window casings and crown molding (if you have it). This should take no time as it simply requires hammering the pryer between drywall and the trim, pulling back and ripping off. Even when caulked properly this is a quick and easy step with immediate satisfaction.
    6. Bringing the walls down – We just removed the drywall and kept all of the studs in place, so that meant making various holes with a sledge hammer and pulling down the drywall by hand. This step was repeated for the ceiling as well. If you are moving walls, you should start by taking a sledge hammer to the header to beat it out of place. Once it is loose you can start taking out the vertical 2x4s and move on down the wall until everything is removed.
    7. Brutal floor removal – Not gonna lie, it can be brutal.  We had tile floor which required a hammer drill to move the tile (the quick part) and that same hammer drill to remove all of the concrete that supported the tile. After a few hours it takes just about everything out of you, especially if you’re doing the drilling by yourself. I recommend having a partner to help clean as you go to ensure you know where and what you’re taking the hammer drill to.
    8. Final safety check – Often times (ok, every time) there are nails and screws that get overlooked and can cause harm, especially to toddlers running through the space. Take the time to clean up and remove any stragglers, as well as any debris lingering in the seams of the subfloor and walls. Do a thorough twice over with your shop vac to remove the dust, debris and scraps and pour yourself a cocktail or crack open a beer (or water, for that matter) because your demo work is done!
    master bathroom demo day
    When you’re finished with your demo day you’re left with a blank slate…an open canvas to plan your bathroom to look and feel just the way you want it to! As you guys know we are on week 2 of the One Room Challenge and we are loving every second of it…minus the fact that we now all have to walk downstairs to use the bathroom ? but it will be worth it in the end for sure.
    Our goal for this makeover is to update our master bathroom with a modern vibe that also maximizes the space we have, including the angled roofline. And although this seems like a lot of work, it really is going to make the final product incredible!
    Much love-
    Danielle & Michael
    master bathroom demo day
    master bathroom demo day
  • SMALL MODERN BATHROOM DESIGN WITH SHOWER IDEAS

    This year we are excited to announce we are participating as guests in the One Room Challenge by Calling It Home and House Beautiful. If you aren’t familiar with this challenge don’t worry, we’re going to fill you in. If you already know you can go ahead and just skip this paragraph! And we’ve created a mood board and had our dearest friend Erica create our first CAD drawings of our space! We’ve done a lot of remodeling in our home already but this will be a first full room renovation and we cannot wait to jump into this project together!

    Here’s how it works:

    As a part of this challenge we’ve picked one room to make over. Over the next 6 weeks you get to see our DIY bathroom remodel happen step by step through our blog posts full of photos, videos and of course a ton of coverage on our social media channels. Then every Wednesday we post our progress here for you to check out, leading to the final reveal of our modern master bathroom.

    small modern bathroom design with shower ideas

    On Thursdays we post our progress over on Calling It Home’s One Room Challenge page and you can hop over there to check out makeovers from a ton of other talented bloggers, too! We love how this brings together all guest bloggers to showcase their home/room designs and makeover progress along the way. We participated in this exact challenge last year, so to get an idea of how it works if you haven’t already take a look at our Master Bedroom Makeover! You can also check out a few more of our DIY makeovers here too: mudroomworkspace, and board and batten.

    Let’s chat it up about what we are planning to do. Our master bedroom renovation will be the first full renovation project thus far in our home. We’re taking it down to studs! Goodbye walls, goodbye floor, goodbye ugly hexagonal shower and hexagonal window, goodbye everything we can’t stand about this space. And hello to everything we’ll be adding to it.
    small modern bathroom design with shower ideas
    small modern bathroom design with shower ideas

    How to create a modern bathroom with a shower in a small space!

    • Add new flooring (for us that means heated flooring)
    • Add recessed lighting to give more overall light in the space
    • Get rid of window to allow for more functionality
    • Change shower footprint from hexagonal to square
    • Put up wall sconces for additional lighting
    • Paint
    • New vanity, hardware and two undercount sinks
    • Mirrors
    • Artwork
    We’re so excited to share this journey with you all and can not wait to show you step by step what we’re doing and how we’re doing it. Let the fun begin!
    Much love-
    Danielle & Michael
    small modern bathroom design with shower ideas
    small modern bathroom design with shower ideas
  • 5 FUN WAYS TO GET INVOLVED THIS EARTH DAY

    (Credit: Diana Liang)

    Watching our dudes explore the world is one of my absolute favorite things I’ve been able to experience as a parent. Seeing them run through the sand and dip their toes into the lakes, seas and oceans while wildly running from the crashing waves is an image I never want to loose. We love how travel allows us the chance to see different parts of the world and introduce our children to all the beauty our planet has to offer. We’ve been fortunate to travel often with our family of four and explore new corners of the world. And there are still so many places we’ve yet to explore. With all the change happening to our earth we want to make sure it’s beauty is around for our kids and their kids to enjoy and experience. We only get one Earth and we both feel strongly about teaching our children how to respect, enjoy and protect our planet daily.
    5 ways to get involved in Earth Day

    As we quickly approach Earth Day we want to celebrate what we love so much about this planet and all its beauty by getting outside and playing in our corner of it. This year we want to ask you all to join us too! Help us represent #EveryCorner together.

    This year one of our major goals is to become more involved with helping others. We want to showcase this to our children to enlighten them on ways that we can work together to make an impact on the world around us. Even though our boys are small we want to show them how they can make differences in the world in which we live in and love. So we’re kicking of our goal by doing just that – we’ve created a fundraising page with Sierra Club to help protect the places we all call home for Earth Day.
    5 ways to get involved in Earth Day

    We’ve come up with 5 fun ways to get involved as a family this Earth Day.

    So here’s how it works:

    1. Sign up to raise money for Earth Day: We’d love if you could join the Clark and Aldine fundraising group for Earth Day. We are looking to raise $1000 together. If you raise at least $30 for our planet you receive an exclusive Earth Day T-shirt (deadline to get the shirt by Earth day is April 6th!).
    2. Get outside: On Earth Day hike in your corner. Just to clarify that doesn’t mean you have to go outside and go for a hike. But if you want to, then do it! We are looking for people to get outside and enjoy your corner of the Earth.
    3. Post about it: Simply show everyone how you’re representing your corner of the Earth by using the hashtag #EveryCorner on any social media post! The more people that get involved the better. We are looking for everyone to show what they love about their corner.
    4. Teach your children about recycling: This might seem like a no brainer but kids need to know how to recycle and what can and cannot be recycled. A fun way we are doing this is by making crafts out of recyclable material!
    5. Enjoy the day, explore and find ways to protect our planet together: Please share this to all your friends and family. Together we can make a big difference in the world we live in!

    We are going to be doing all these things over the next month. Please follow along with us!

    Instagram – Be sure to check out our stories (@daniellegutelli + @mgutelli)
    Facebook – Give us a like
    Pinterest – Check out all our fun diy projects and just how we make our home as smart and earth friendly as possible.
    Twitter – Live updates we find, think and love

    5 ways to get involved in Earth Day

    And tell us why is protecting our planet important to you?

    We also want to give you a little bit more information regarding the Sierra Club, so you too know just why we’ve picked this organization to partner with and all the incredible things they are doing. Sierra Club was founded by John Muir in 1892. John is a legendary conservationist, and Sierra Club is now our nation’s largest grassroots environmental organization. You guys they have over three million members and supporters! They’ve had successes with a wide range from protecting wilderness to helping pass acts such as the clean water act and clean air act as well as the endangered species act. They are making history by leading the charge to move away from fossil fuels and towards clean energy. It’s pretty amazing to hear and see all the things this organization is doing. To learn more, check them out here.

    5 ways to get involved in Earth Day

    5 ways to get involved in Earth Day

    5 ways to get involved in Earth Day

    5 ways to get involved in Earth Day

    (Credit: Diana Liang)

    Celebrate Earth Day

  • A SIMPLE AND CREATIVE WAY TO DISPLAY KID ARTWORK

    A SIMPLE AND CREATIVE WAY TO DISPLAY KID ARTWORK

    This has been a topic of conversation in our house for a while now – how to can we display artwork by our kids? How are we going to declutter the side of our refrigerator? And where’s the best place to let our kids let their creative minds go wild? How can we display our kids artwork prominently? Yup, we’ve been talking about it…since we moved into our home almost 3 years ago.


    When it comes to the refrigerator it’s not that we don’t love our kids artwork – trust us, we can’t seem to get enough of it – but we just don’t feel like it’s the proper location when it gets all smashed in. We can’t really see all the hard work they put into it, nor do we get to enjoy it. So this weekend I went ahead and tackled all these things.
     
    How to display artwork by kids
     

    As many of you know we really love to rearrange our playroom frequently to best suit the needs and interests of our dudes. You can check out how we add character to kids spaces and make them functional for everyone involved. To tackle this problem we found the perfect art table, from Studio Designs.


    Here’s what I love about this project table. The paper is housed right on the side of the table. Our dudes can pull the paper over the table all by themselves, allowing them to be independent which is a win win for everyone. I also love that the top of the table is large enough to keep out some art supplies for the kids to use. There are two hooks can be found on the side, which could be used to hang tins with art supplies. And an added bonus is that the bench is long enough for both boys to work together at the same time.

     
    How to display artwork by kids
     

    Both of these dudes are in preschool and the amount of art that is coming home and being made here can be a bit overwhelming to keep up with. When we first talked about displaying their art work we really wanted to go the framing option route to display throughout our house. I still think that as they get older we will move in that direction. Right now we just have WAY too much art to frame and I know we personally can’t keep up with changing it all the time. So I needed to come up with a better way to display that worked for everyone.

     
    How to display artwork by kids
     

    We decided to make an art wall. One that both boys could help us keep up with and so that of course involved tape! I wanted to have tape that was easy to get off the wall without taking any paint with it, but at the same time stay on the wall firmly. Painters tape is what came to mind first. I could find all kinds of good ones and settled with this one because it’s black and well I just love black!


    I had no real organization plan when it came to hanging their artwork…simply started with the big pieces to spread them out and let Enzo help me along the way deciding where he felt pieces should live for now. We are beyond excited to watch the wall grow over the year and plan to move pieces around as new pieces come in. This will let the kids have fun decorating a space that’s all theirs to help give extra ownership of their play space!


    So tell us, how do you display the artwork your kids make? Leave a comment…we’d love to learn from you too!


    Much love-


    Danielle


    How to display artwork by kids


    How to display artwork by kids
  • WHAT TO EXPECT FROM US

    Well doesn’t this seem fitting for us to write a blog post regarding all the changes you’ve seen going on over the last few weeks, on a brand new blog with a brand new name?!? We’ve also changed things around on our other channels, too!
    This is something I can tell you has been in the making for quite some time now. To be 100% honest, like I know any other way, I’ve been absolutely terrified to move from mom wife foodie to Clark + Aldine. But I am so freakin’ excited we did! I feel like this is the best way for you to really get an idea behind what we are thinking and why we made this change.
    First, if you haven’t had a chance to read our story you need to do that now. On our about us page we give you the full run down of where the name Clark + Aldine comes from since clearly I am not Aldine and Michael for sure isn’t Clark! Once you’ve got that part clear we can talk about what you can expect on the blog. I will continue to be the main voice throughout most posts, but yes you will be lucky enough to hear from Michael now too! I am pretty sure you will be able to tell who’s voice is who as soon as you start reading…and the signature at the end could give it away too;)!
    M: Hello hello! I’m excited to become an “official” face of the blog moving forward. As Danielle mentioned I will be contributing to the blog frequently starting with this post, but this isn’t really my start. Prior to launching mom wife foodie to the world I have held the position of web developer, photographer, edited and proof reader. So needless to say I know every dirty secret there ever has been. There really aren’t any at all…we’re not cool enough to have them.
    Clark + Aldine will be broken down into 3 main areas – Home, Travel and The Everyday. Our content will feature lots and lots of home renovations, diys, how to’s and what to’s related to home, all of our family travels and inspirations we gather from them and a little bit of our everyday life, such as food, style, parenting and a little business. For the moment we are going to post one day a week on the blog. And to make life easier we are going to post every Tuesday for the next couple of months. Once we get enough data from what you all like we may adjust a bit, but for now that is the plan. Please feel free to reach out to either of us and let us know what you like, don’t like or want more of and we’ll be sure to put it in the mix.
    M: As far as content I will be heavily involved in, you can expect large doses under our Home section (and no, not the traditional website “Home” page…Home as in our home). When I was 14 I started working part time as a laborer on a construction site and quickly fell in love with the trade. By the end of my sophomore year in high school I was working more than I was going to school, and by my senior year I was barely in school at all. At the end of my professional construction tenure I was running a crew for a custom home builder in my home town of St. Louis, and the passion for creating spaces never left. We have BIG plans this year to prepare us for a life change in 2019…beginning with laying the foundation right here on Clark + Aldine. If you ever have any questions regarding projects, reach out to me. I’d love to help!
    As many of you know we’ve also re-branded our podcast…and Season 2 has launched! You can check it out here.
    M: The podcast has been a fun adventure for us. It gives us some time to just sit and talk with no kids, but often distractions from phone notifications, Siri and our dog, Jade. It’s a place where we can share our experiences, our advice, our stories and our love for everything we do. We’re no experts in any category but we’re very real, raw and honest…which is often hard to come by these days.
    If you haven’t had a chance to check out our Pinterest page you need to. We’ve been working hard to create an inspirational and informative space for all of our readers. Right now we are featuring all of the inspiration for our 2018 project list:
    Living Space

    We’ve also got holiday boards set up for decorating, food and entertaining ideas. Oh, I can’t forget travel! To make it better we’ve broken down destinations by the time of year: Winter, Spring, Summer and Fall. You know we’ve got food and cocktails too. Plus style for both men, women and kids (mostly little dudes). So pretty much anything you’ll need.
    We’ve been working on changing our Facebook page, around too! Since we know this is a hard to see place because of the algorithm we will be working hard to post multiple times a day. We’d love to know what you’d like to see more of there. Maybe shopping ideas for home, style or travel? Of course we will continue to share our newest posts there and possibly some behind the scenes for our upcoming renovations!
    The major over all change will be here on the blog and seeing more of Michael. As always thank you for all the support and love!
    M: Yes, thank you! It’s been a great 3 years so far and can only get better from this point forward. Without all of you we would not be here doing what we do – you truly keep us fueled and energized. As Danielle mentioned, we have a ton of changes, a new brand and a ton of new content. If you feel anyone in your circle would benefit from what we have going on, please share with them and invite them along for the ride. We’d love to get to know more of you out there.
    Till next time…
    Much Love-
    Danielle & Michael
  • CARS 3 BIRTHDAY PARTY

    I love birthdays! My parents have always made a big deal about them and that has made birthdays just really special to me my whole life. I want our boys to have the same general excitement over their birthdays. So planning a birthday has become something I look forward to.

    This year Enzo wanted a Cars 3 themed birthday party. Let me break the party down to the important details for anyone looking to plan one themselves!

    Cars Themed Food

    • Mac’s & Cheese
    • Luigi & Guido’s “Pit Stop” Pizza
    • Sally’s Salad
    • Sarge’s Snack Surplus – Bring on all the snacks
    • Fillmore’s Organic Fuel – We did juice boxes for the kids and a full bar for the adults
    • Cars 3 cookies made fresh by Rachel from Detroit Dough – We loved these. Perfect for the theme and awesome for take home gifts too. They were a HUGE hit with everyone!

    Cars Themed Games and Crafts 

    Lighting McQueen License Plate Making station

    This was my favorite part. We had Kimberly from Small Moments design individual Michigan License plates for each kid invited. We used blue paint and foam letters for the kids to stamp out their name with help from their parents. Before the paint came to the table I made sure each kid knew what they were doing and they had some of their letters to get started. In the corner we did a yellow rectangular sponge for the expiration sticker, which parents used pen to write in their birthdays! Fun, right?!?

    Ramone’s House of Body Art for Temporary Tattoos  

    I pre-cut all the temporary tattoos, had the cups ready to fill with water and pre-cut paper towel for easy applying. This was a hit for kids and parents alike!

    Pin The Teeth on Mater 

    What’s not to love about a spin on pin the tail on the donkey? We spun each kid the age they were before sending them on their way to pin the teeth on mater! I had to order two of these because they only came with 8 stickers and there were 12 kids at the party.

    Cars Themed Birthday Decorations

    • Table cloths – We bought the set of three and it was perfect for easy and quick clean up between each activity.
    • Cones – We bought them in a set and Michael drilled holes in each for the flags to be inserted.
    • Flags – We used this set of flags which gave us more than we needed.
    • Signs – All of our signage was made by Kimberly from Small Moments. She always makes our super rad invitations!
    • Cups – This was a fun spin on a red cup. Kimberly made us stickers of lightning McQueen’s eyes to give it the extra personal touch!

    The birthday party was a total hit! We absolutely loved work with Kimberly again, and will without a doubt continue the relationship as these boys grow! If you are in need of any design work we love her and highly recommend her. I’ve linked you to her personal contact page for any planning fun you might want to do!

    Detroit local Rachel from Detroit Dough is amazing to work with as well. Her cookies turned out so perfect and I love that they each come individually wrapped. I’ve linked you to her Instagram page to check out!

    Happy birthday planning!

  • DISNEY WORLD TIPS

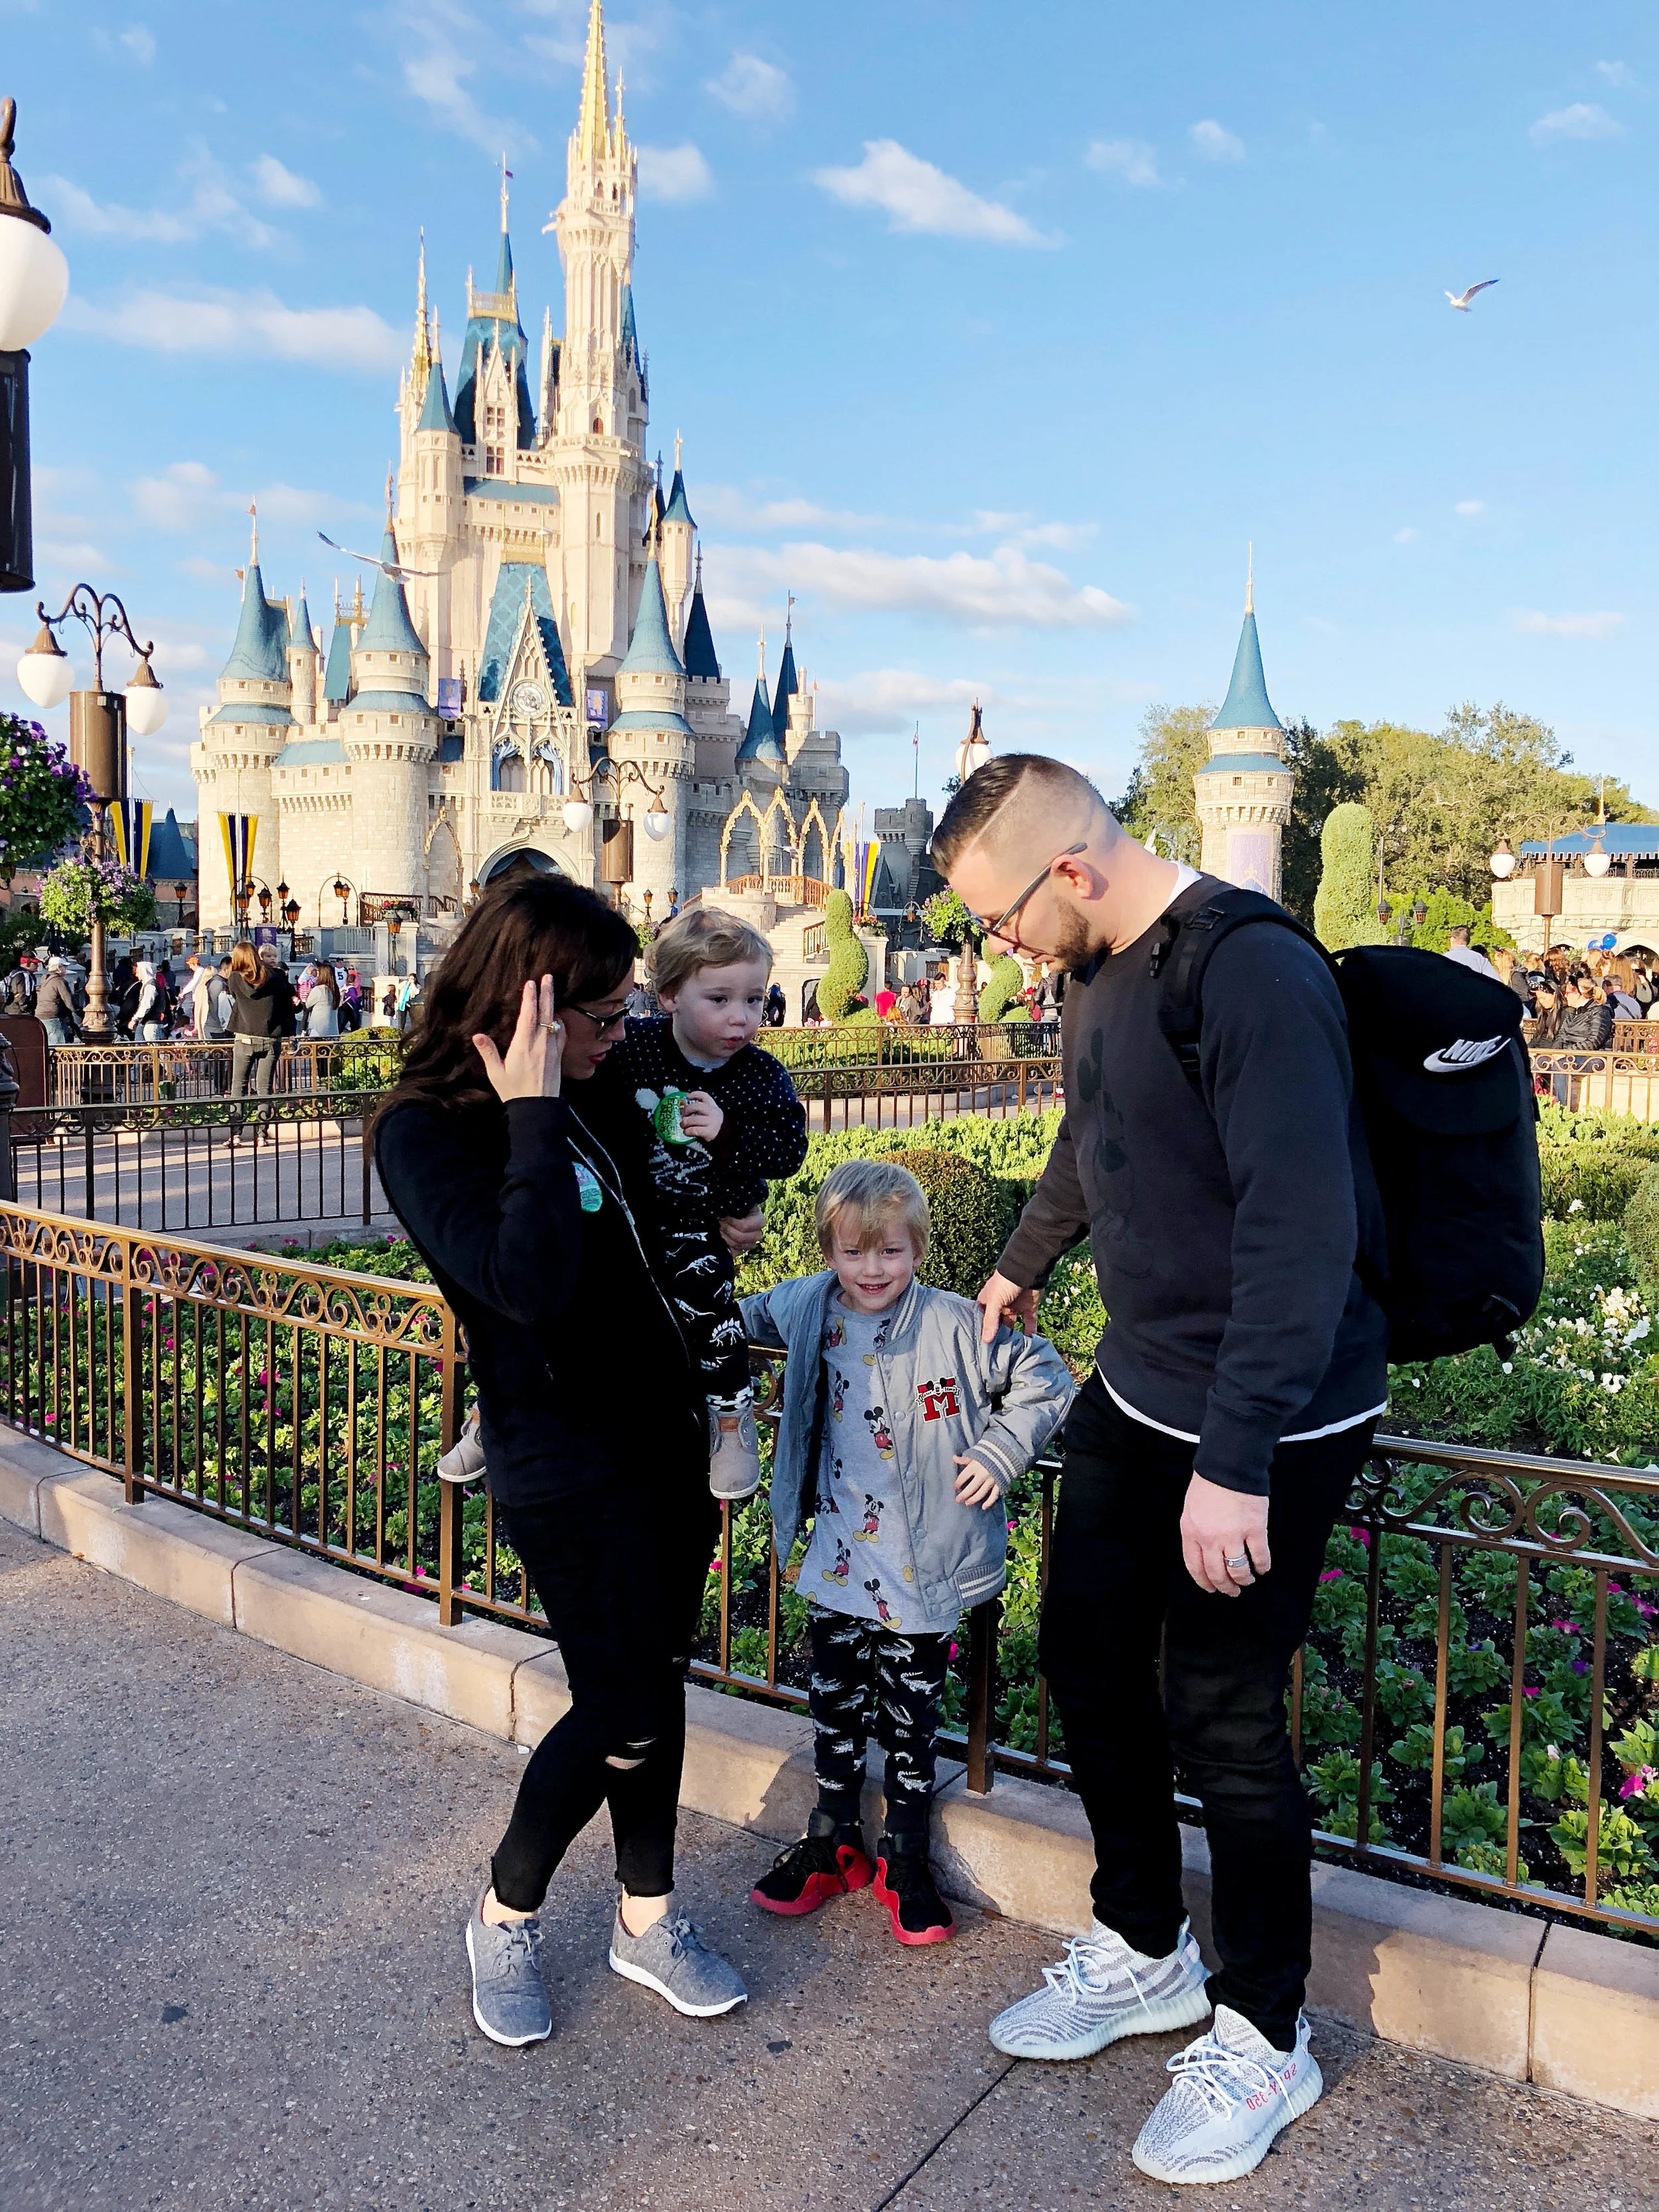
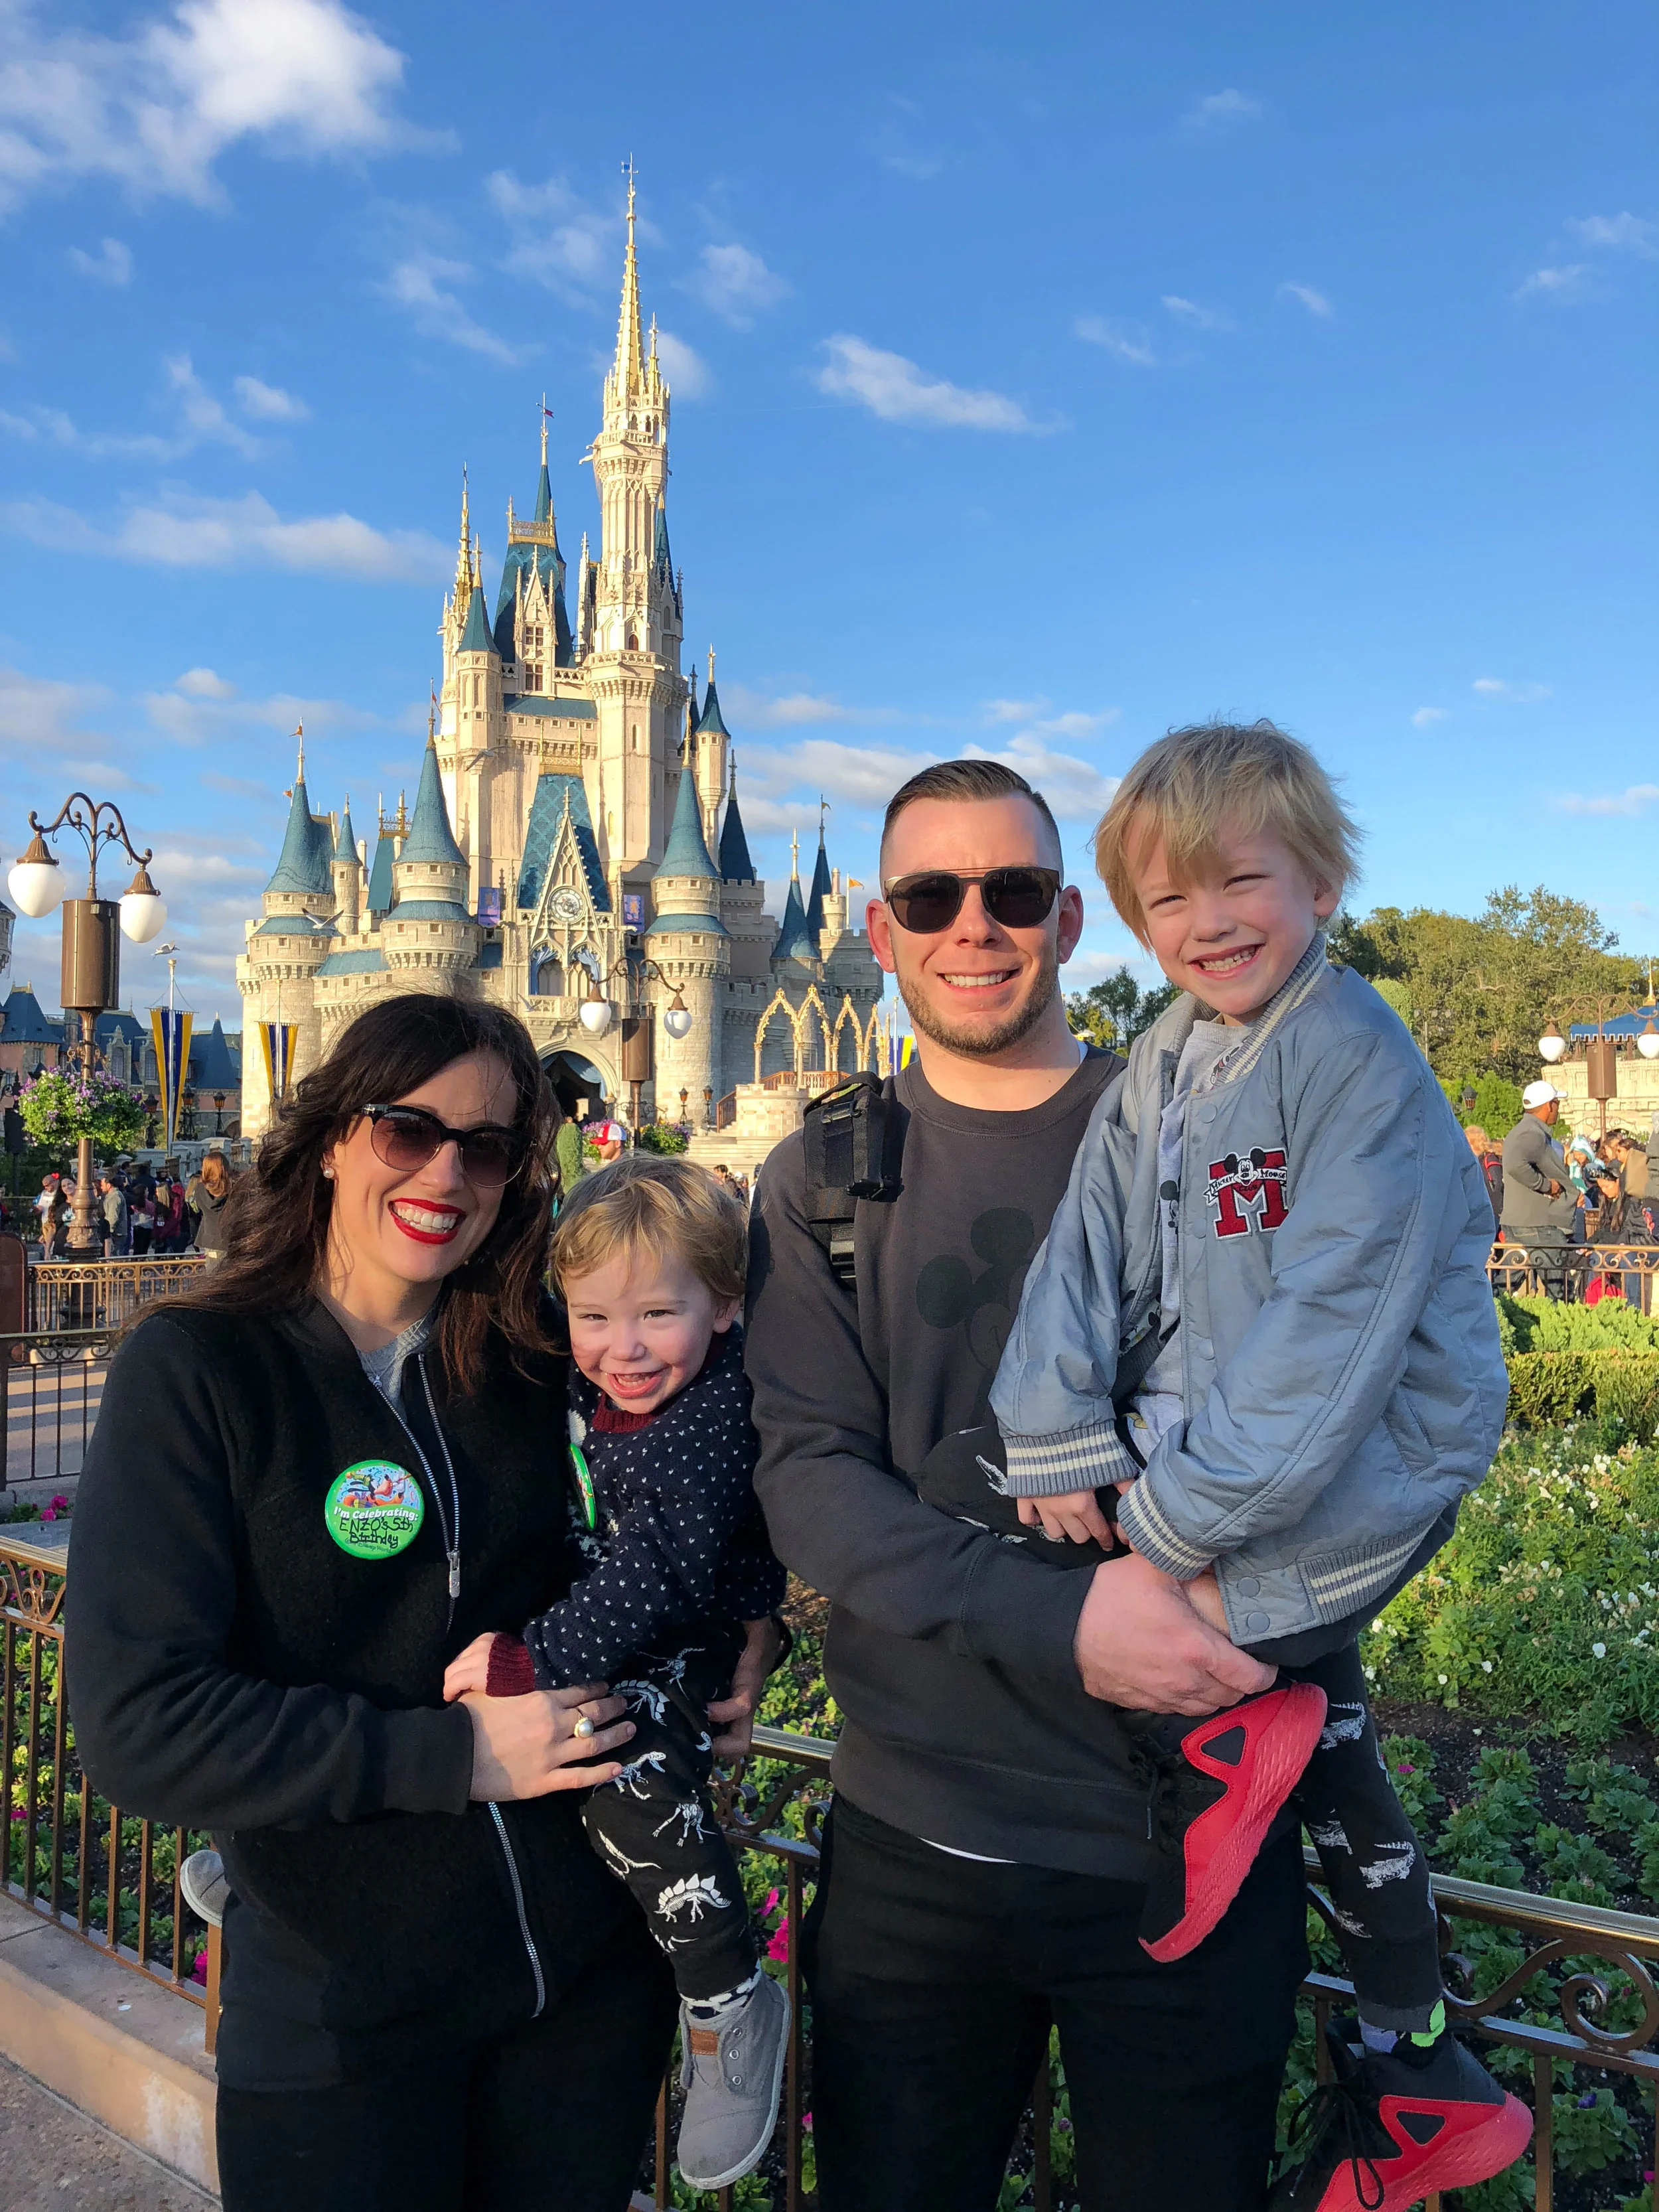
    It’s hard to believe we’ve been back from Disney for almost a month already. Life got crazy real quick on our return and I’m just now coming up for air. But I am excited to say our house is all healthy and we sure did have a magical time at Disney. So I thought it would be best for me to share with you some of my favorite things we learned along the way that made life over the week so much easier to do Disney World right.

    Overall things you need to know!

    Bring a duffel bag – You will want to bring an empty duffel bag to the park. We used this under the stroller. It was perfect for anything we stored under the stroller because we could put everything right into the bag. I love this because you often have to fold up your stroller and then you’re left with all kinds of things to carry that have been stored in your stroller. This helps with checking into the park and with any little things or big things that we picked up throughout the day. Added bonus – the extra bag was perfect for a carry on for the way home with all our extra goodies.

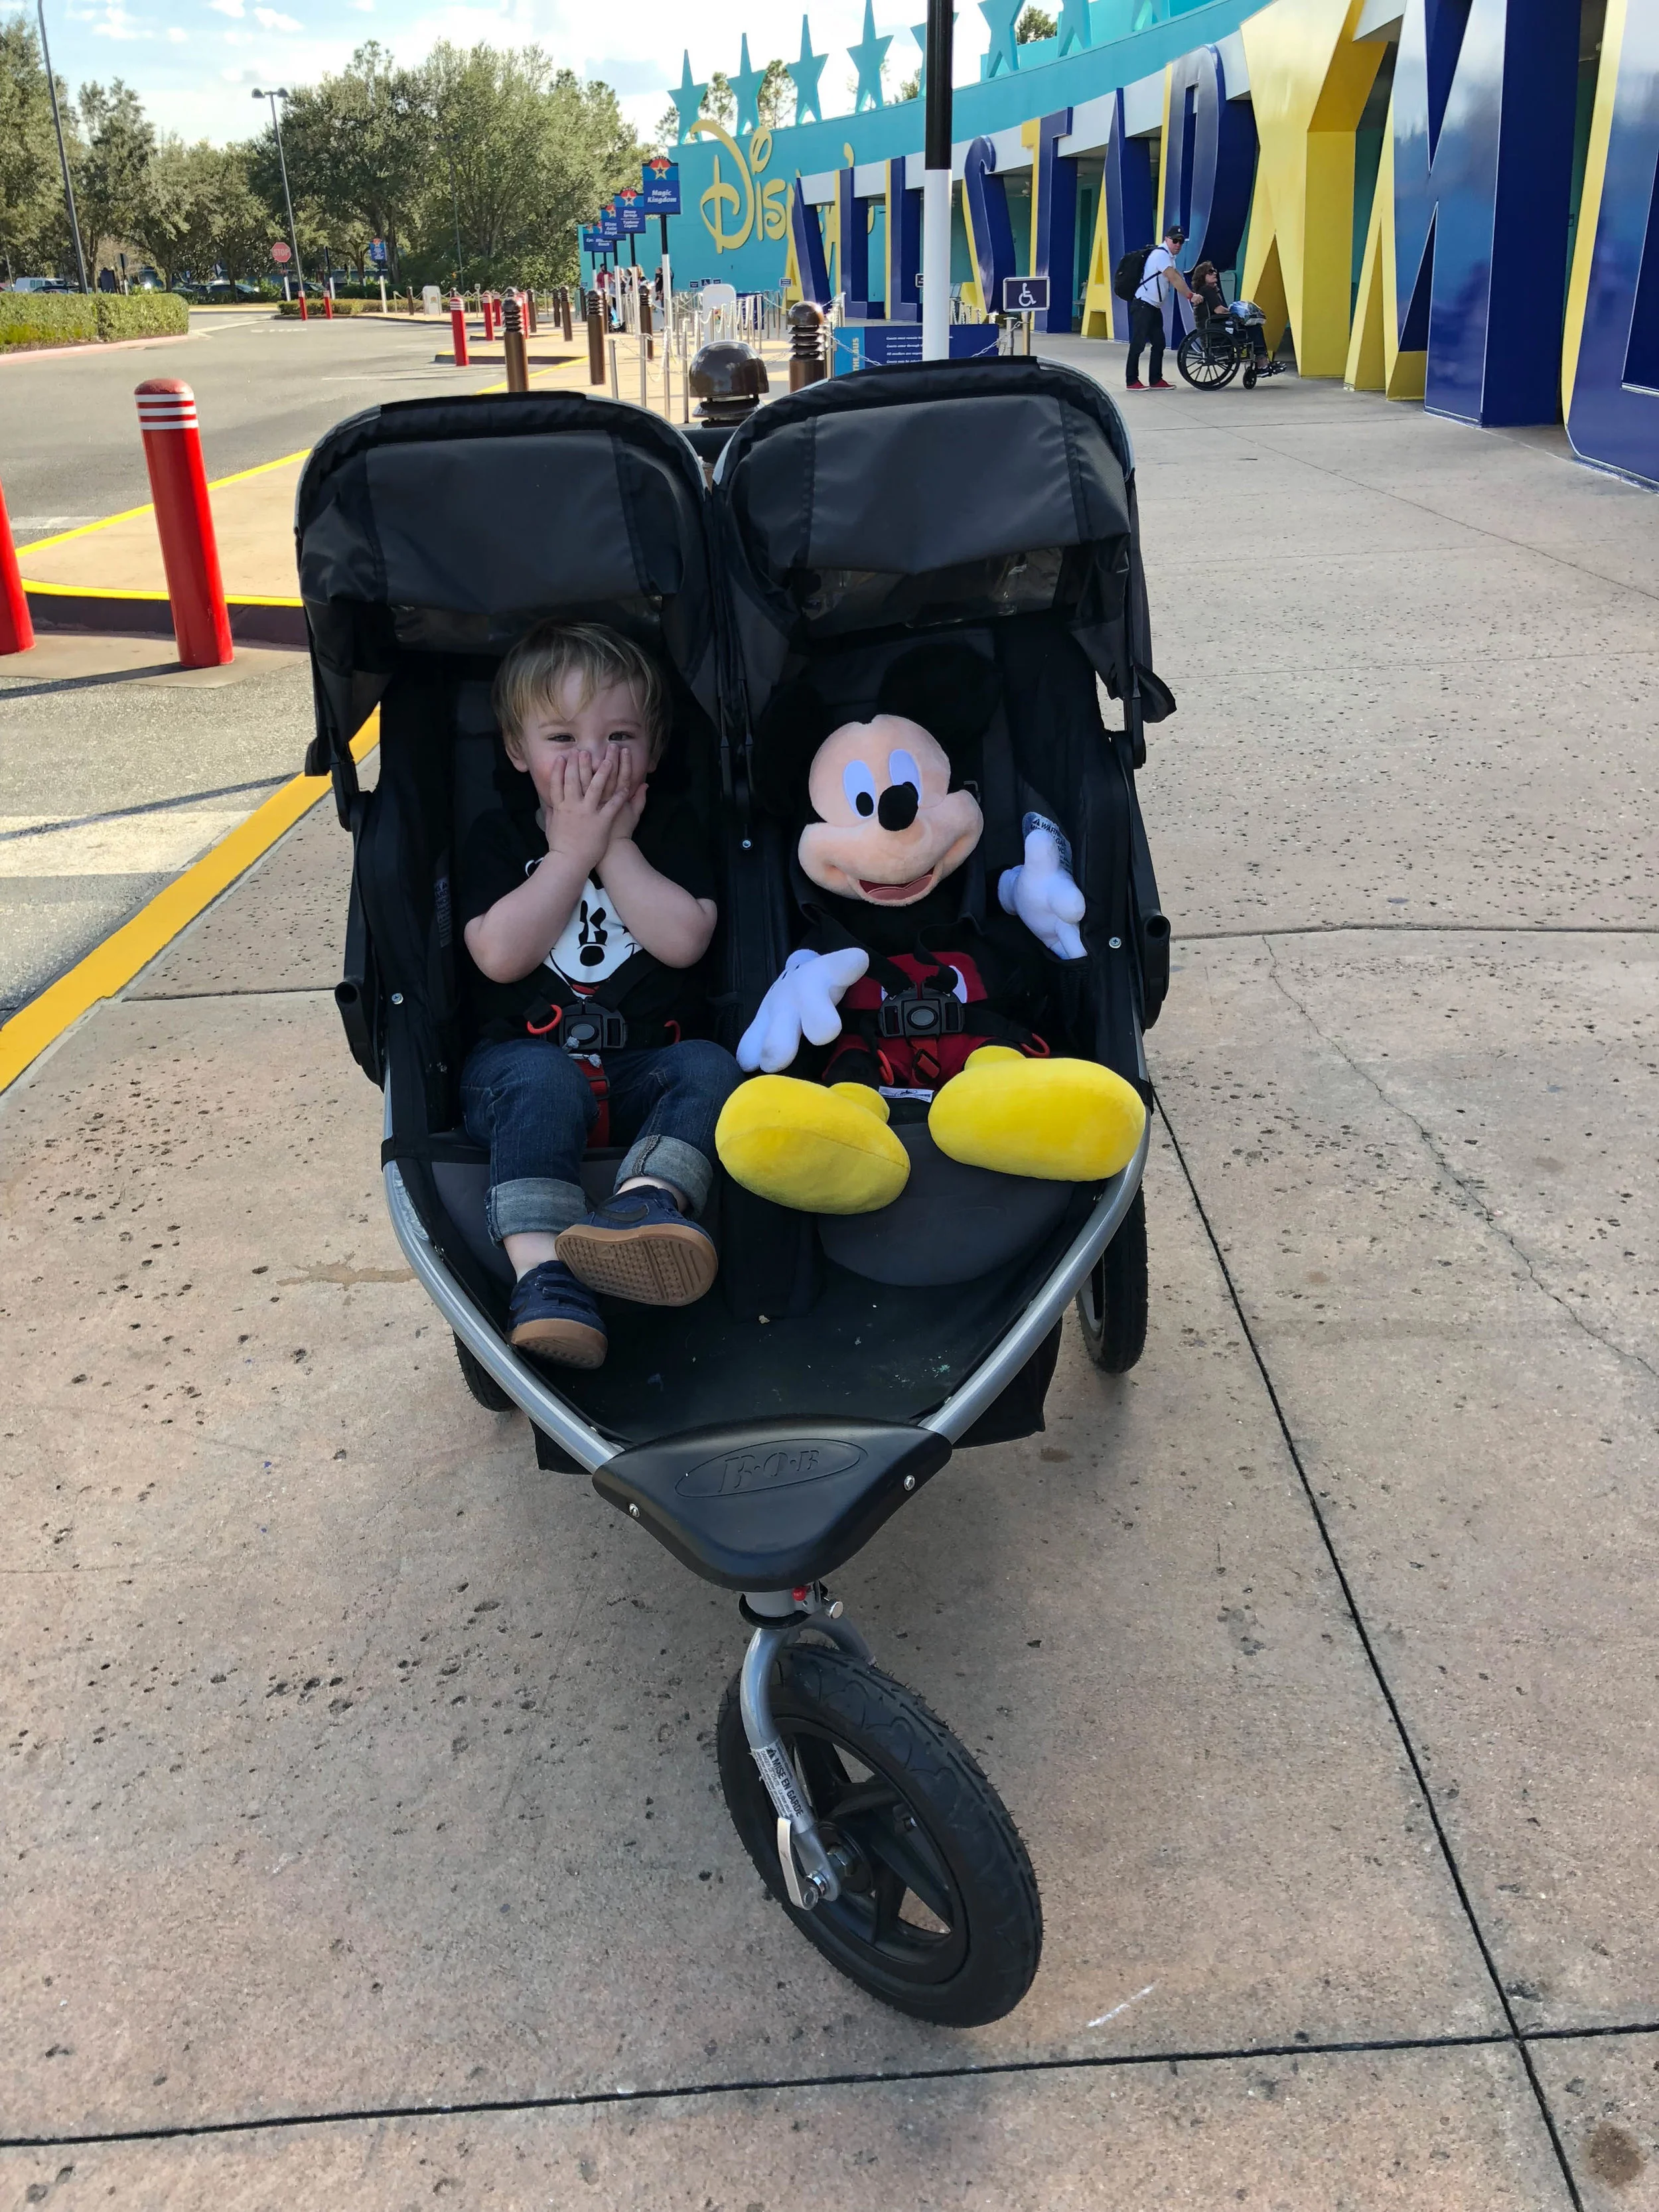
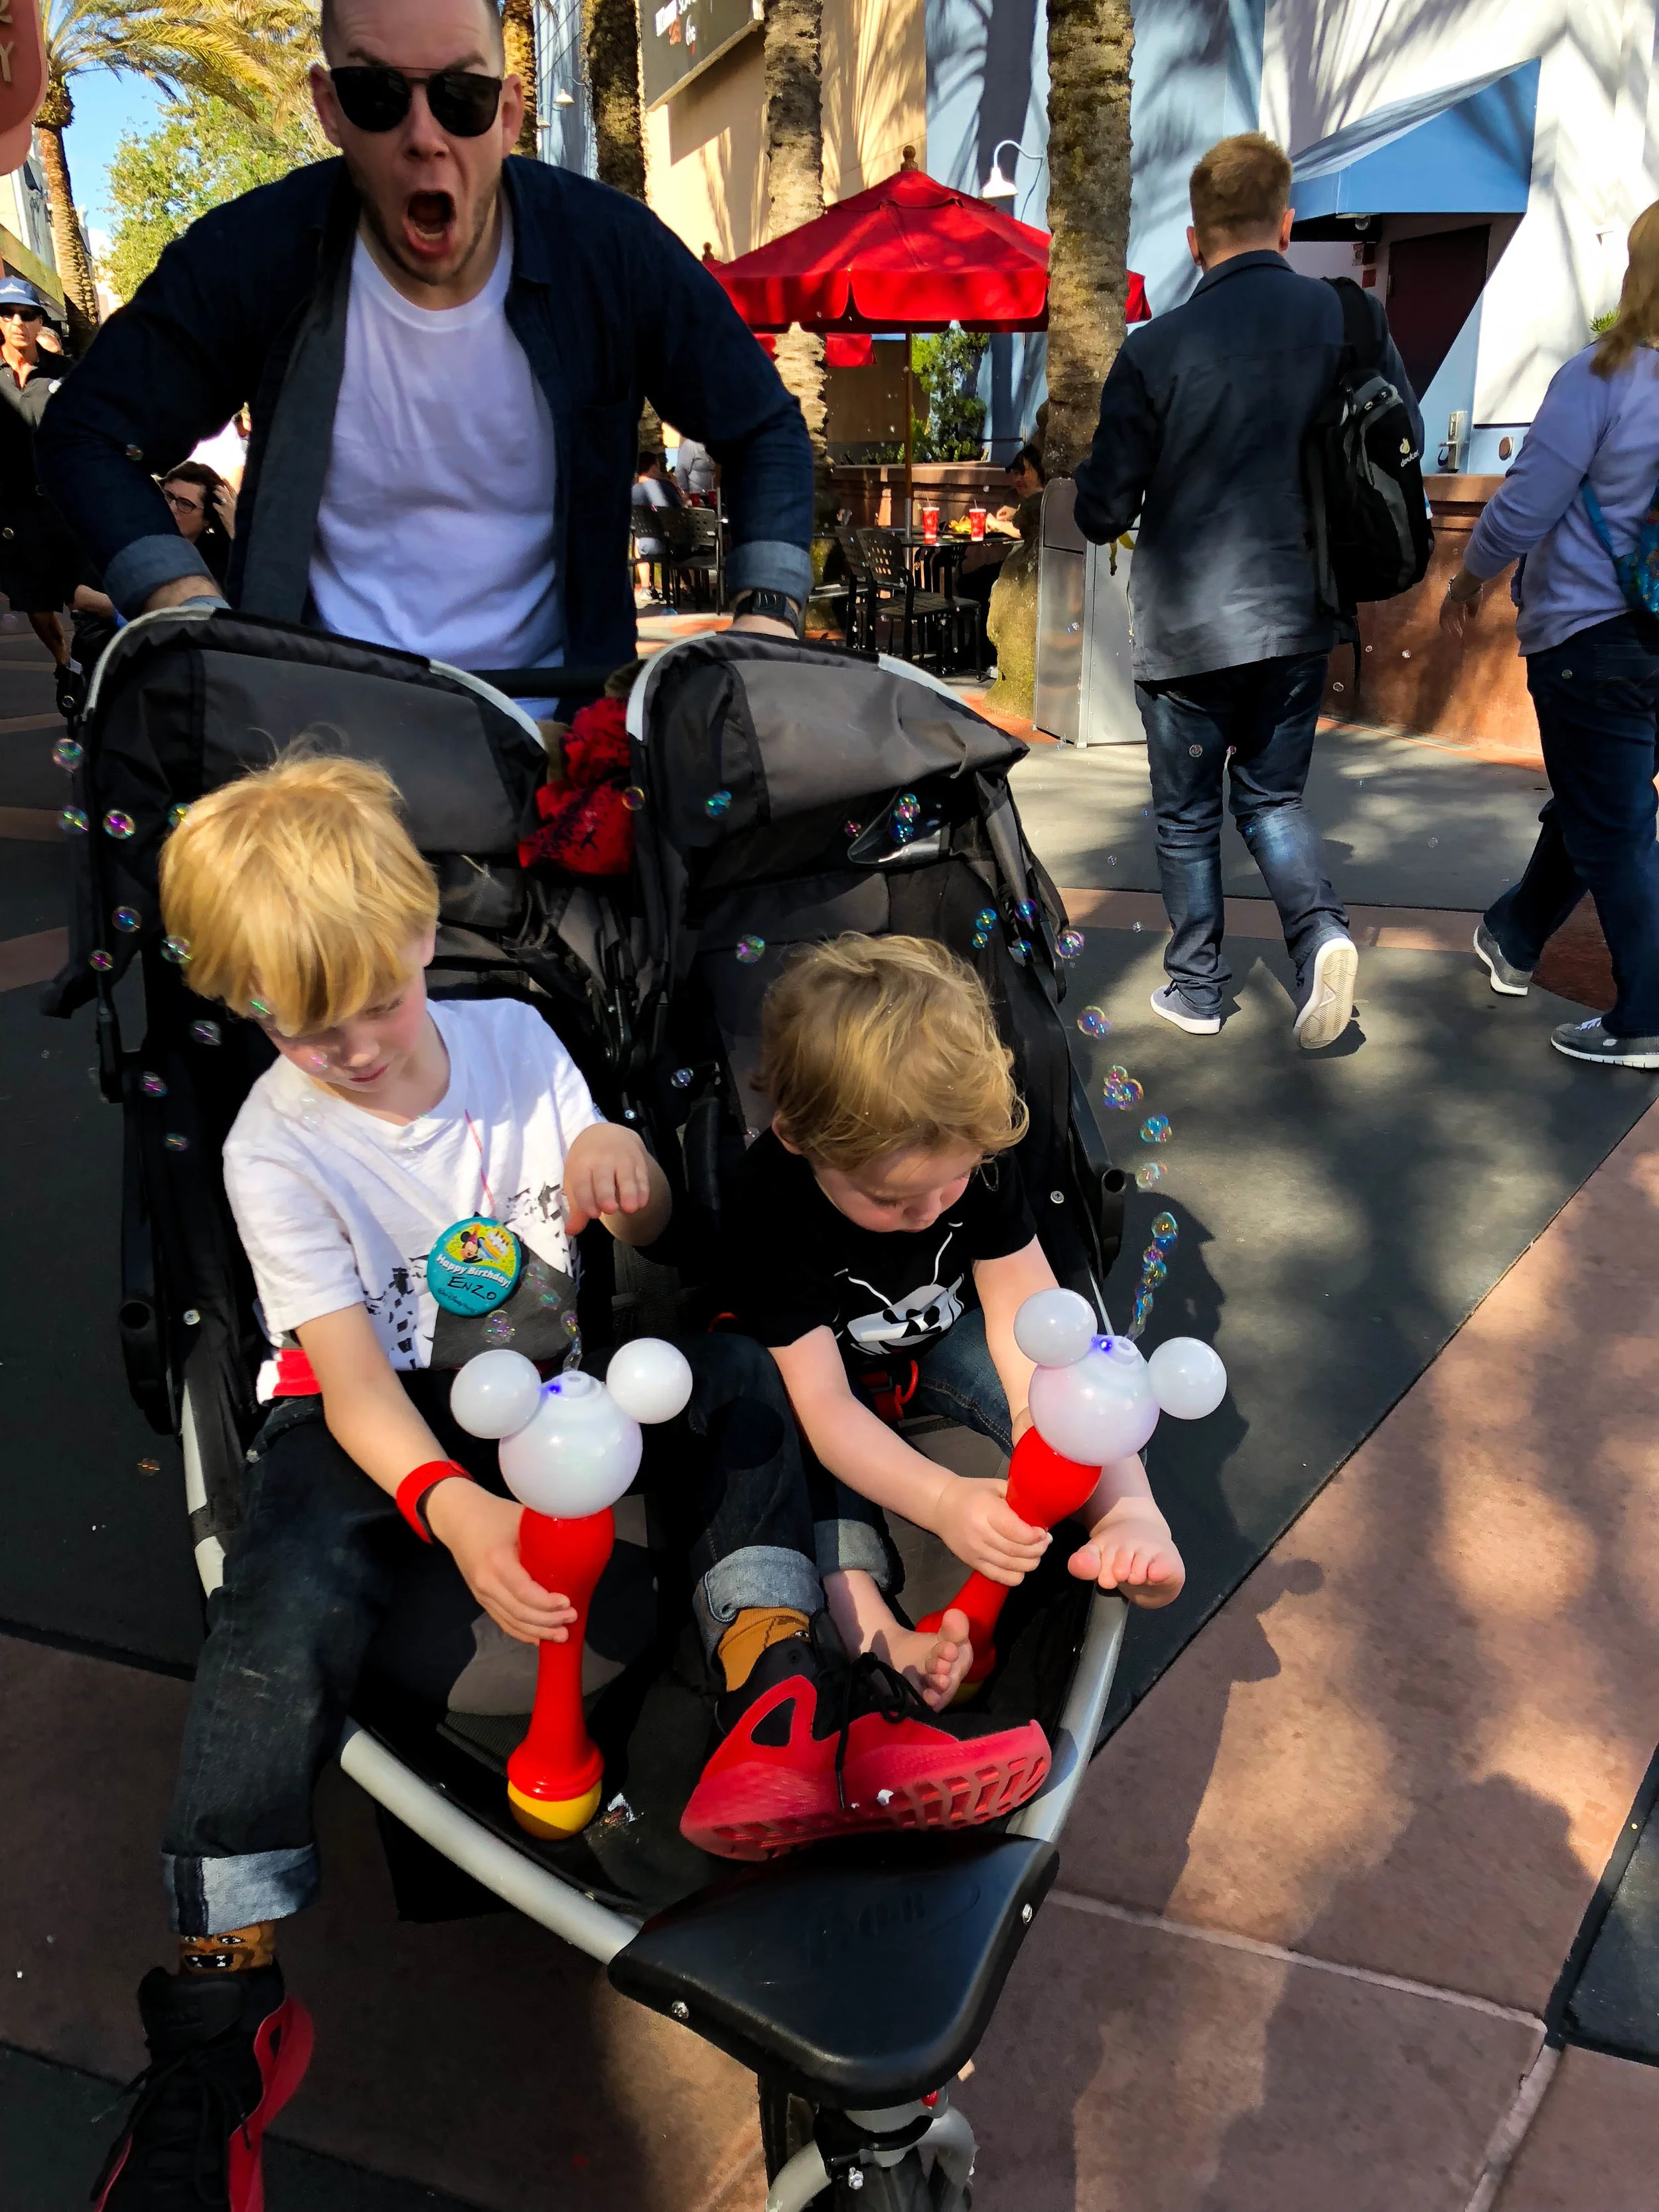
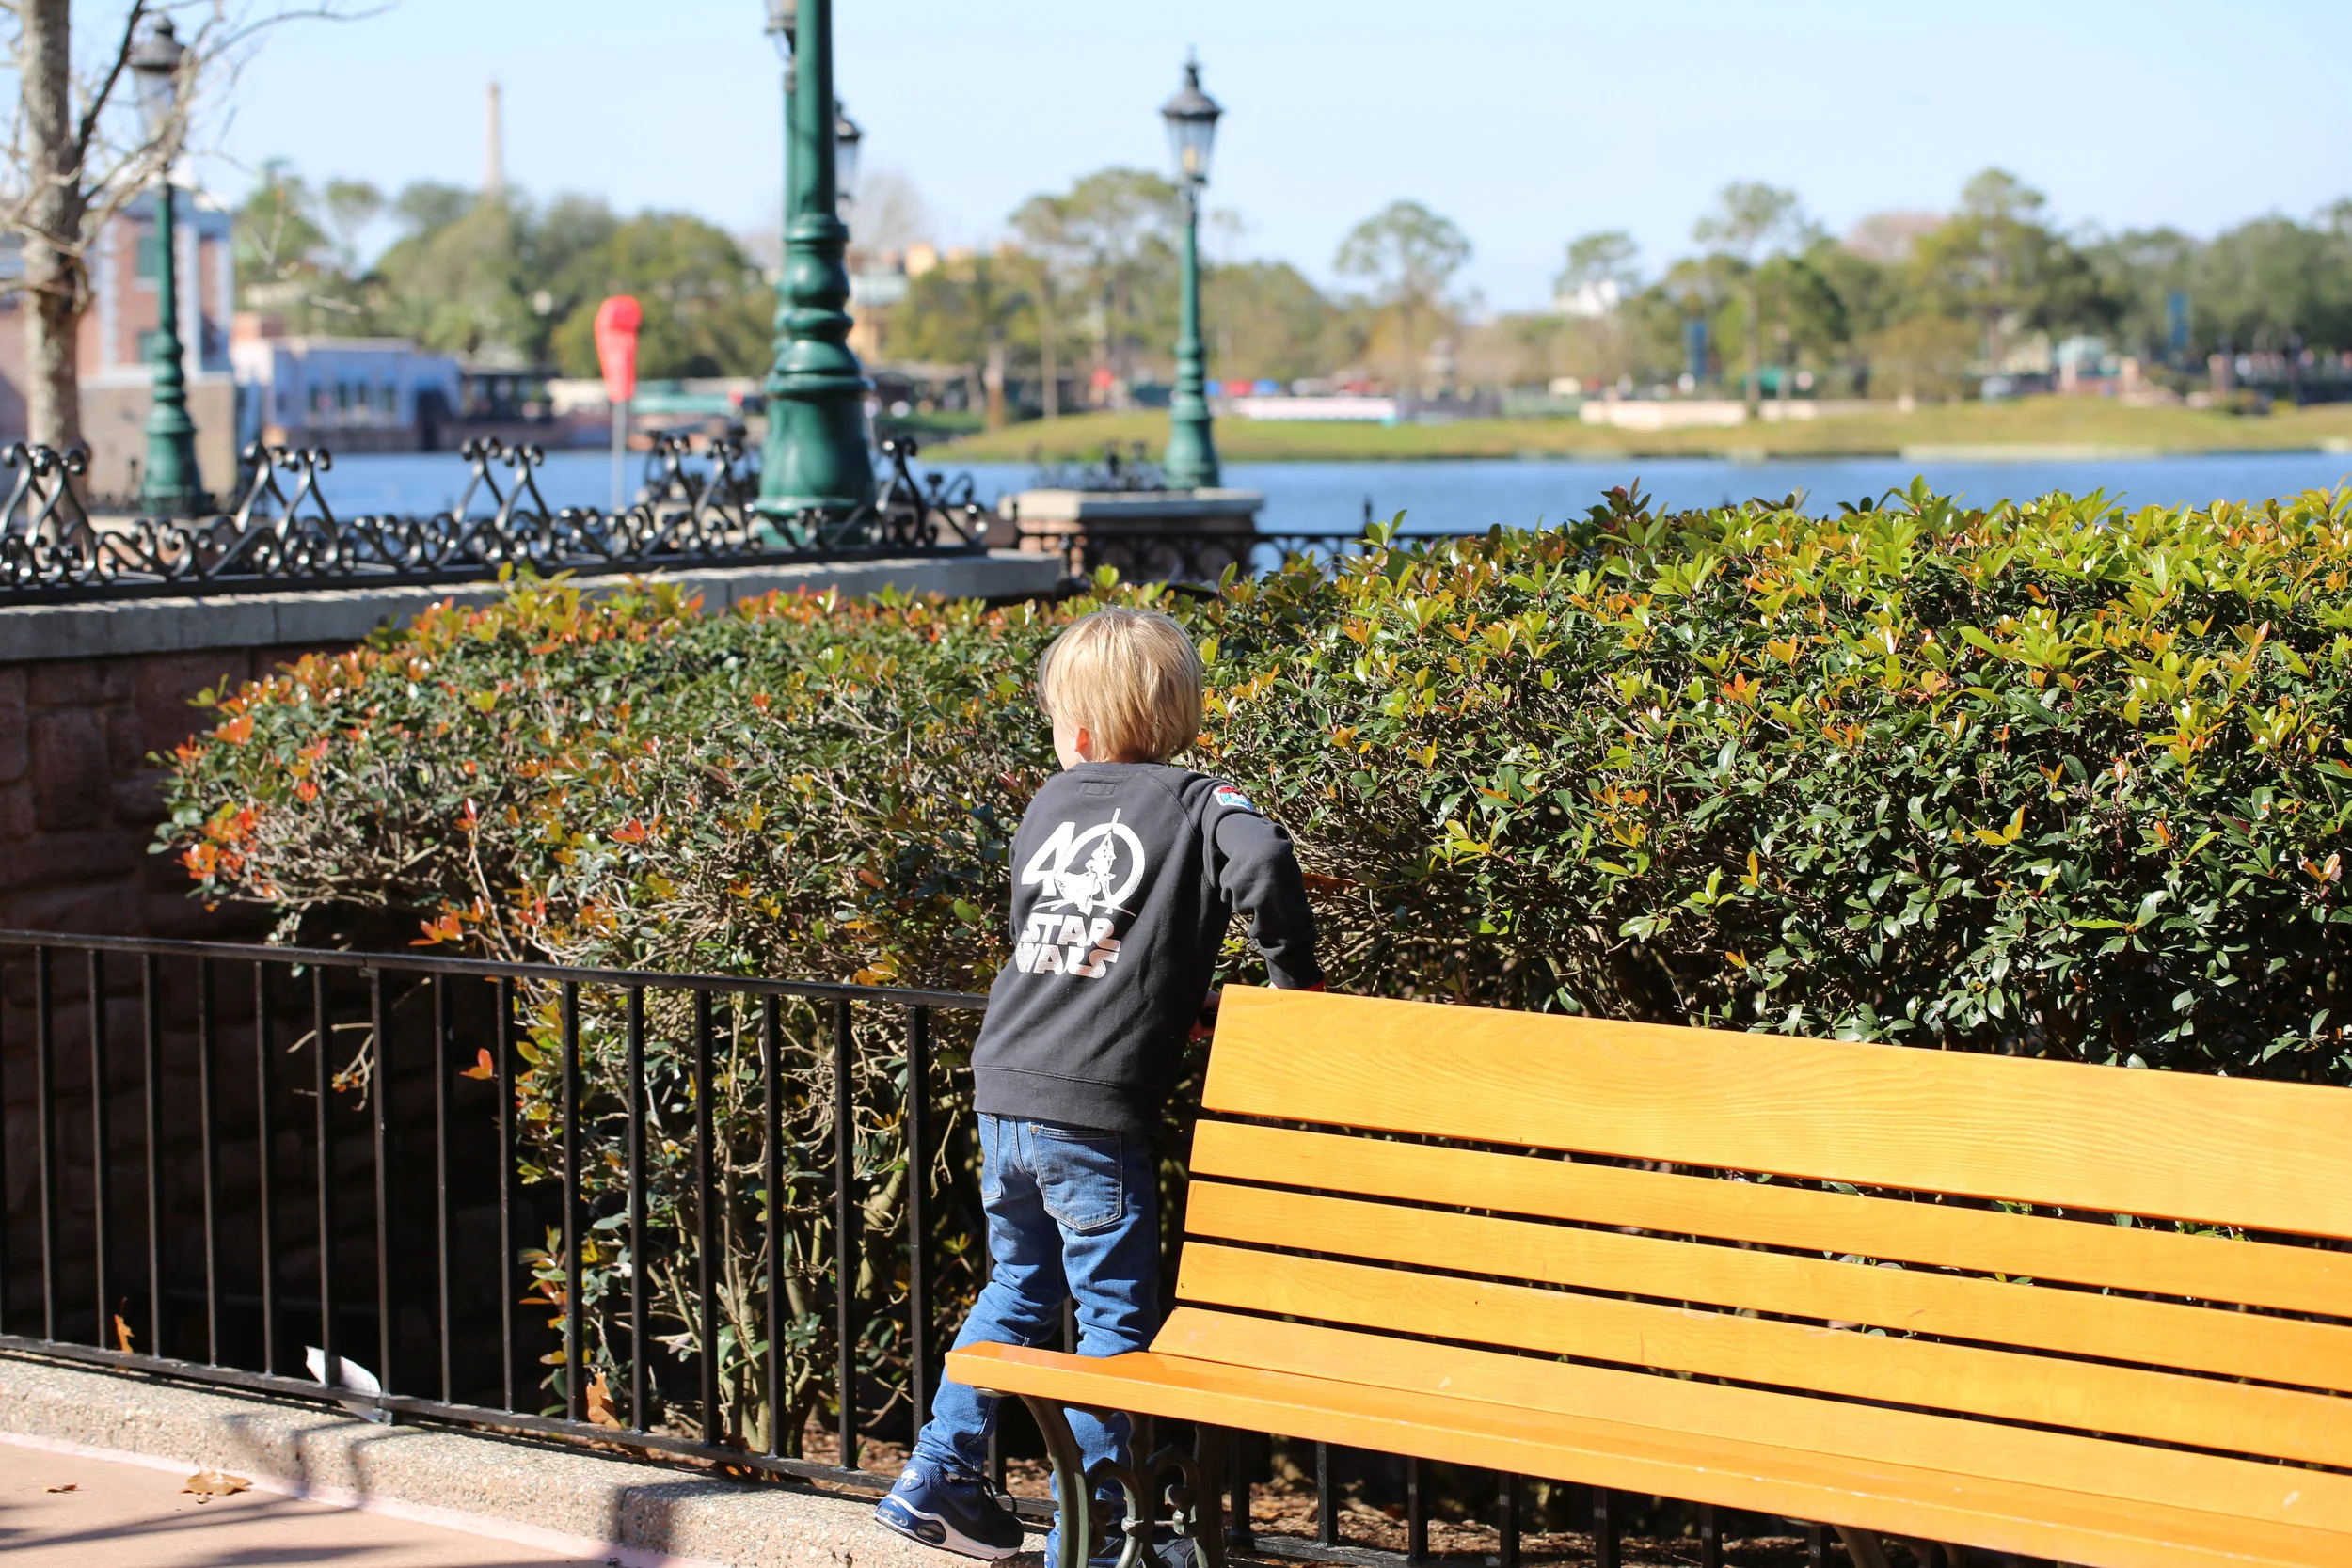
    A stroller is a MUST – No joke, kids legs just get tired and there is a whole lot of walking. We brought our double stroller and both boys spent lots of time hopping in and out to keep them going. Plus our youngest napped inside the stroller every day! 

    Multiple shoes – With all the walking you will be doing trust me when I say you just don’t want to wear the same shoes everyday. I rotated my shoes to help my feet stay happy.

    Bring your own water bottles – Yes, with the Disney meal plan you get your own travel mug, which we did use at the resort. But you guys this is not a water bottle and doesn’t do the job for throwing under your stroller like a water bottle does. We brought two of our own water bottles that we filled throughout the days at the parks. This saved on buying water and you just need to make sure you all stay hydrated! 

    Blanket – We brought one to keep the boys cozy at night. It also worked perfect for nap time and on the busy rides back to the resort.

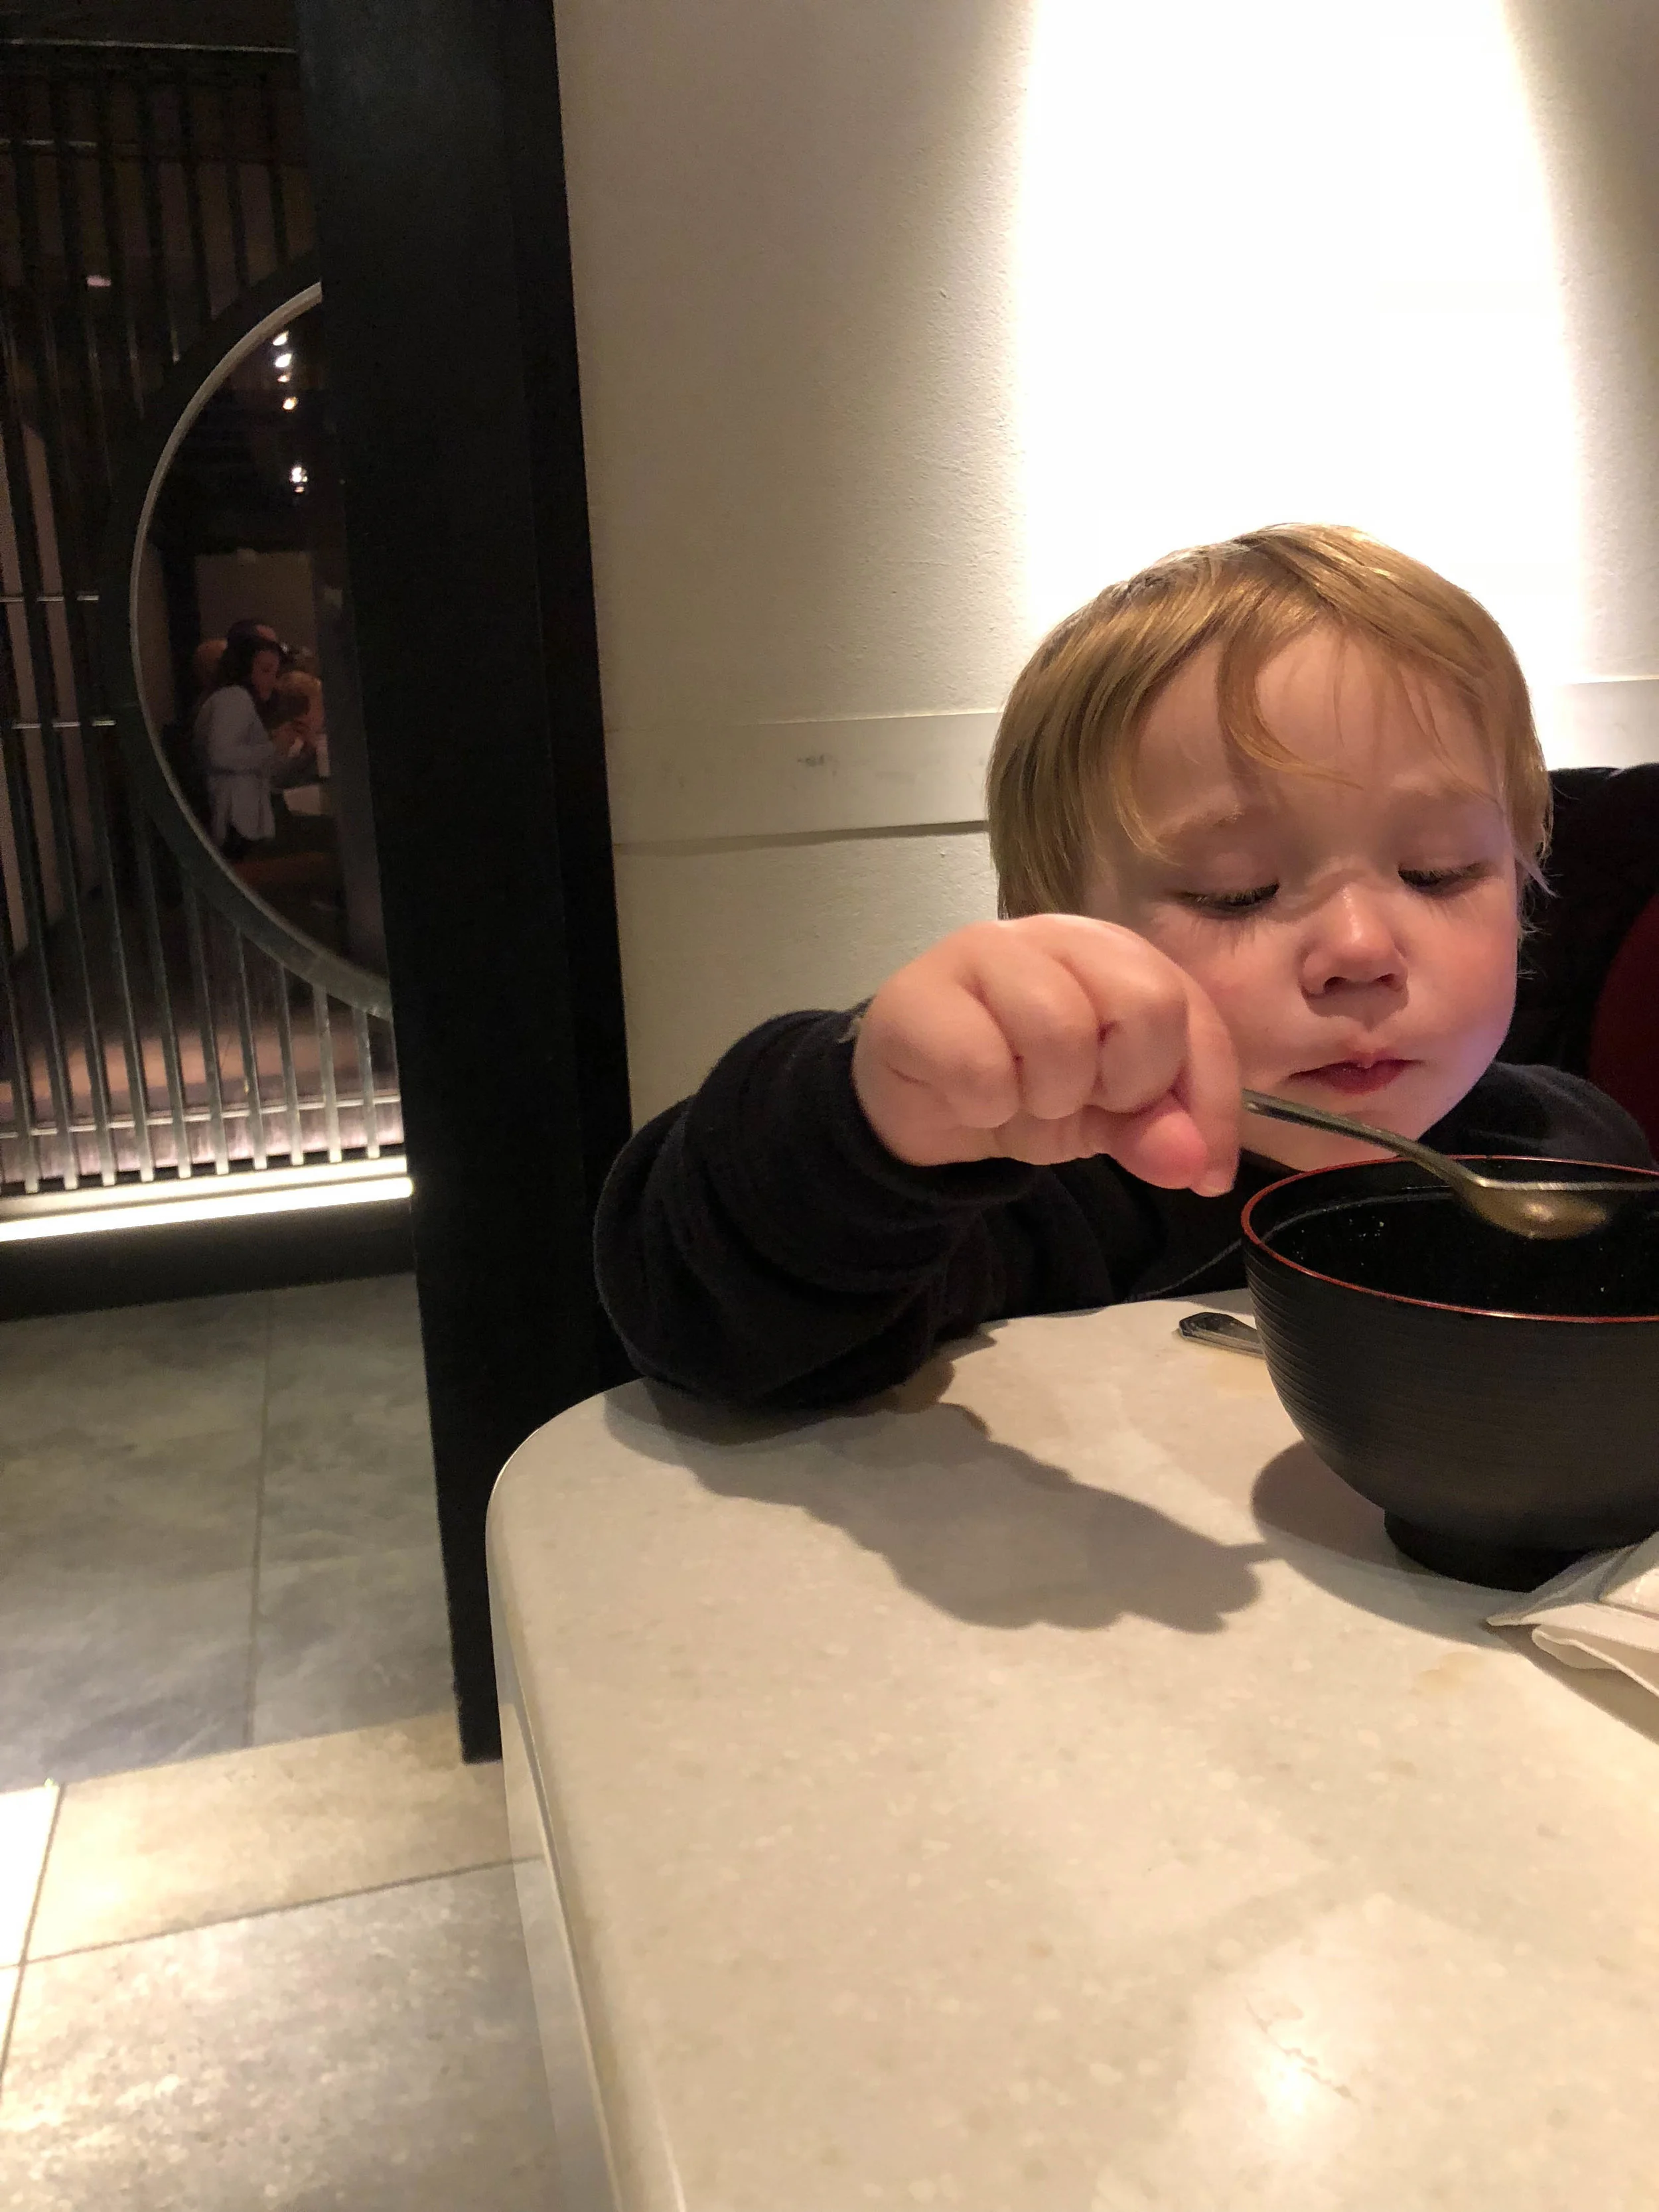
    Have your phone number somewhere on your little one – This one I honestly didn’t even think about until we found a little girl who was lost and balling her eyes out. My inner teacher came right out and my mama heart poured out for this five year old. I quickly took her to the closest Disney employee and the first thing they asked her was if she knew her parent’s phone number or if she had a card with their number on it. It was like a light bulb went on, I know Enzo didn’t know our number and we really hadn’t come up with a plan if he had just wandered off…which in a place this busy isn’t shocking to have happen. To tell you the rest of this story, the little girl knew her mom’s number after several attempts we got it right. I let her dial and I promised her that we wouldn’t leave her side until we found mom. Within 10 minutes we found her mom and everything was all good. But that sure was scary and eye opening for everyone in our group!

    Bring a change of clothes – As a parent this seems like a no brainer…right?!? But with older kids you sometimes skip the extra clothes. This is just one thing you want to have with you because having to buy all new clothes isn’t what you want to do or need to do!

    Take a taxi – I know this sounds kinda silly since Disney provides shuttle services if you’re staying on the grounds. But let me tell you the luxury after a long day at the park with tired kids to just get into a cab and drive directly to your hotel, no waiting in line, no cramming in or standing as you drive home it’s the best $20 we spent and I would no joke do it every night for our next trip.

    Let’s break it down by park!

    Here I am going to break it down. First, we booked fast passes per park for rides and in the order that worked out best for us. A few things to keep in mind – Enzo, our oldest, just turned 5 and is not a huge fan of anything dark and big drops are a no go for us. Although Enzo is tall and could go on almost all rides. Next, I will add places we booked reservations (table services) for ahead of time and ones we ate at for counter services (Quick Service). We did use the Disney Meal plan and I will share some tips we found worked best for us at the end too!


    Magic Kingdom

    This Park by far has the most rides for our kid’s ages. We spent 2.5 days here. I put small notes next to each ride too!

    RIDES

    Tomorrowland Speedway – Both boys loved this ride. Enzo wasn’t tall enough to ride alone but he could do all the driving while I pushed the petal and Ziggy could’t get enough of the car.

    The Many Adventures of Winnie the Pooh – This ride was fun for everyone!

    Peter Pan’s Flight – At first Enzo wasn’t sure of the dark and small drop but once he saw all the magic the ride provides he was all for it.

    Buzz Lightyear’s Space Ranger Spin – The boys loved the game part of the ride. Although they weren’t the best a shooting just yet!

    Pirates of the Caribbean -Although it’s dark and had a little drop in the beginning Enzo loved seeing all the pirates! 

    Seven Dwarfs Mine Train – We didn’t make it on this one. But everyone else seems to love it, so I think we would start here for the small thrill rides.

    EATS

    Quick Eats 

    Aloha Isle – Hello DOLE WHIP! This is a must. 

    Casey’s Corner – I love just starting our trip out here. The classic hot dog and fries.

    Columbia Harbour House – This was the perfect lunch spot. The lobster roll, mac and cheese and the frozen lemonade was perfect for our crew. We substituted the sides for apple slices which was a major win with the boys.

    Table Service 

    Be Our Guest – Get the most for your money with dinner. It has characters and you can get an adult beverage…one of only two places in the Magic Kingdom.

    Tony’s Town Square – Another solid dinner option. We split the salmon which was delicious. The pasta dishes looked amazing too. Bonus – you can get a glass of wine here too! 

      Cinderella’s Royal Table – We didn’t make it to this. But Enzo made sure to let us know he was disappointed we didn’t eat inside the castle. So it will for sure make our list next time. 
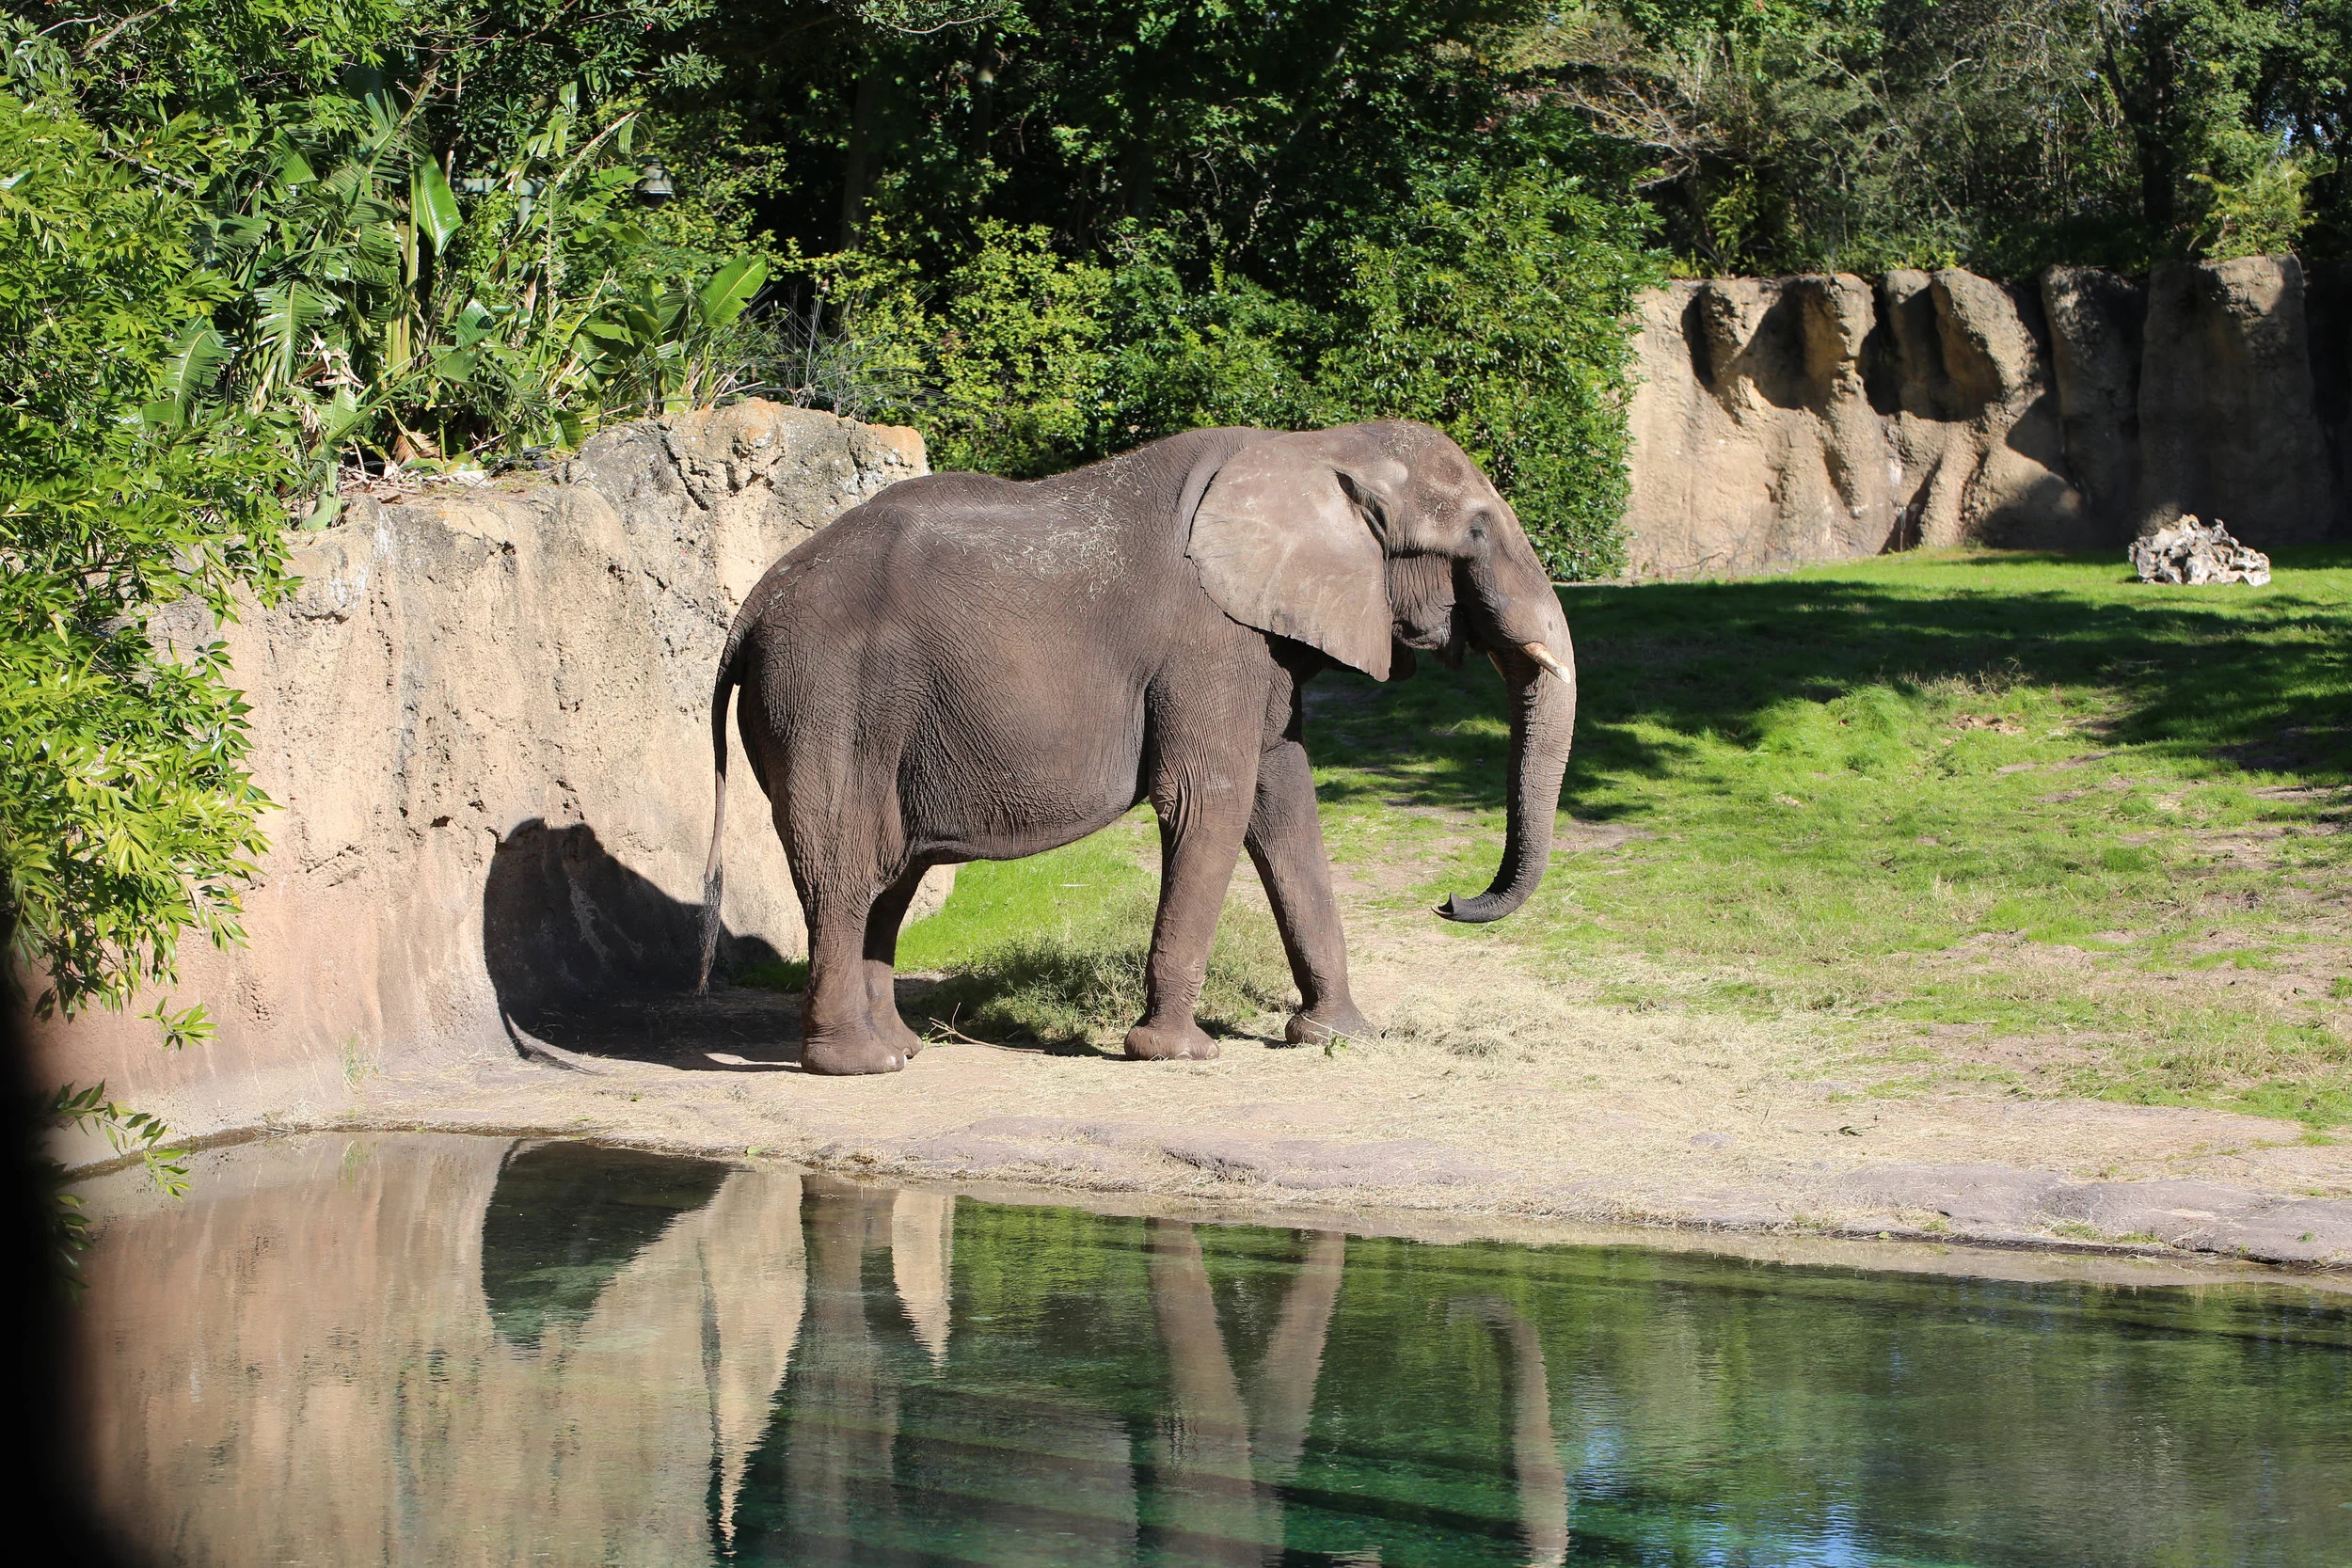
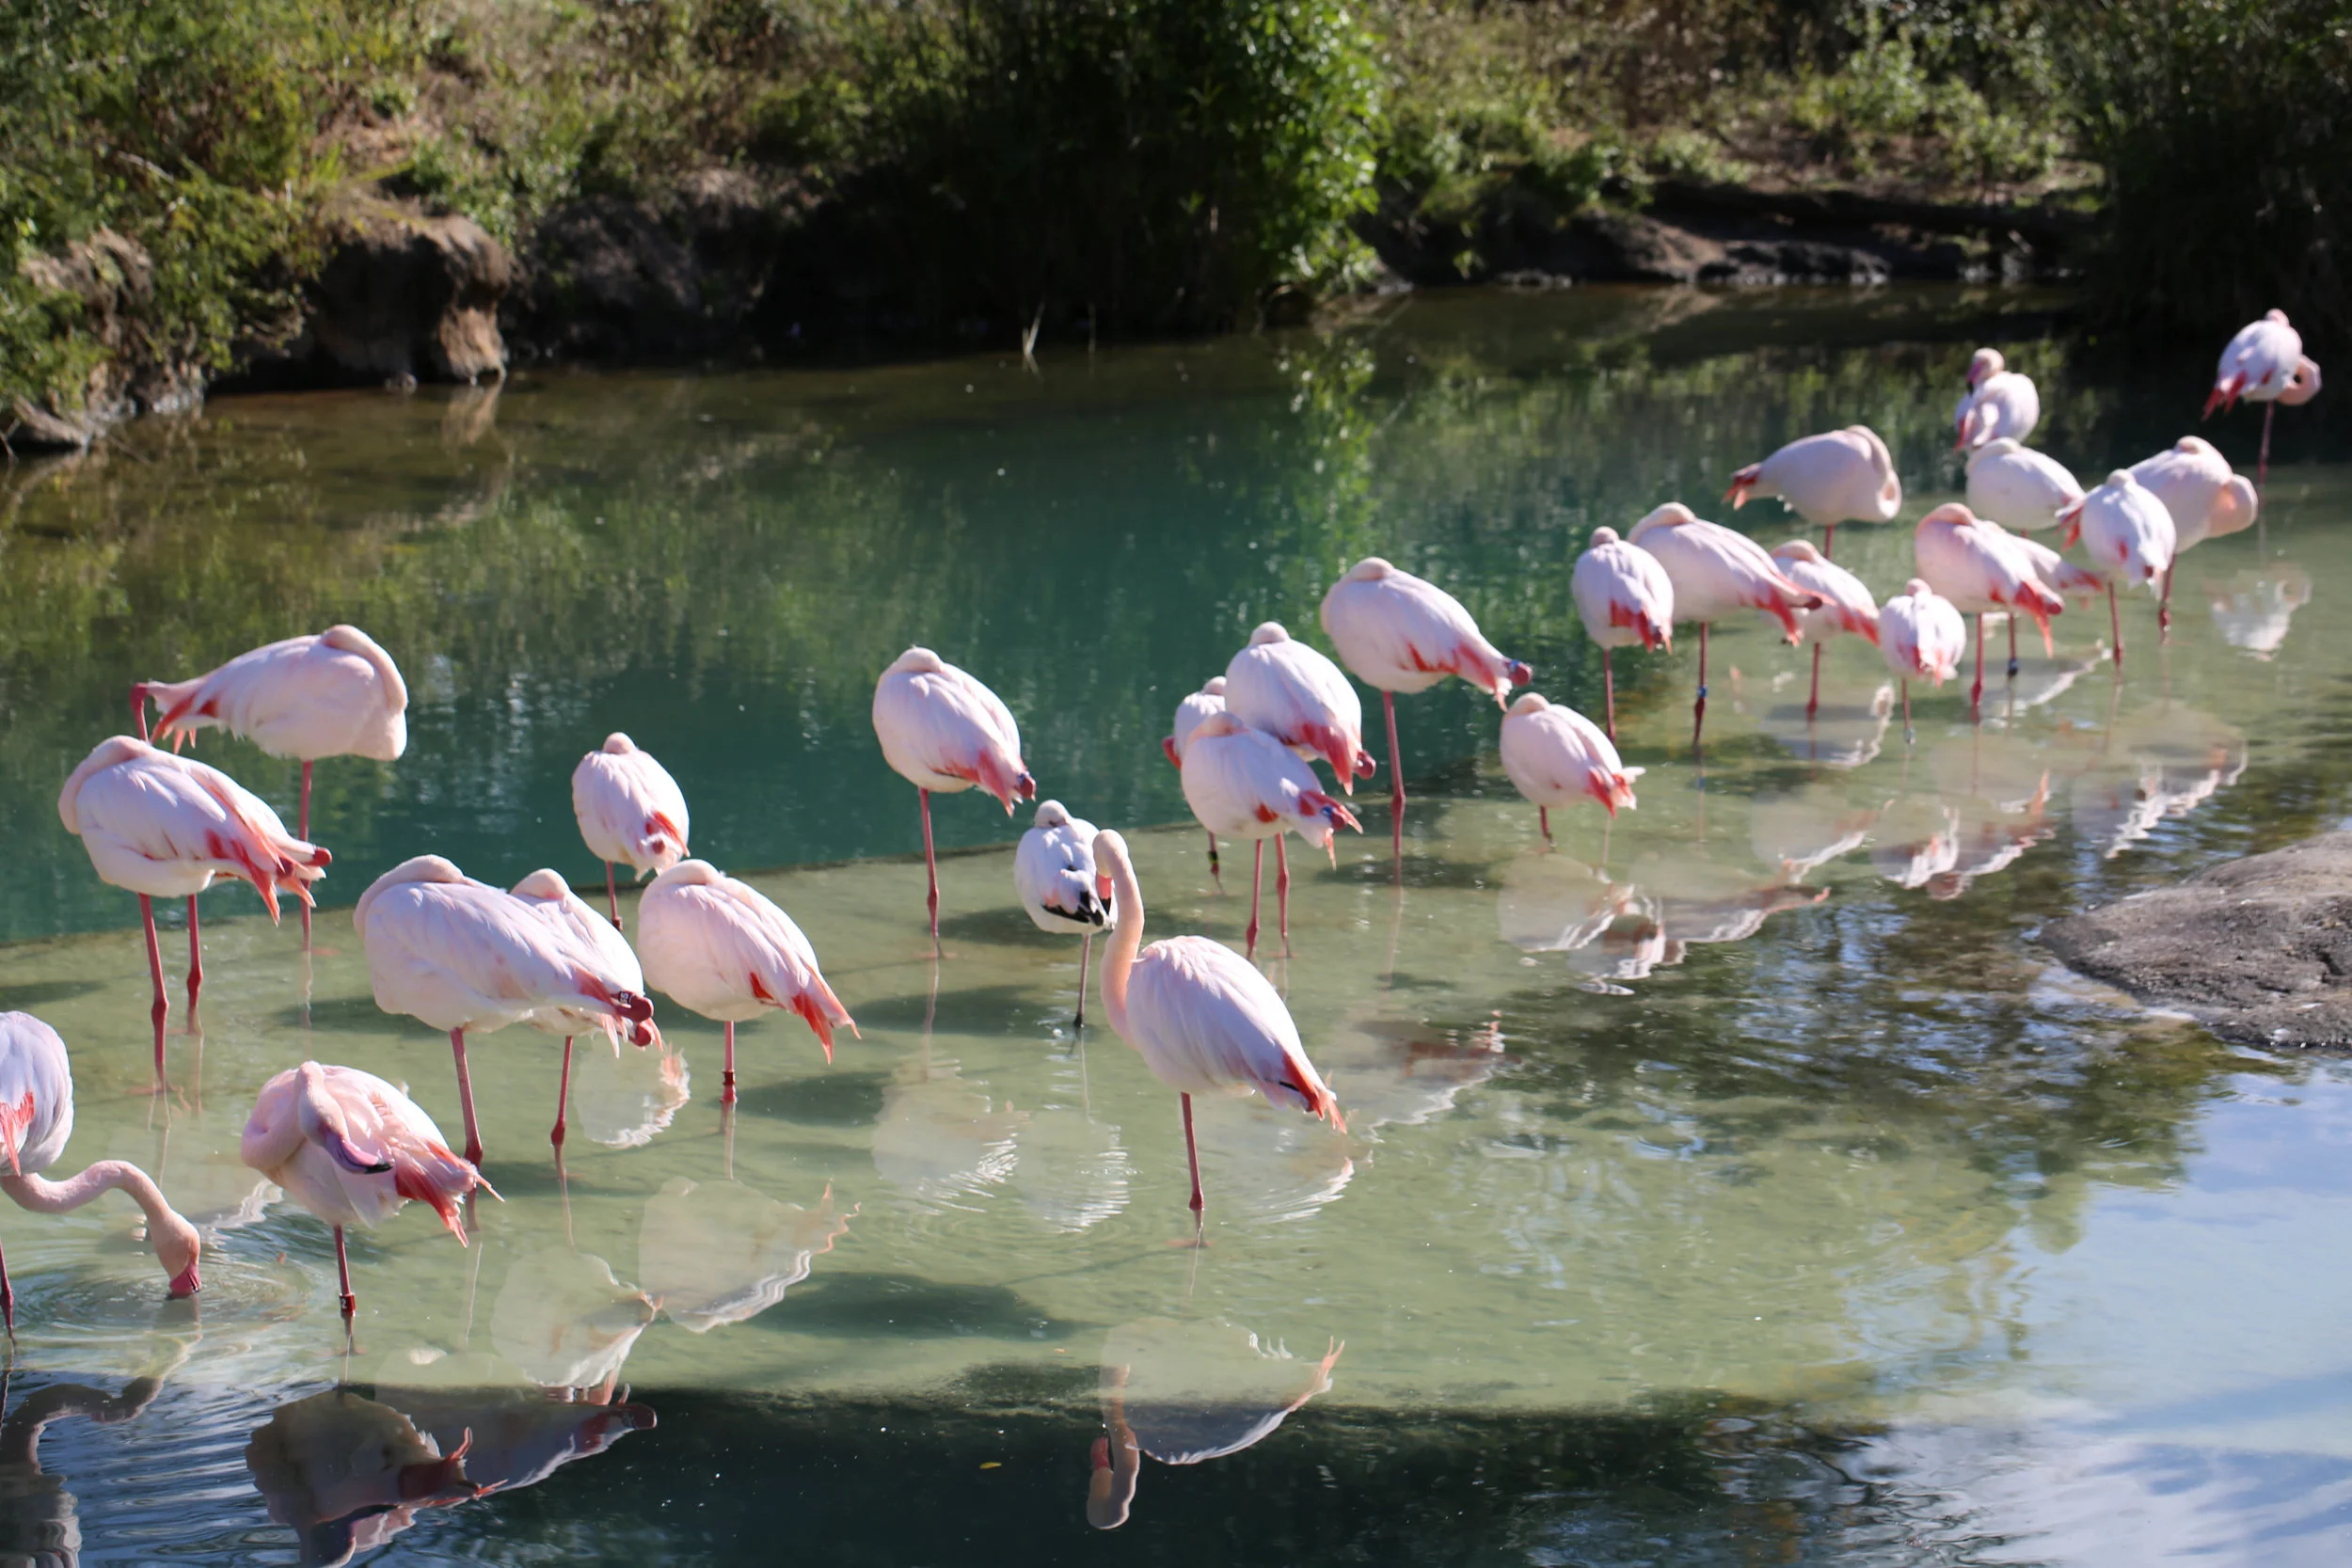
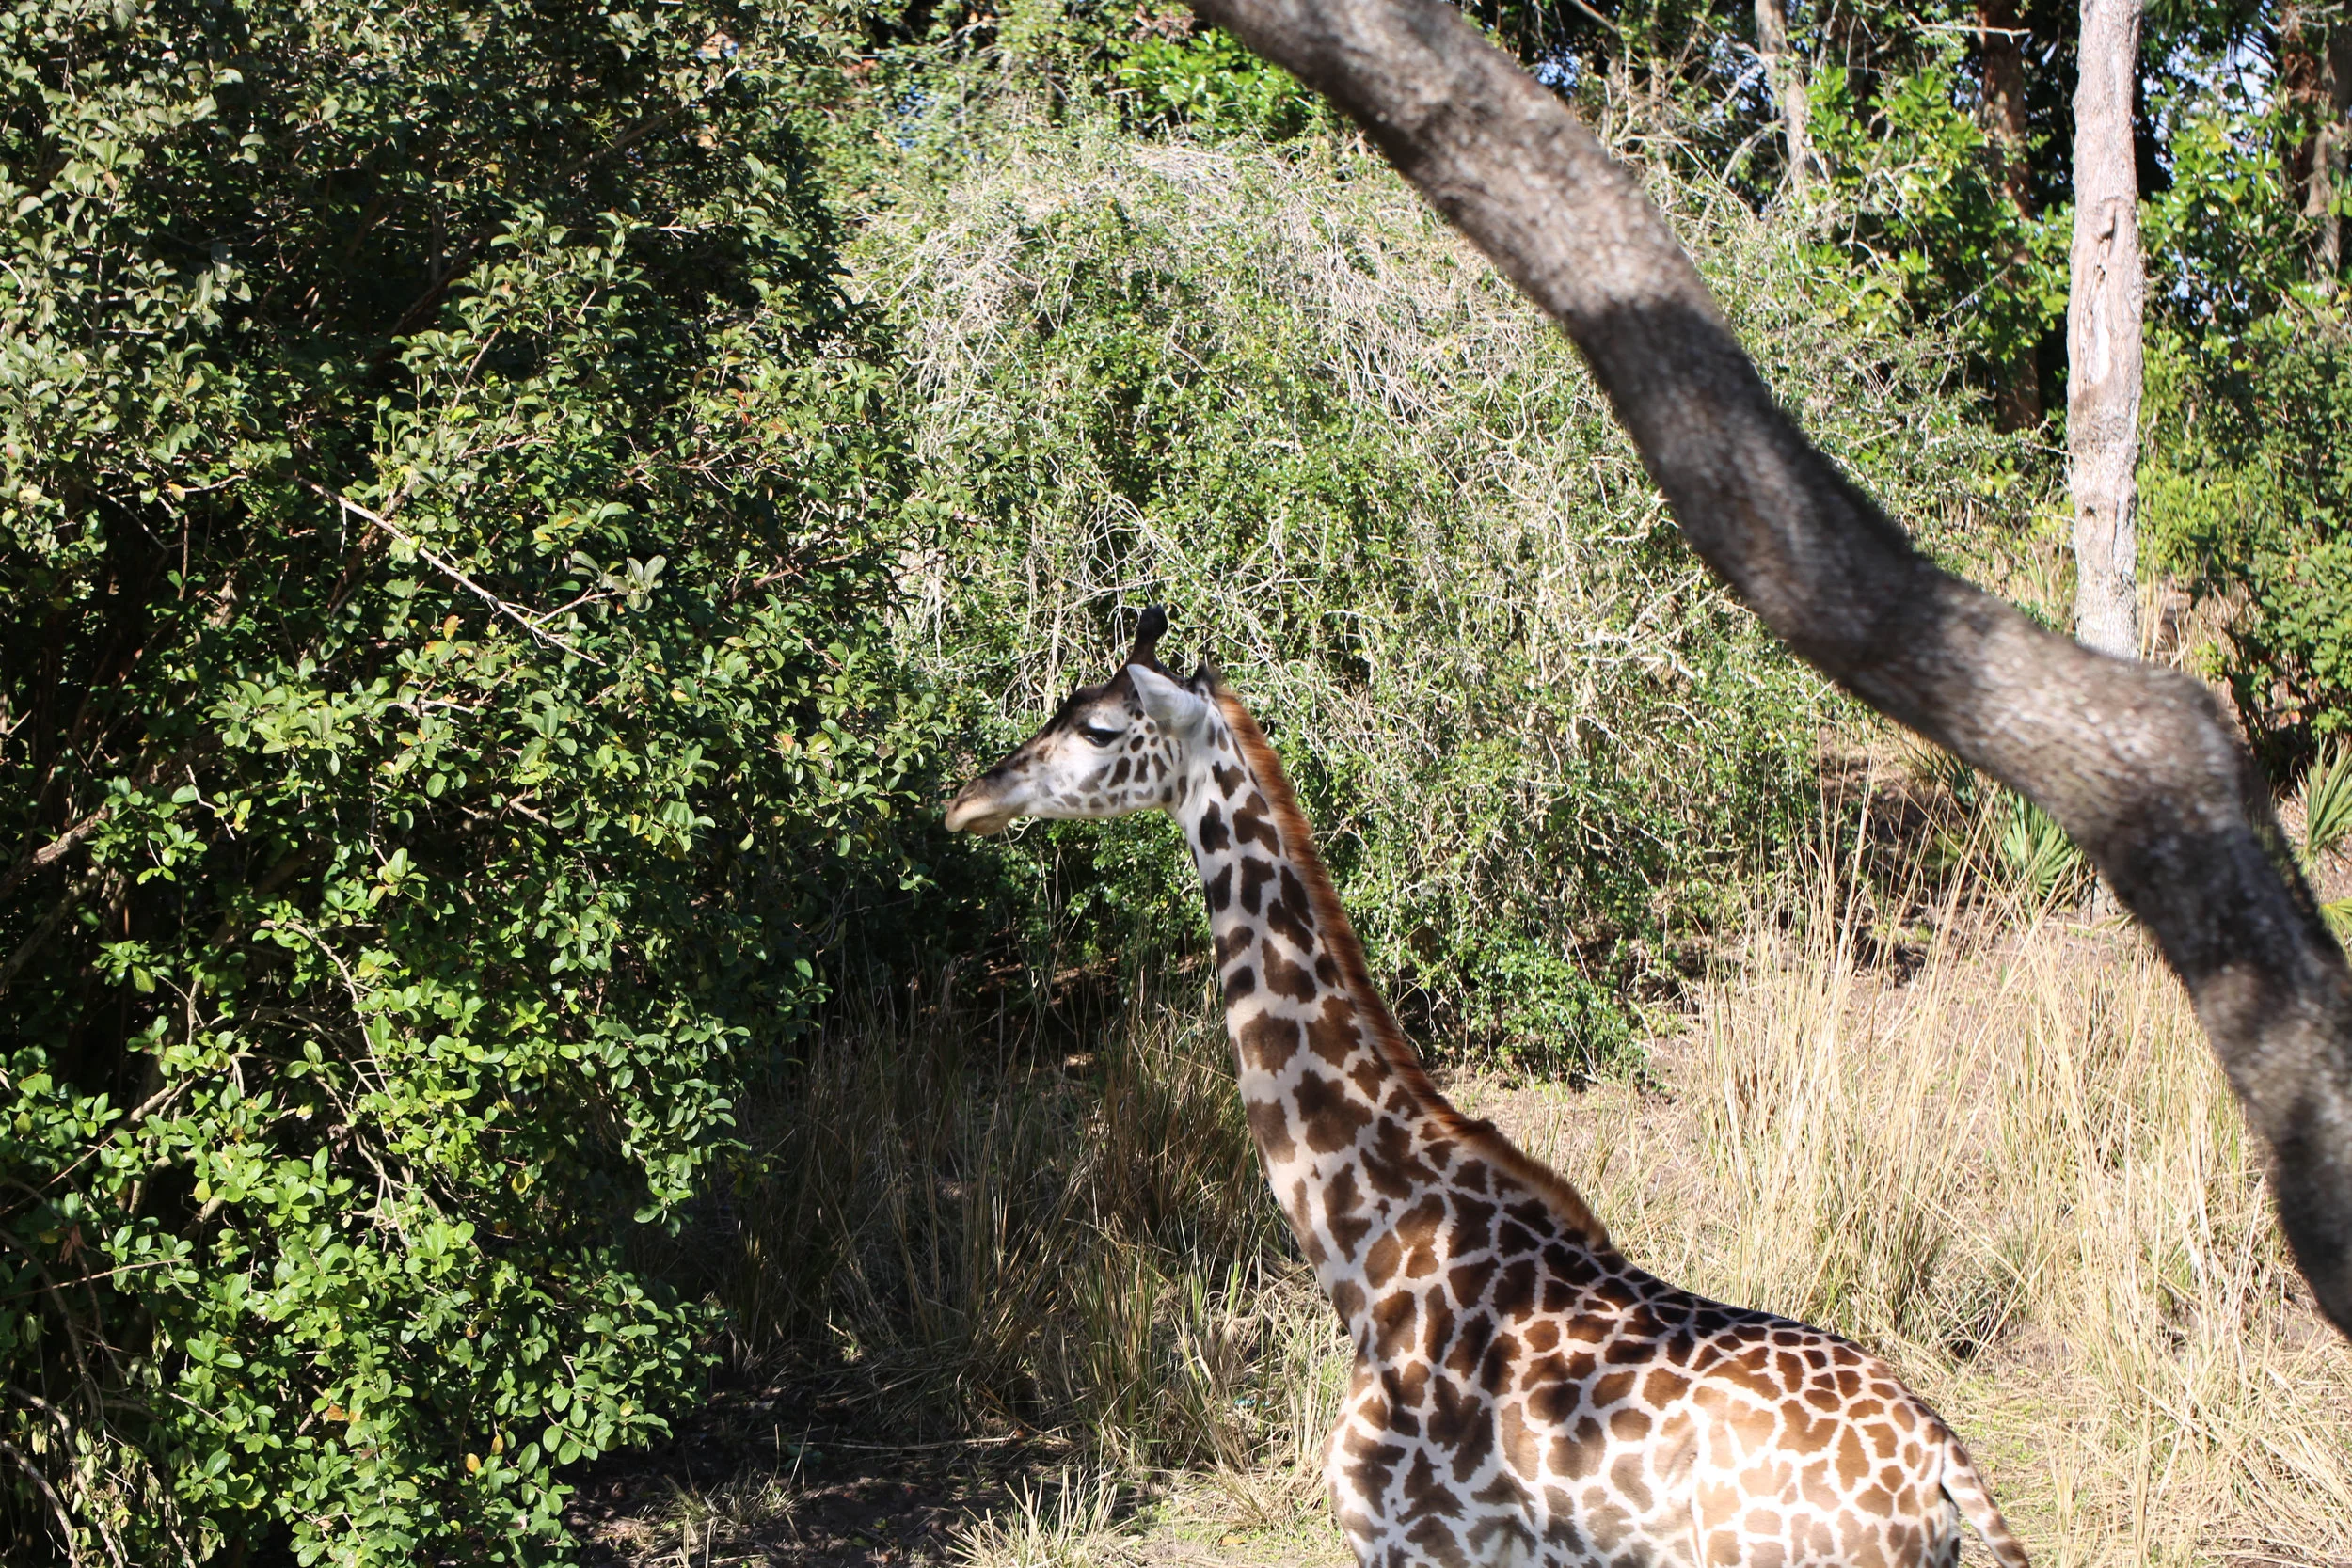
       

      Animal Kingdom

      RIDES

      Kilimanjaro Safaris – We love this ride and it’s worth going any time of day because it is always different!

      Avatar Flight of Passage – So this ride Enzo was so excited about and it was a total fail. He screamed the whole ride and is still talking about how much he NEVER wants to go back to it ever again.

      EATS

      Quick Service

      Yak & Yeti Local Food Cafes – Everything we got from here was awesome. They also have beer and sangria.

      Table service

      Tusker House Restaurant – This is a buffet and a character experience all at once. I love that it had some African food too!
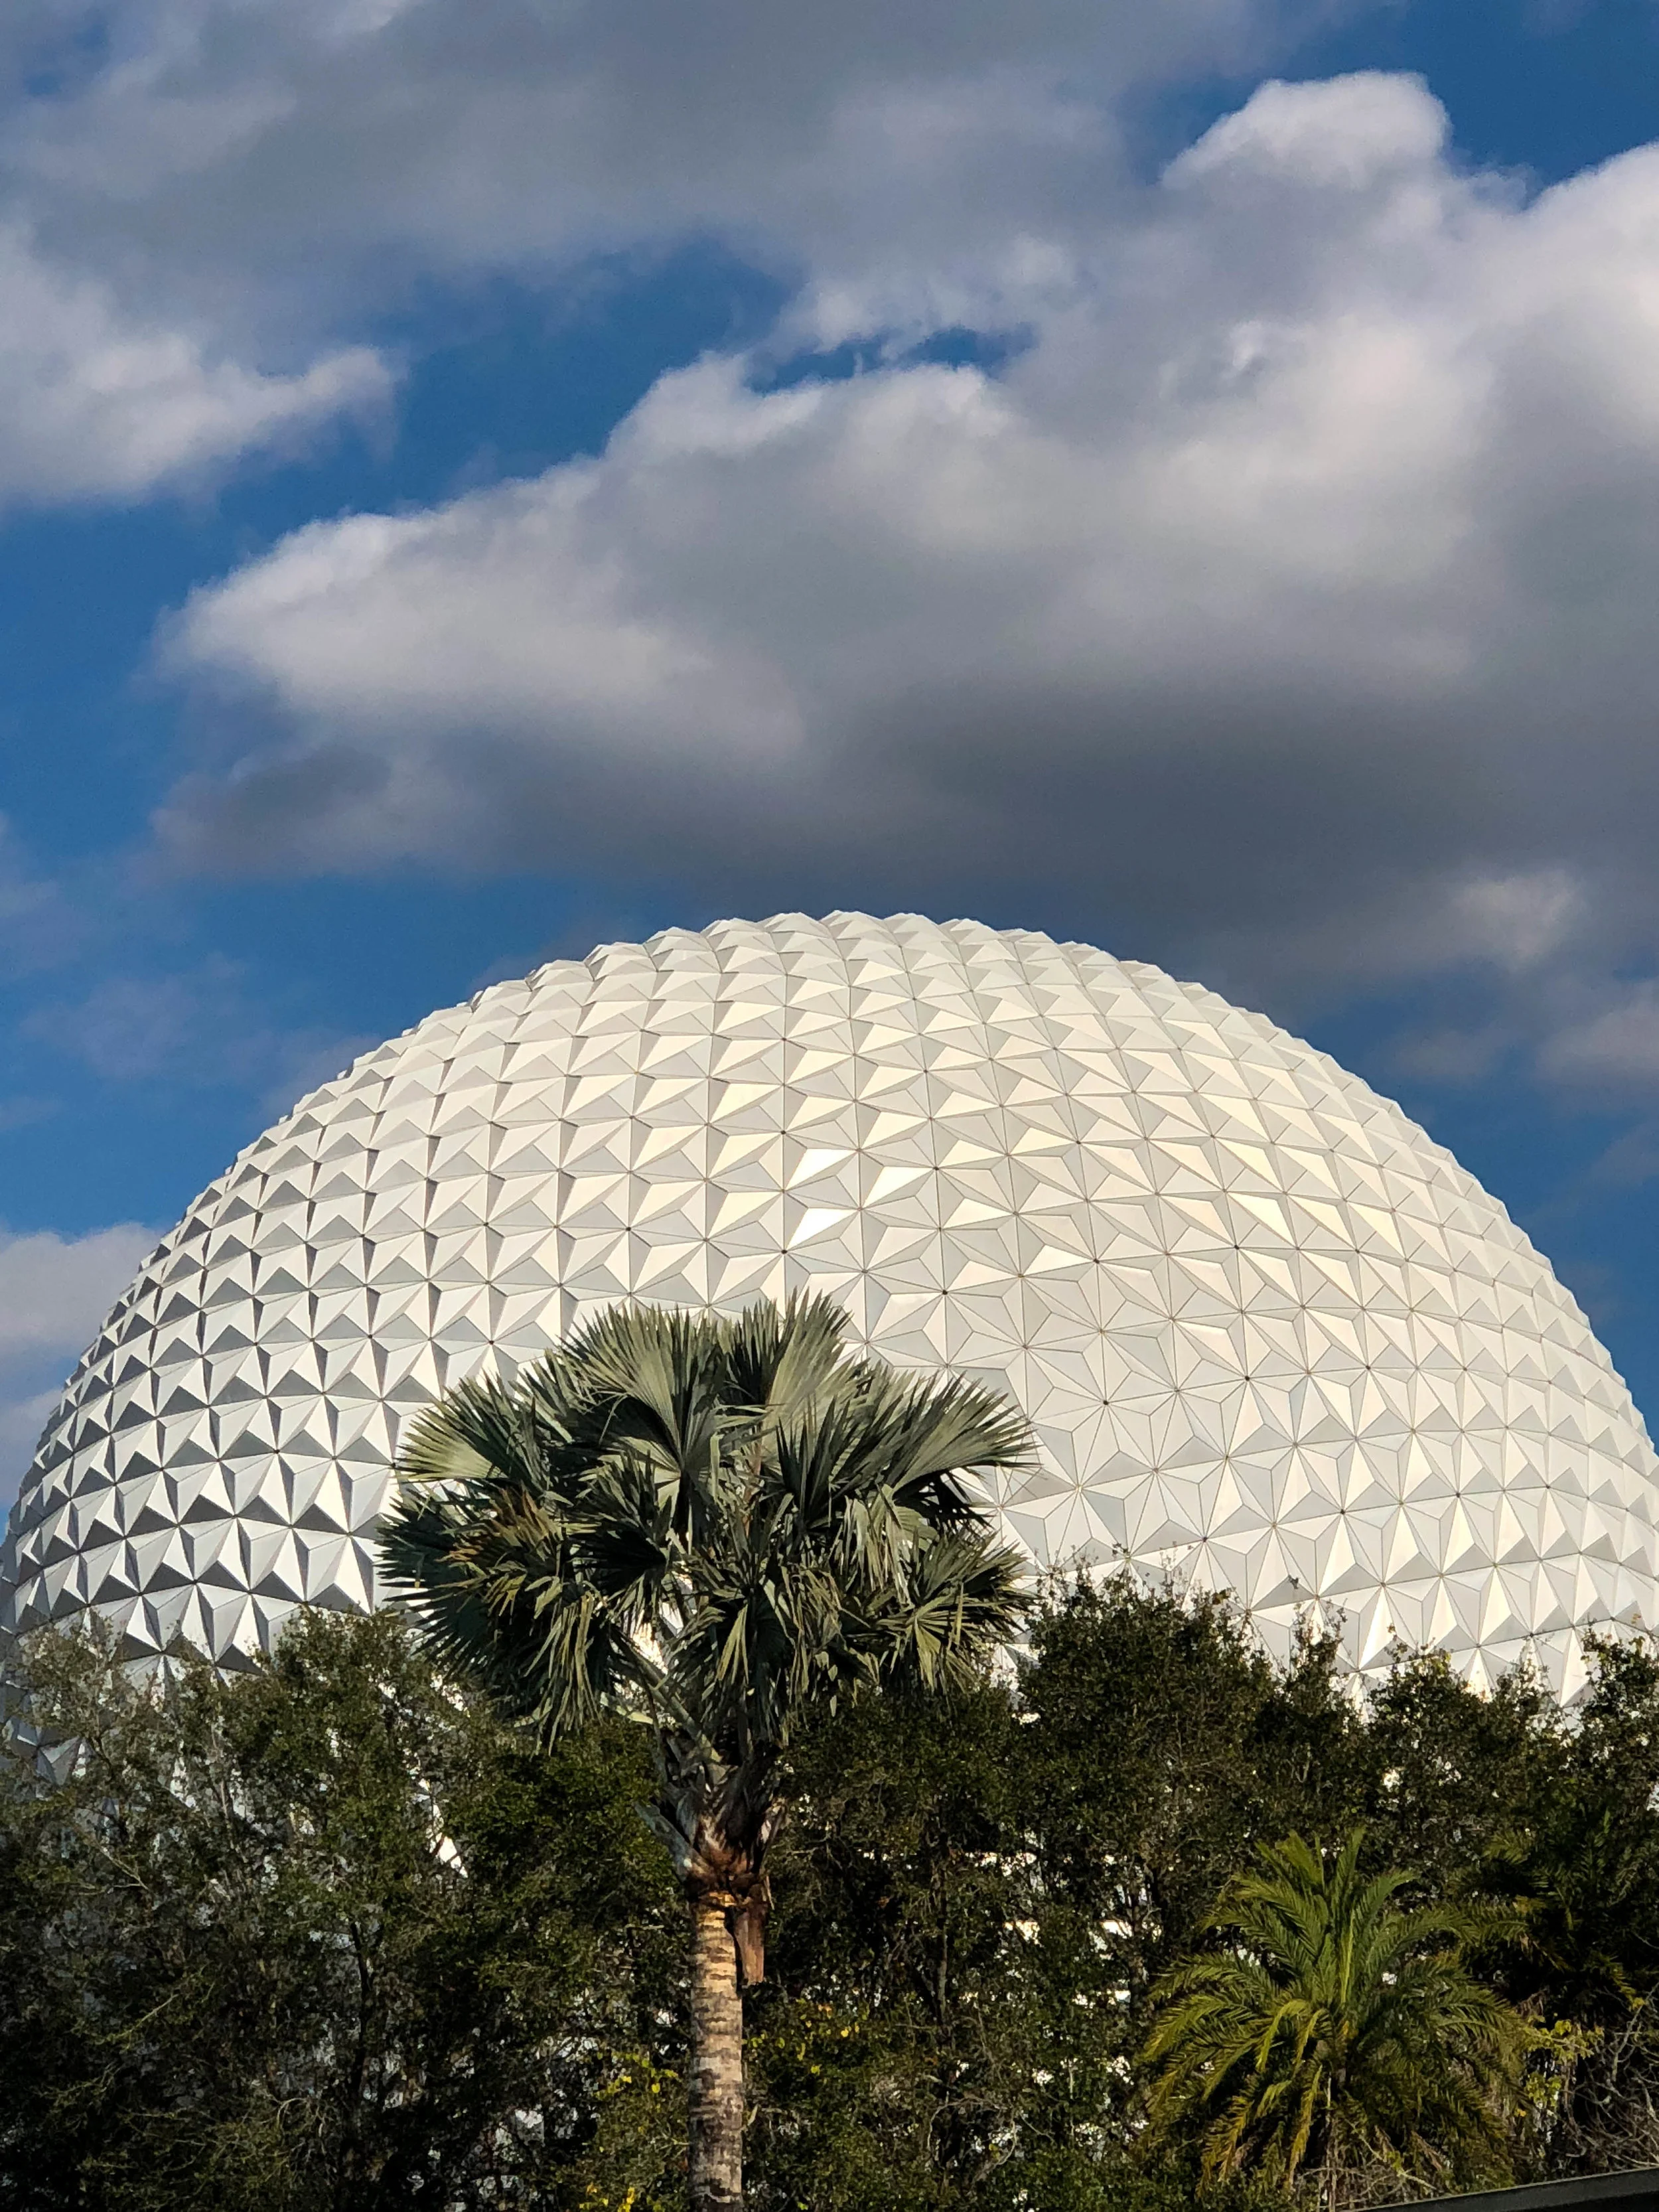
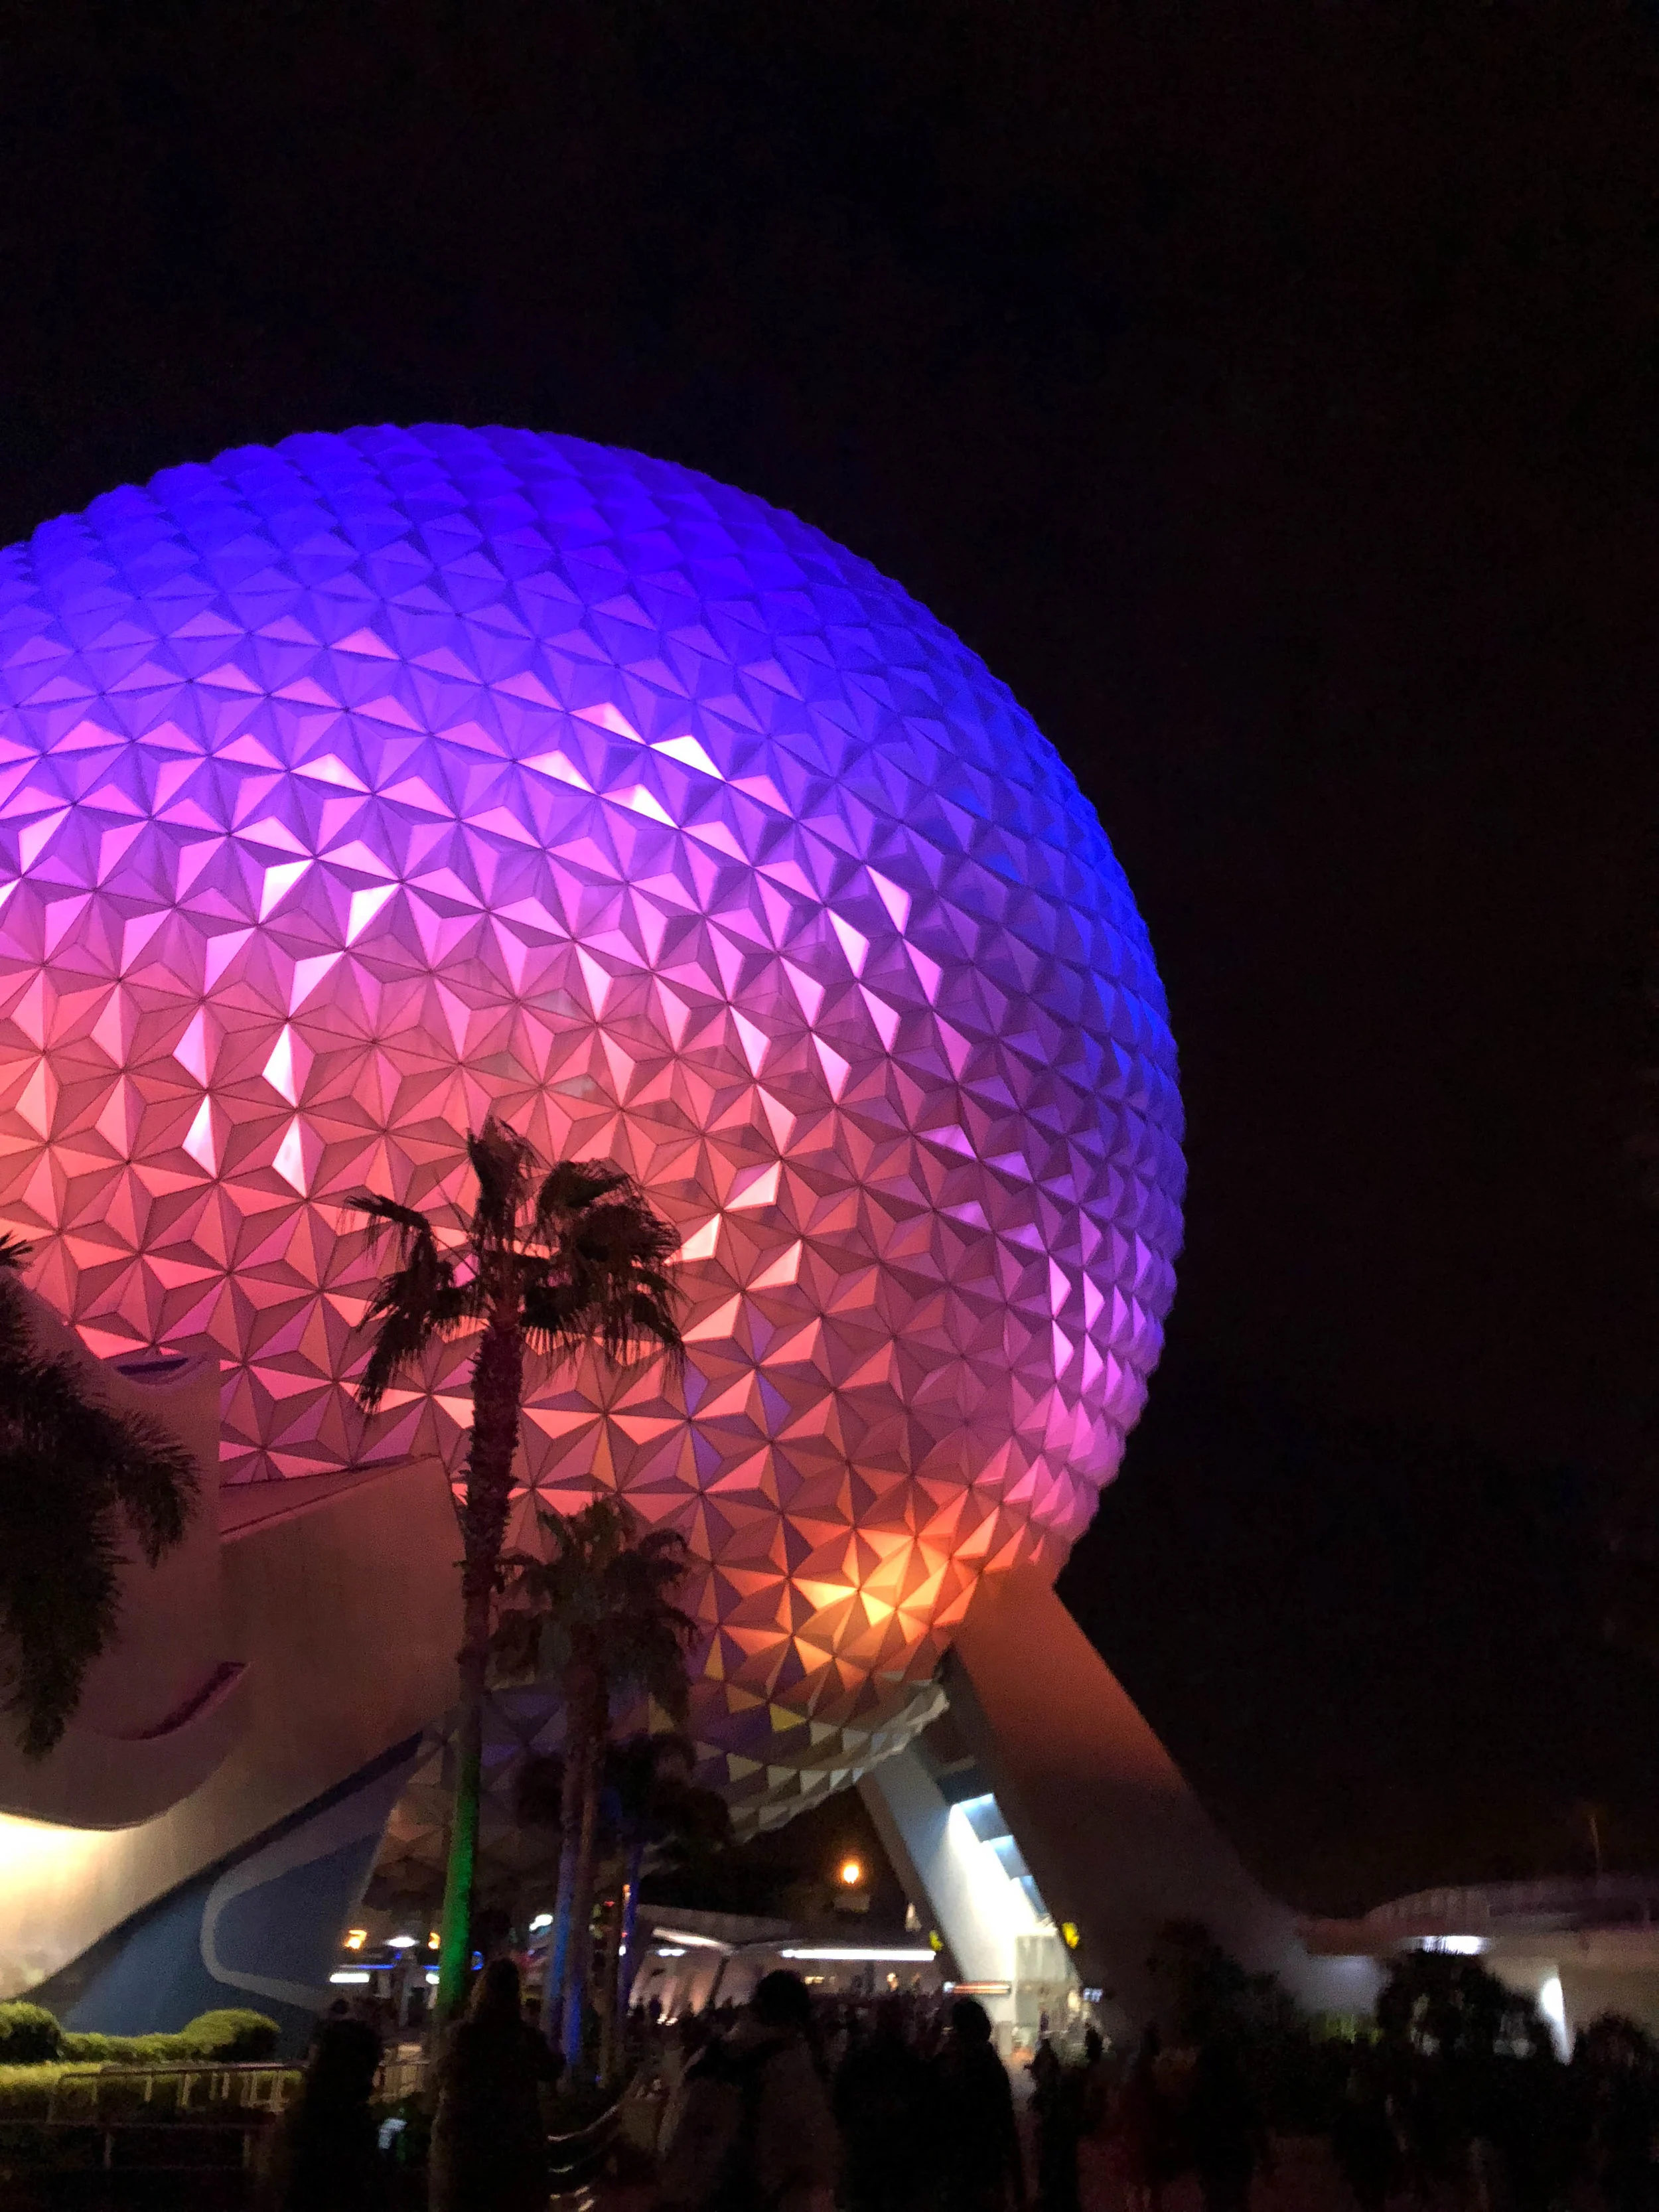
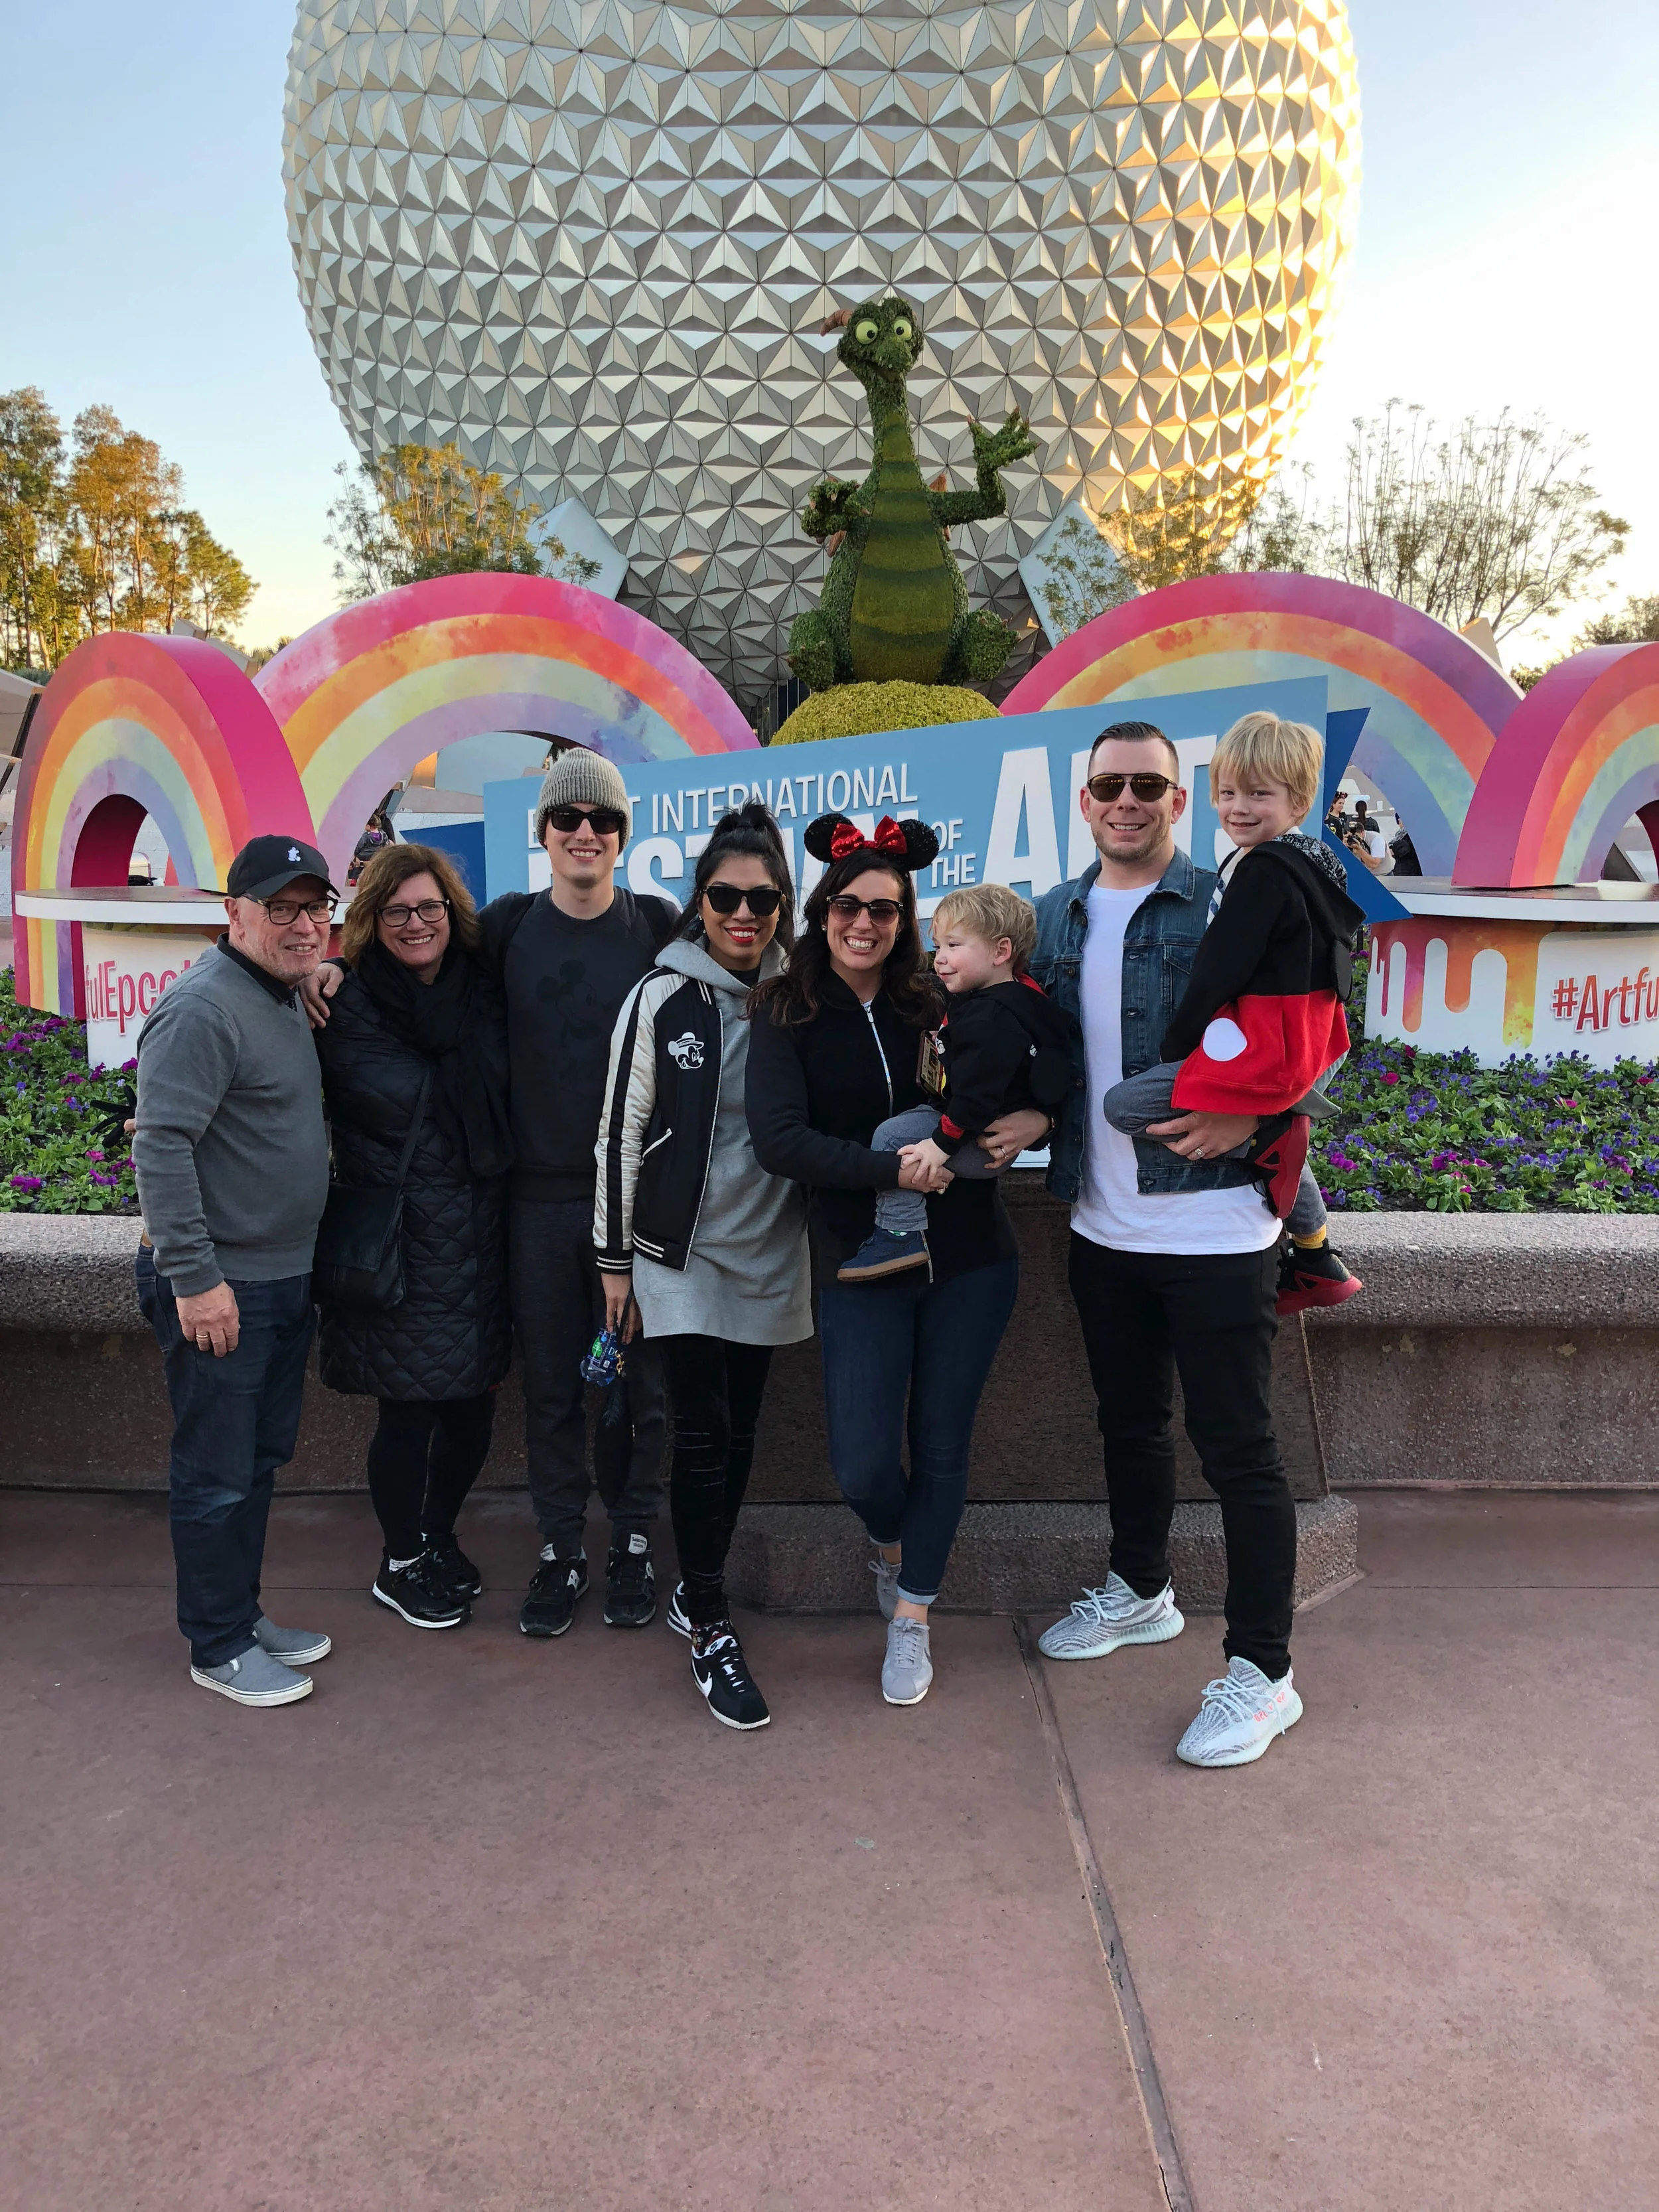
      Epcot

      RIDES

      The Seas with Nemo & Friends – Both boys loved this one.

      Test Track – We couldn’t get Enzo to ride. There are dark parts, it is very fast and there is a hill that I’m not sure he would have loved.

      EATS

      Quick Service 

      We love the around the world experience at Epcot. I think my favorite is to go to each country and get a quick service or snack. We skip America because it’s just doesn’t do it for me. But it’s fun to try them all!

      Table Service

      Teppan Edo – I love this place so much! Enzo couldn’t get enough of watching the chef cook right in front of us. We ordered steak and sea scallops. Ziggy was obsessed with the miso soup! 

      Coral Reef – The aquarium here is incredible. Our kids couldn’t get enough of watching the sharks, turtles and schools of fish!

      San Angel Inn – I LOVE MEXICAN FOOD and this place is perfect for just that. I got the most expensive margarita you guys and it was SO worth it!

      Hollywood Studio

      RIDES

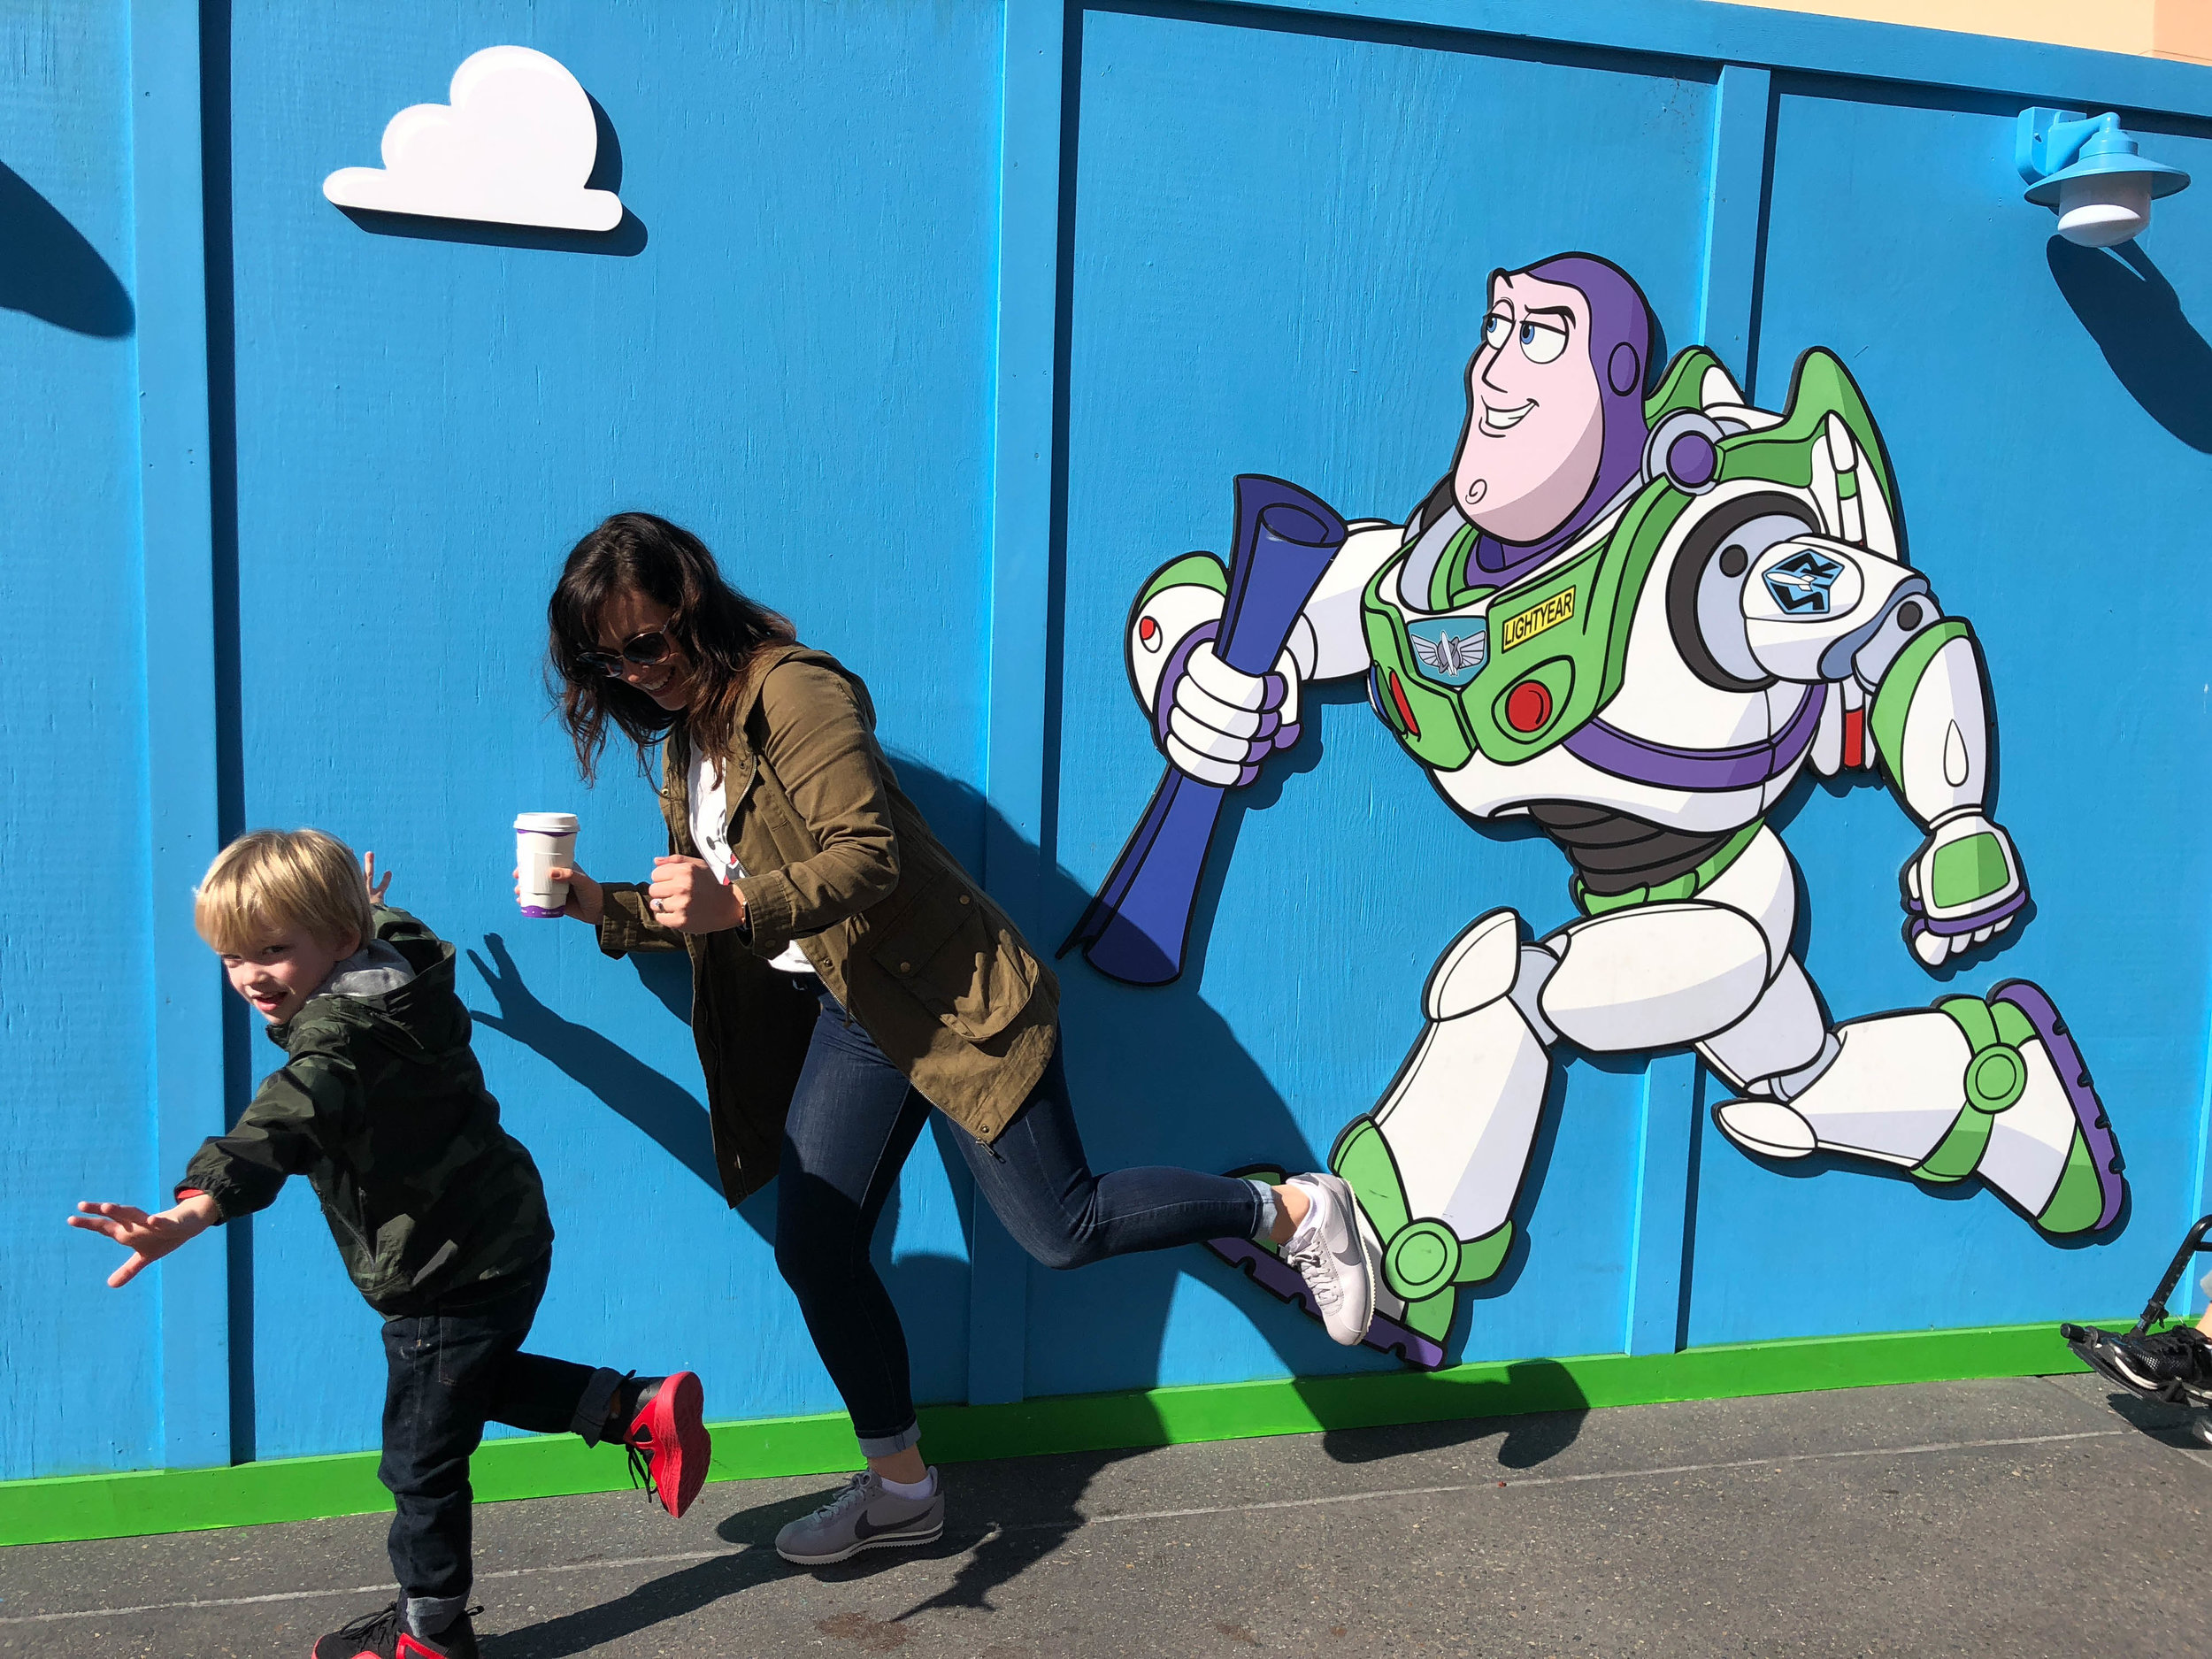
      Toy Story Mania! – This was the only ride we made it on and my kids absolutely loved it! I cannot wait till the whole world opens this summer!

      EATS

      Table Service

      Hollywood & Vine Disney Junior Play’m Dine Breakfast – This breakfast was perfect. You get into the park early and it’s got all the Disney Junior characters.

      Sci-Fi Dine-In Theater – Good for lunch or dinner. Burgers, fries, milkshakes, beers…need I say more?!? Oh and built in movie entertainment all while inside a car. 

      50’s Prime Time Cafe – I love the classic 1950s home vibe in here all the way down to the waitstaff. The food feels just like home cooking too.

      Mama Melrose’s Ristorante Italiano – This place has a cute Italian home cooking feel.

      Let’s talk about how a Disney Meal Plan really works!

      Again you guys I am clearly not an expert on this topic, but I am sharing how we made it work for us and my thoughts on it overall. To be clear I am going to chat about Regular Dining which includes (per day)

      • 1 table-service meal
      • 1 quick-service meal
      • 2 snacks
      • 1 refillable mug

      So here’s what we learned. First the portions are large. So sharing worked really well for us. This gave us more table service meals and quick service to use over the course of our stay and we loved that! That meant we could use a quick service for breakfast and share a big meal. We also found to get the most for our money having a alcoholic drink is worth it’s weight in gold. Another thing to look for is items on the menu that are more expensive…duh! We also liked to ask if we could substitute dessert because we aren’t huge on sweets and really didn’t need one with every meal. 

      For snacks, two a day over your whole group adds up quickly. So we found it was better to use your snacks when you wanted that way you weren’t left with them to spend at the end of the trip. Speciality coffees counted as snacks and for us that was a big one. We also used them for pretzels, ice cream and popcorn. The most you can spend on a snack is around $5.

      Alright so I am going to leave it at that. I’m pretty sure I could write a novel about this and I am sure I’ll add more posts over time! Please let me know any questions you have! I’d be happy to answer in the comments!

      Much love,

      Danielle

      Xoxo