Blog

  • ALL DAY TWINNING TIMES THREE

    As a mama of two little dudes I’m constantly on the hunt for clothing that I love. This is not an easy task. Don’t get me wrong, there are lots of cute little dude clothes out there and I am by no means complaining. But when it comes to finding boy clothing it’s just a tad bit more difficult that little girl clothing. So when you find something you love you’ve just got to buy it all up. Today i am so excited to share with you one of our absolute favorite brands. And the best part is this brand is unisex!!!! Plus they’ve got twinning options for mamas and their kiddos.

    I’d like to introduce you to Whistle and Flute a husband and wife team with three little dudes! They’ve created a brand of clothing for everyone to love. Fashion that is fun and stands the tell of time with little ones who wear it hard. Enzo has several pieces from them that I have actually passed on to Ziggy! I know, crazy right?!? I love how these pieces just speak for themselves and my boys ask to wear them again and again. This year we added two hats to our collection that both boys can’t wait to wear daily!

    Use the code: momwifefoodie which is valid for 10% off until October 31, 2017.

    Happy shopping!

    much love-

    danielle

    xoxo

  • HOW I BALANCE BLOGGING AND MOTHERHOOD

    Yes two things I know a lot about: blogging and motherhood. But let’s start this conversation off really clear – by no means am I an expert in either area. In fact, some days I feel like I am barely floating by, you know just treading the water so I don’t drown type of thing. Where other days I really feel like I’ve got my shit together! So let’s chat, shall we.

    I’ve been blogging for a minute now, ok maybe a little longer than a minute. We are going on 3 years that I’ve had my own space on the internet that I like to call mom wife foodie and we sit to chat and have our coffee or wine together, right ???? ?!? So let me give you a little information about how I balance these two parts of my life – blogging and motherhood.

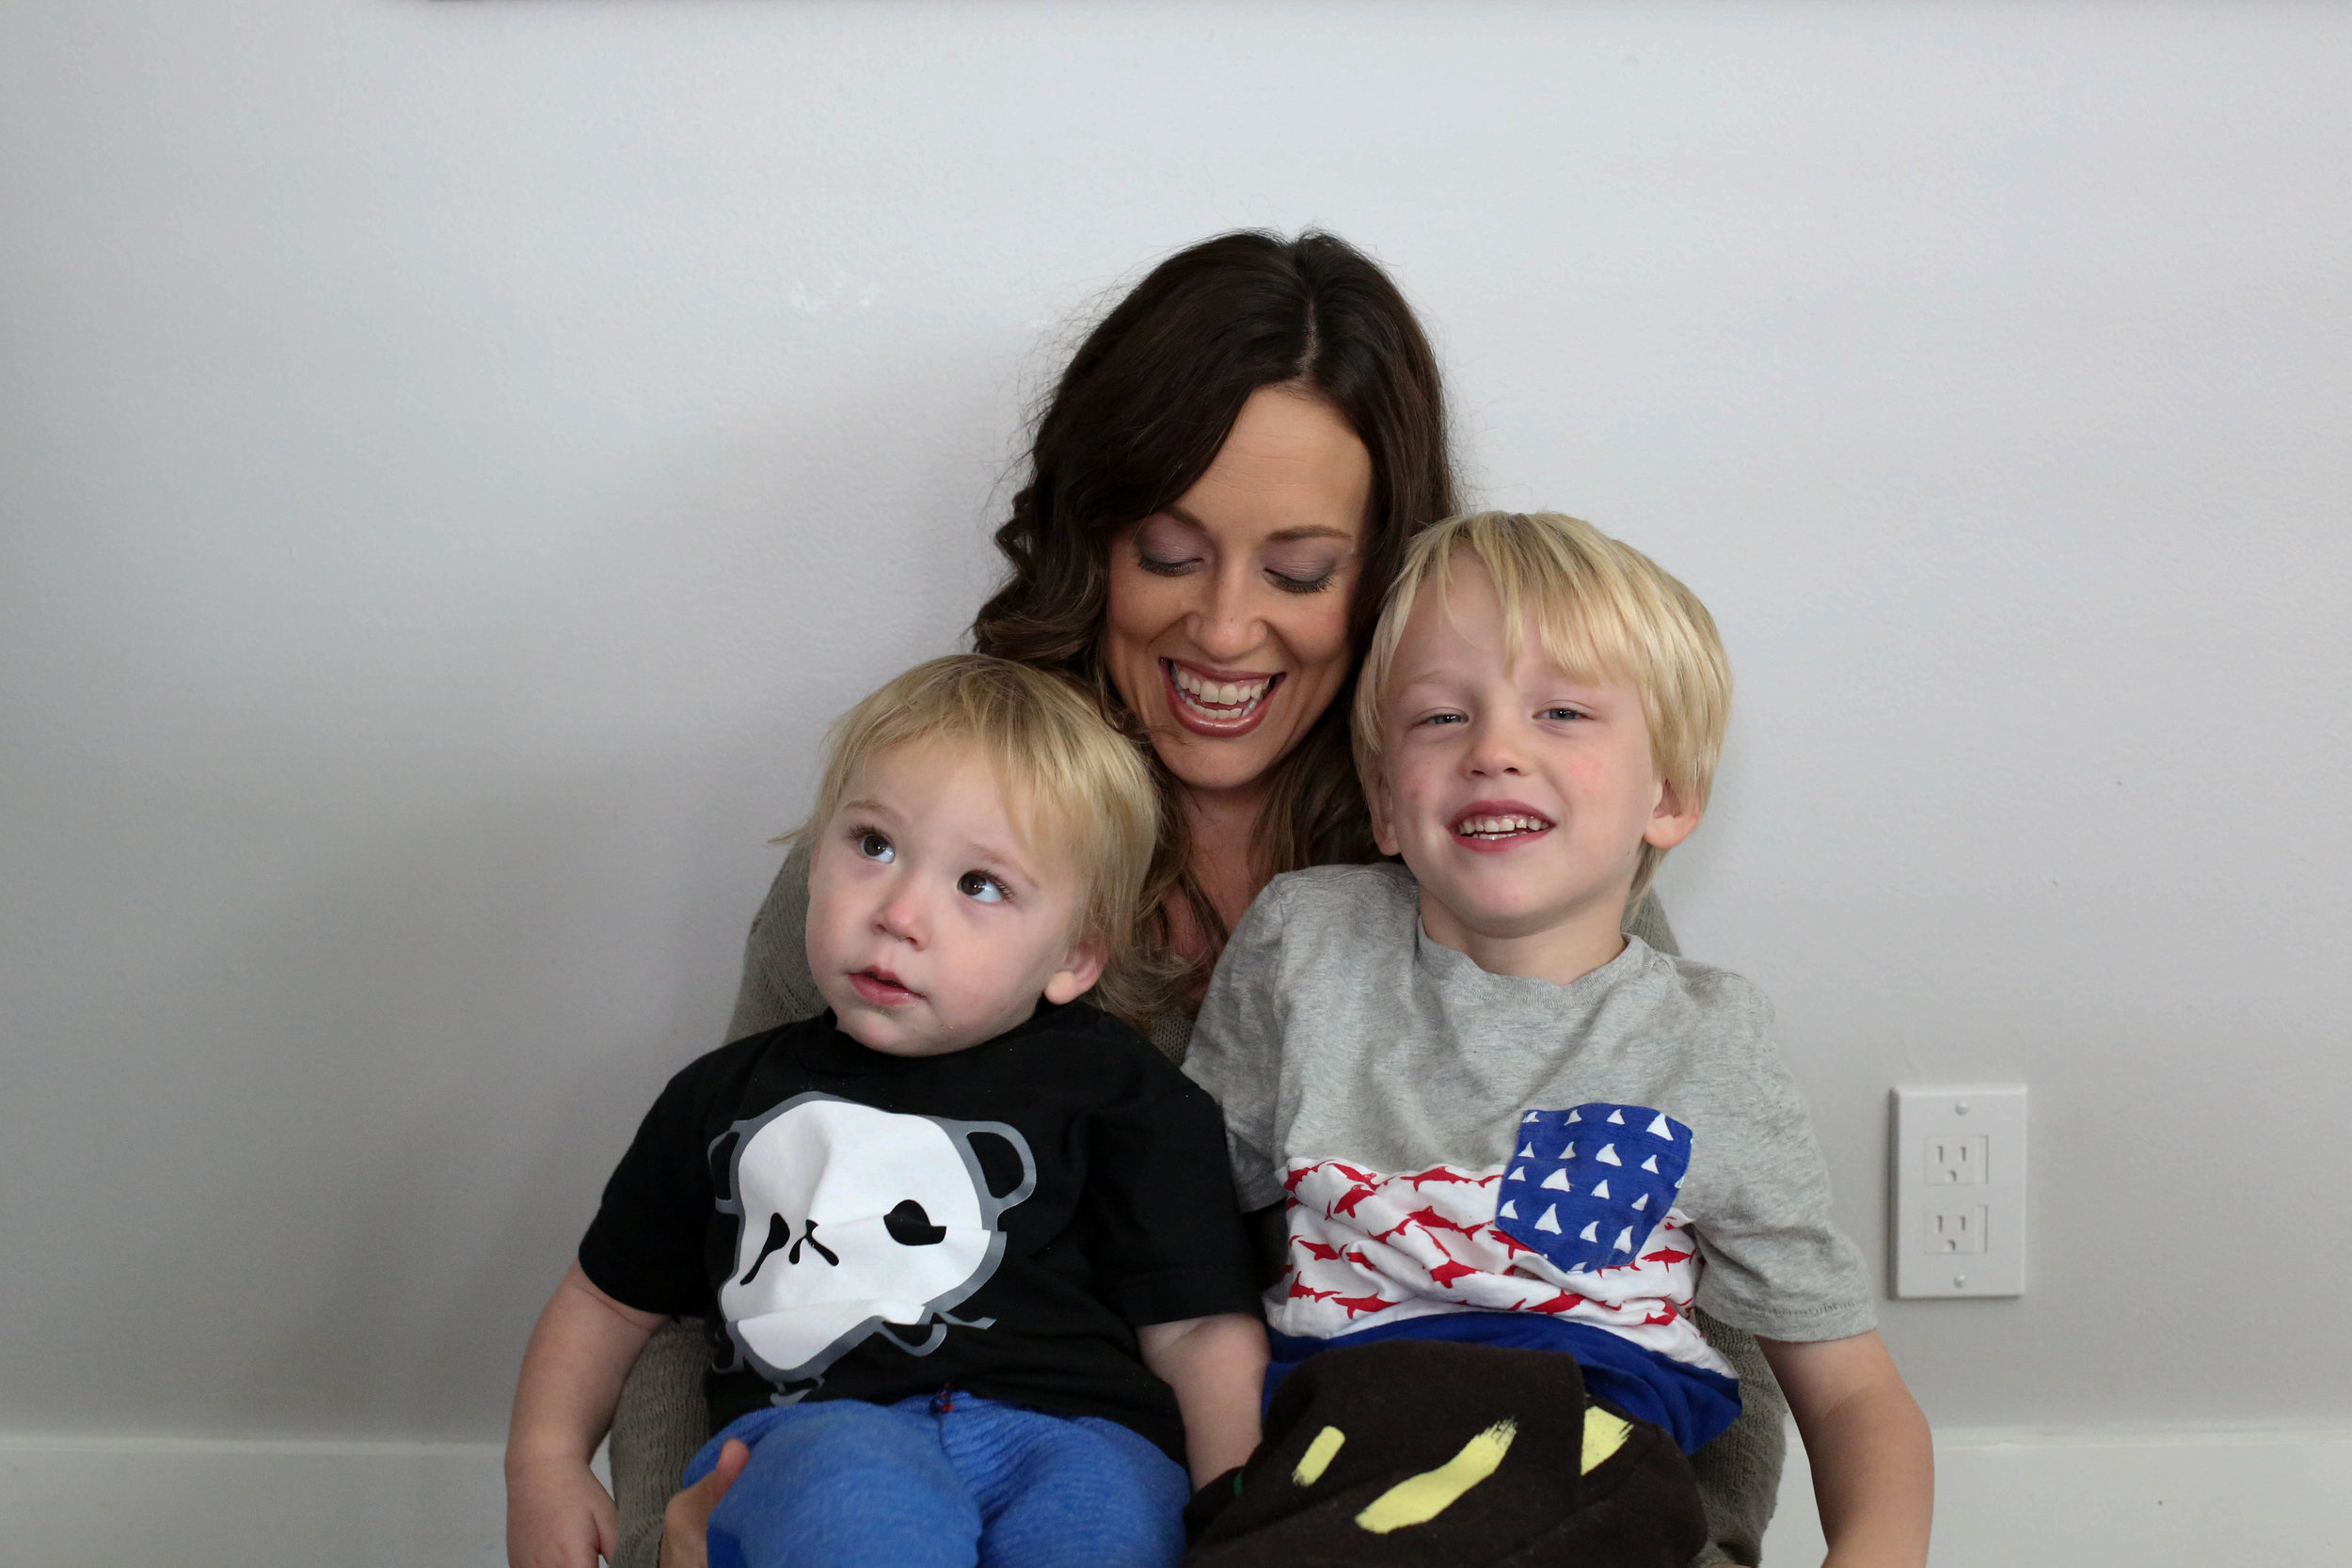
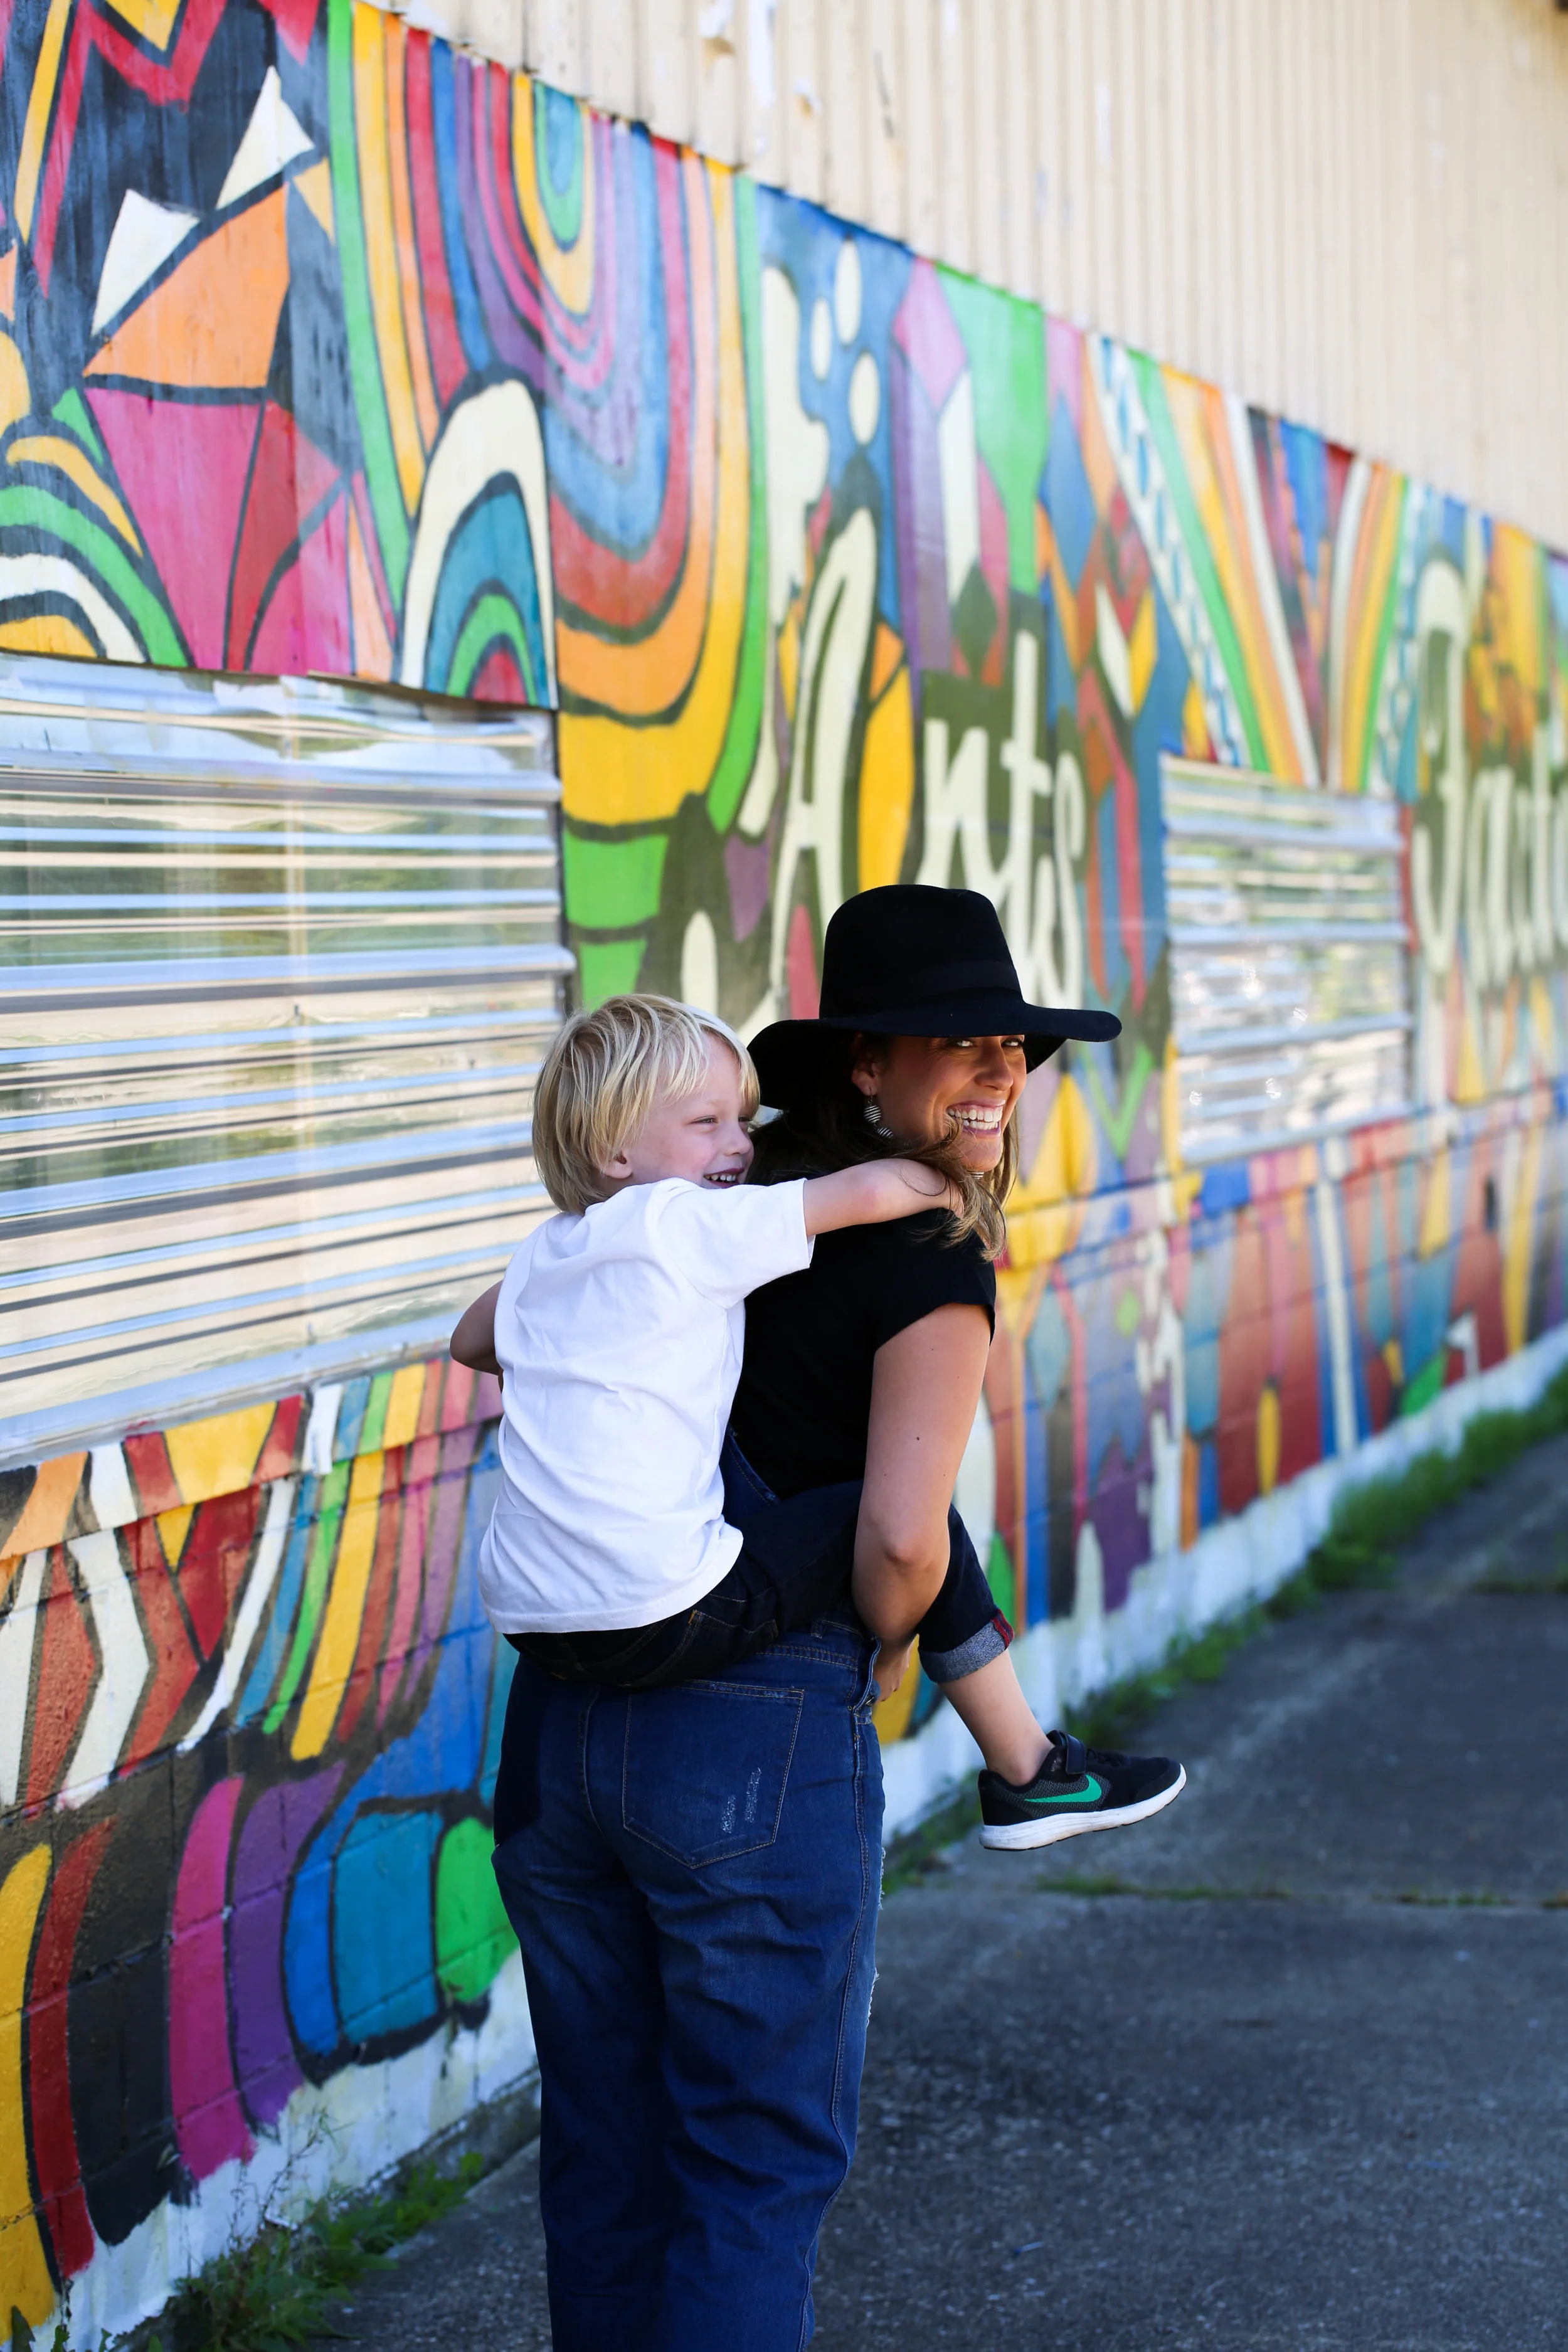
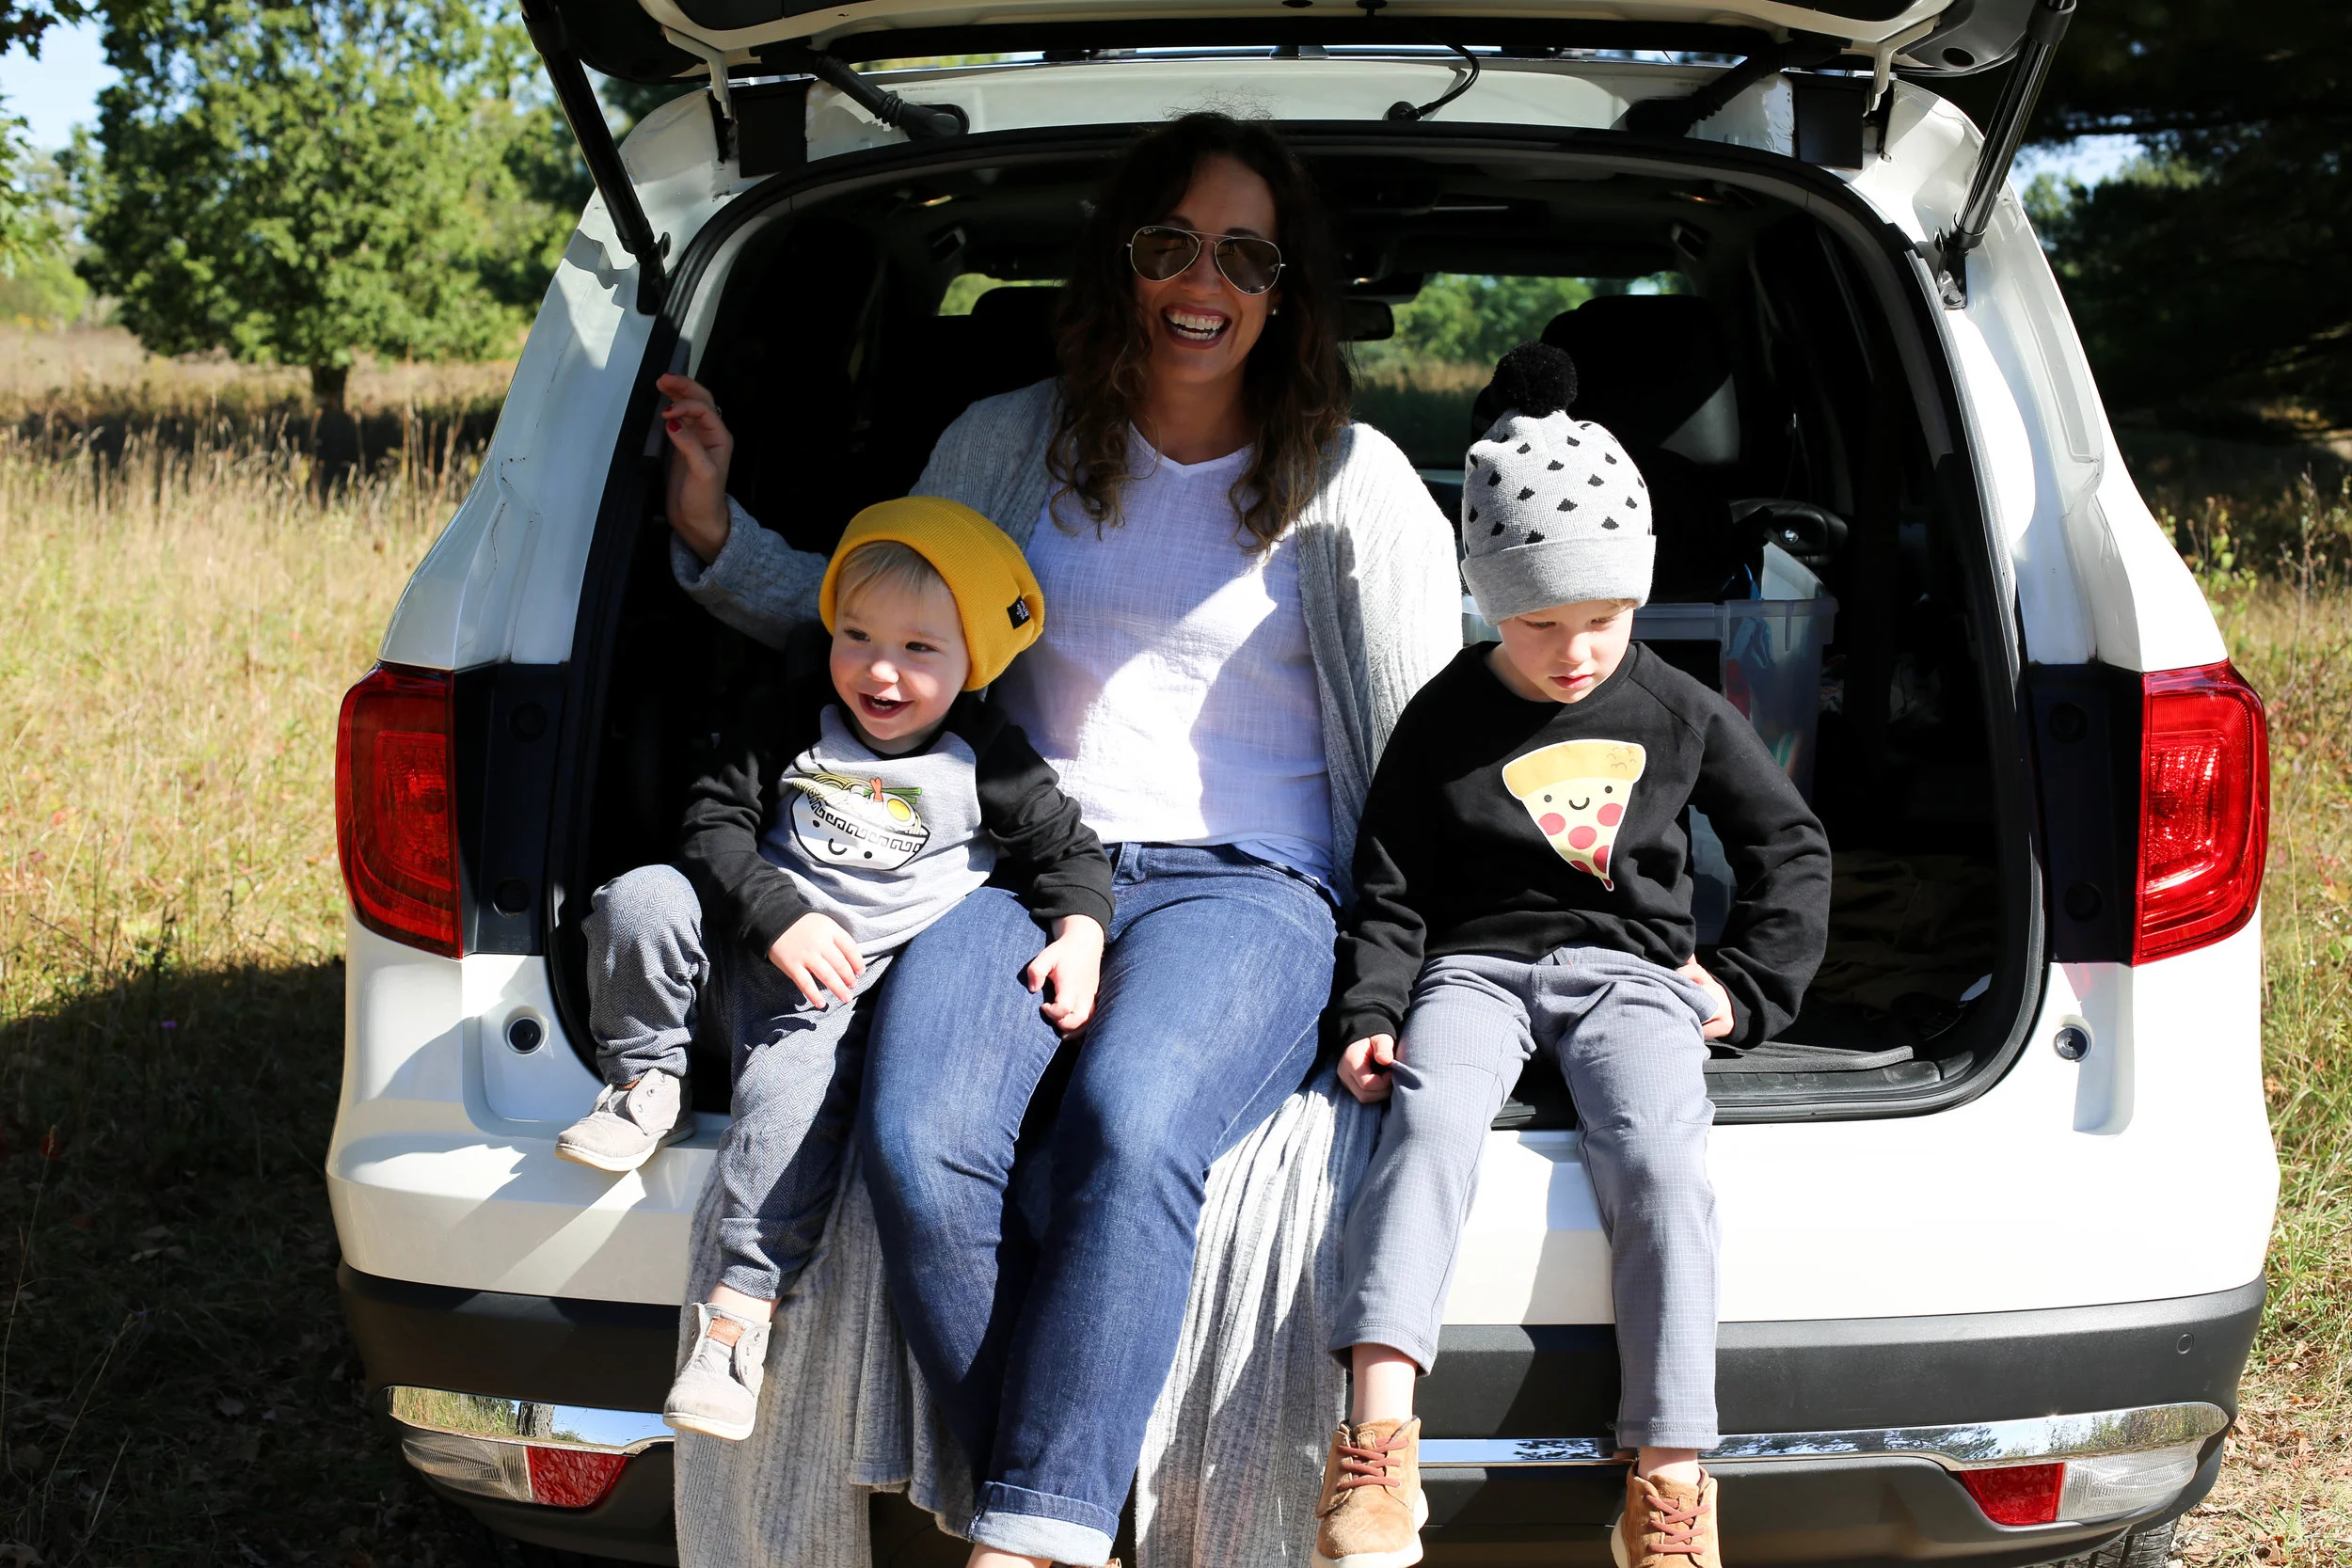
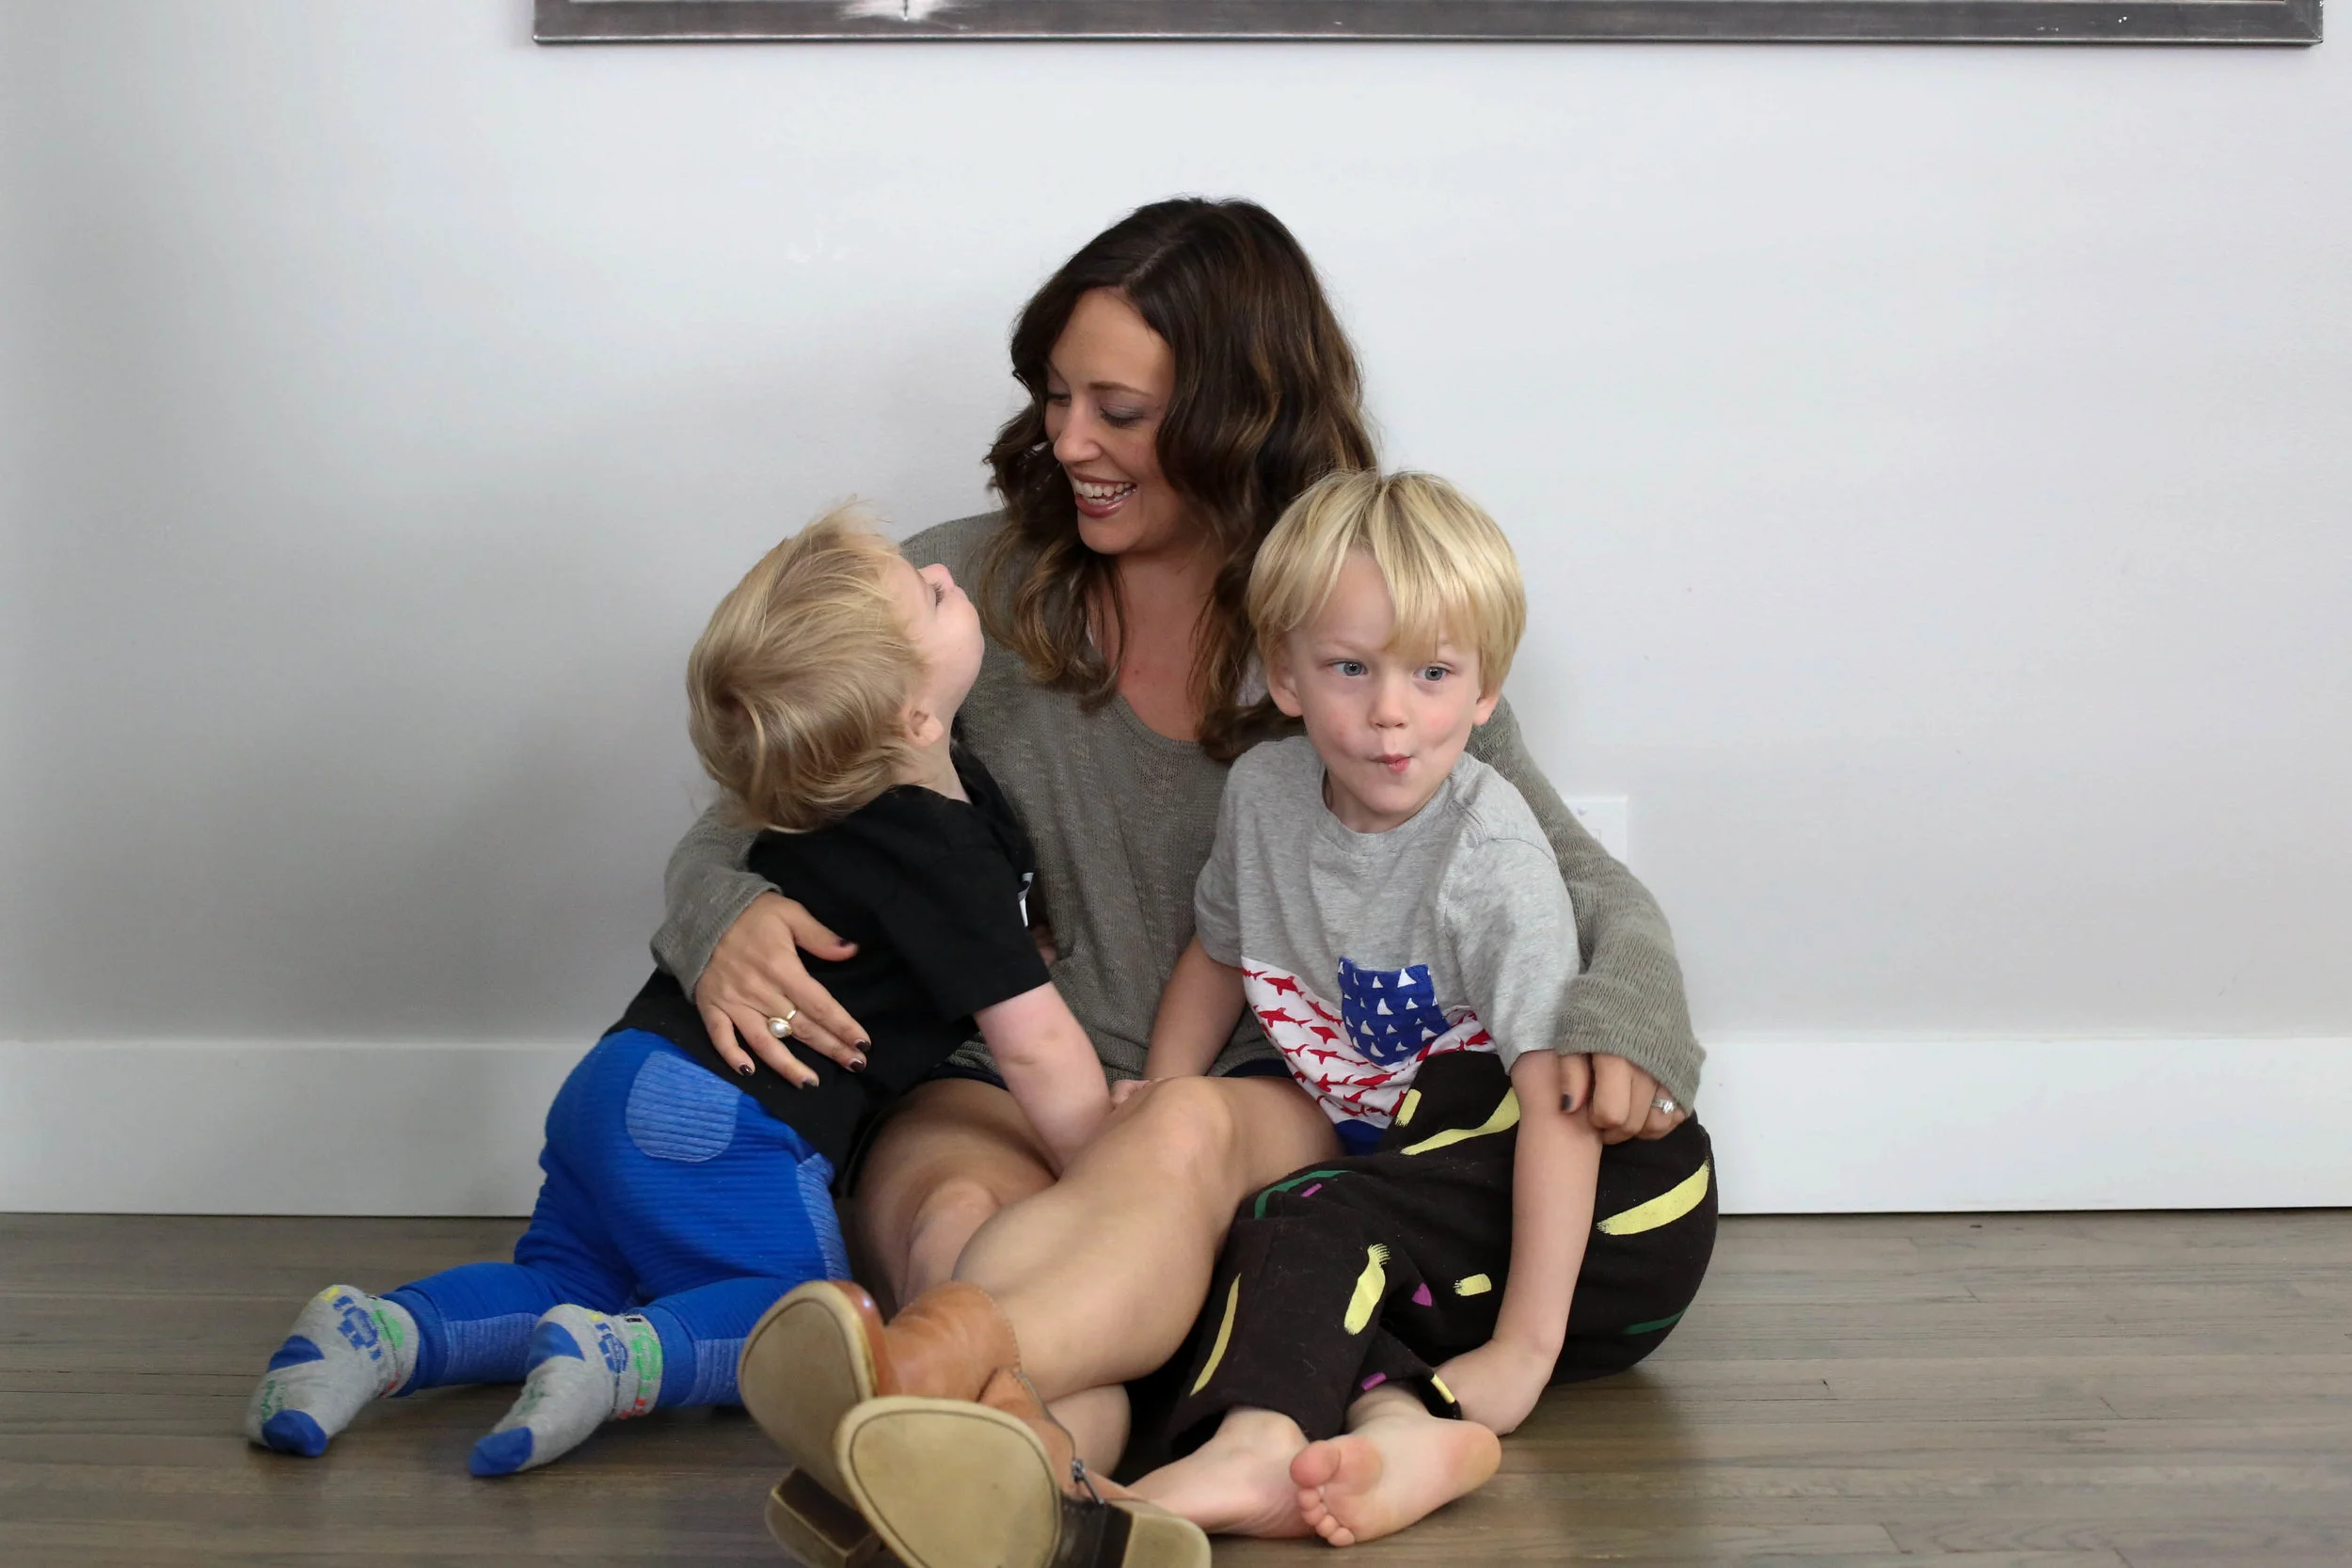
    To start, all my content is based around my family. I am constantly collecting content that has to do with us and what is REAL and true to us. Sure, sometimes I bribe the boys to get into a photo, but 90% of the time we just go with what we get. And yes, we take about a million photos to get just a few that work. But that’s all you need!

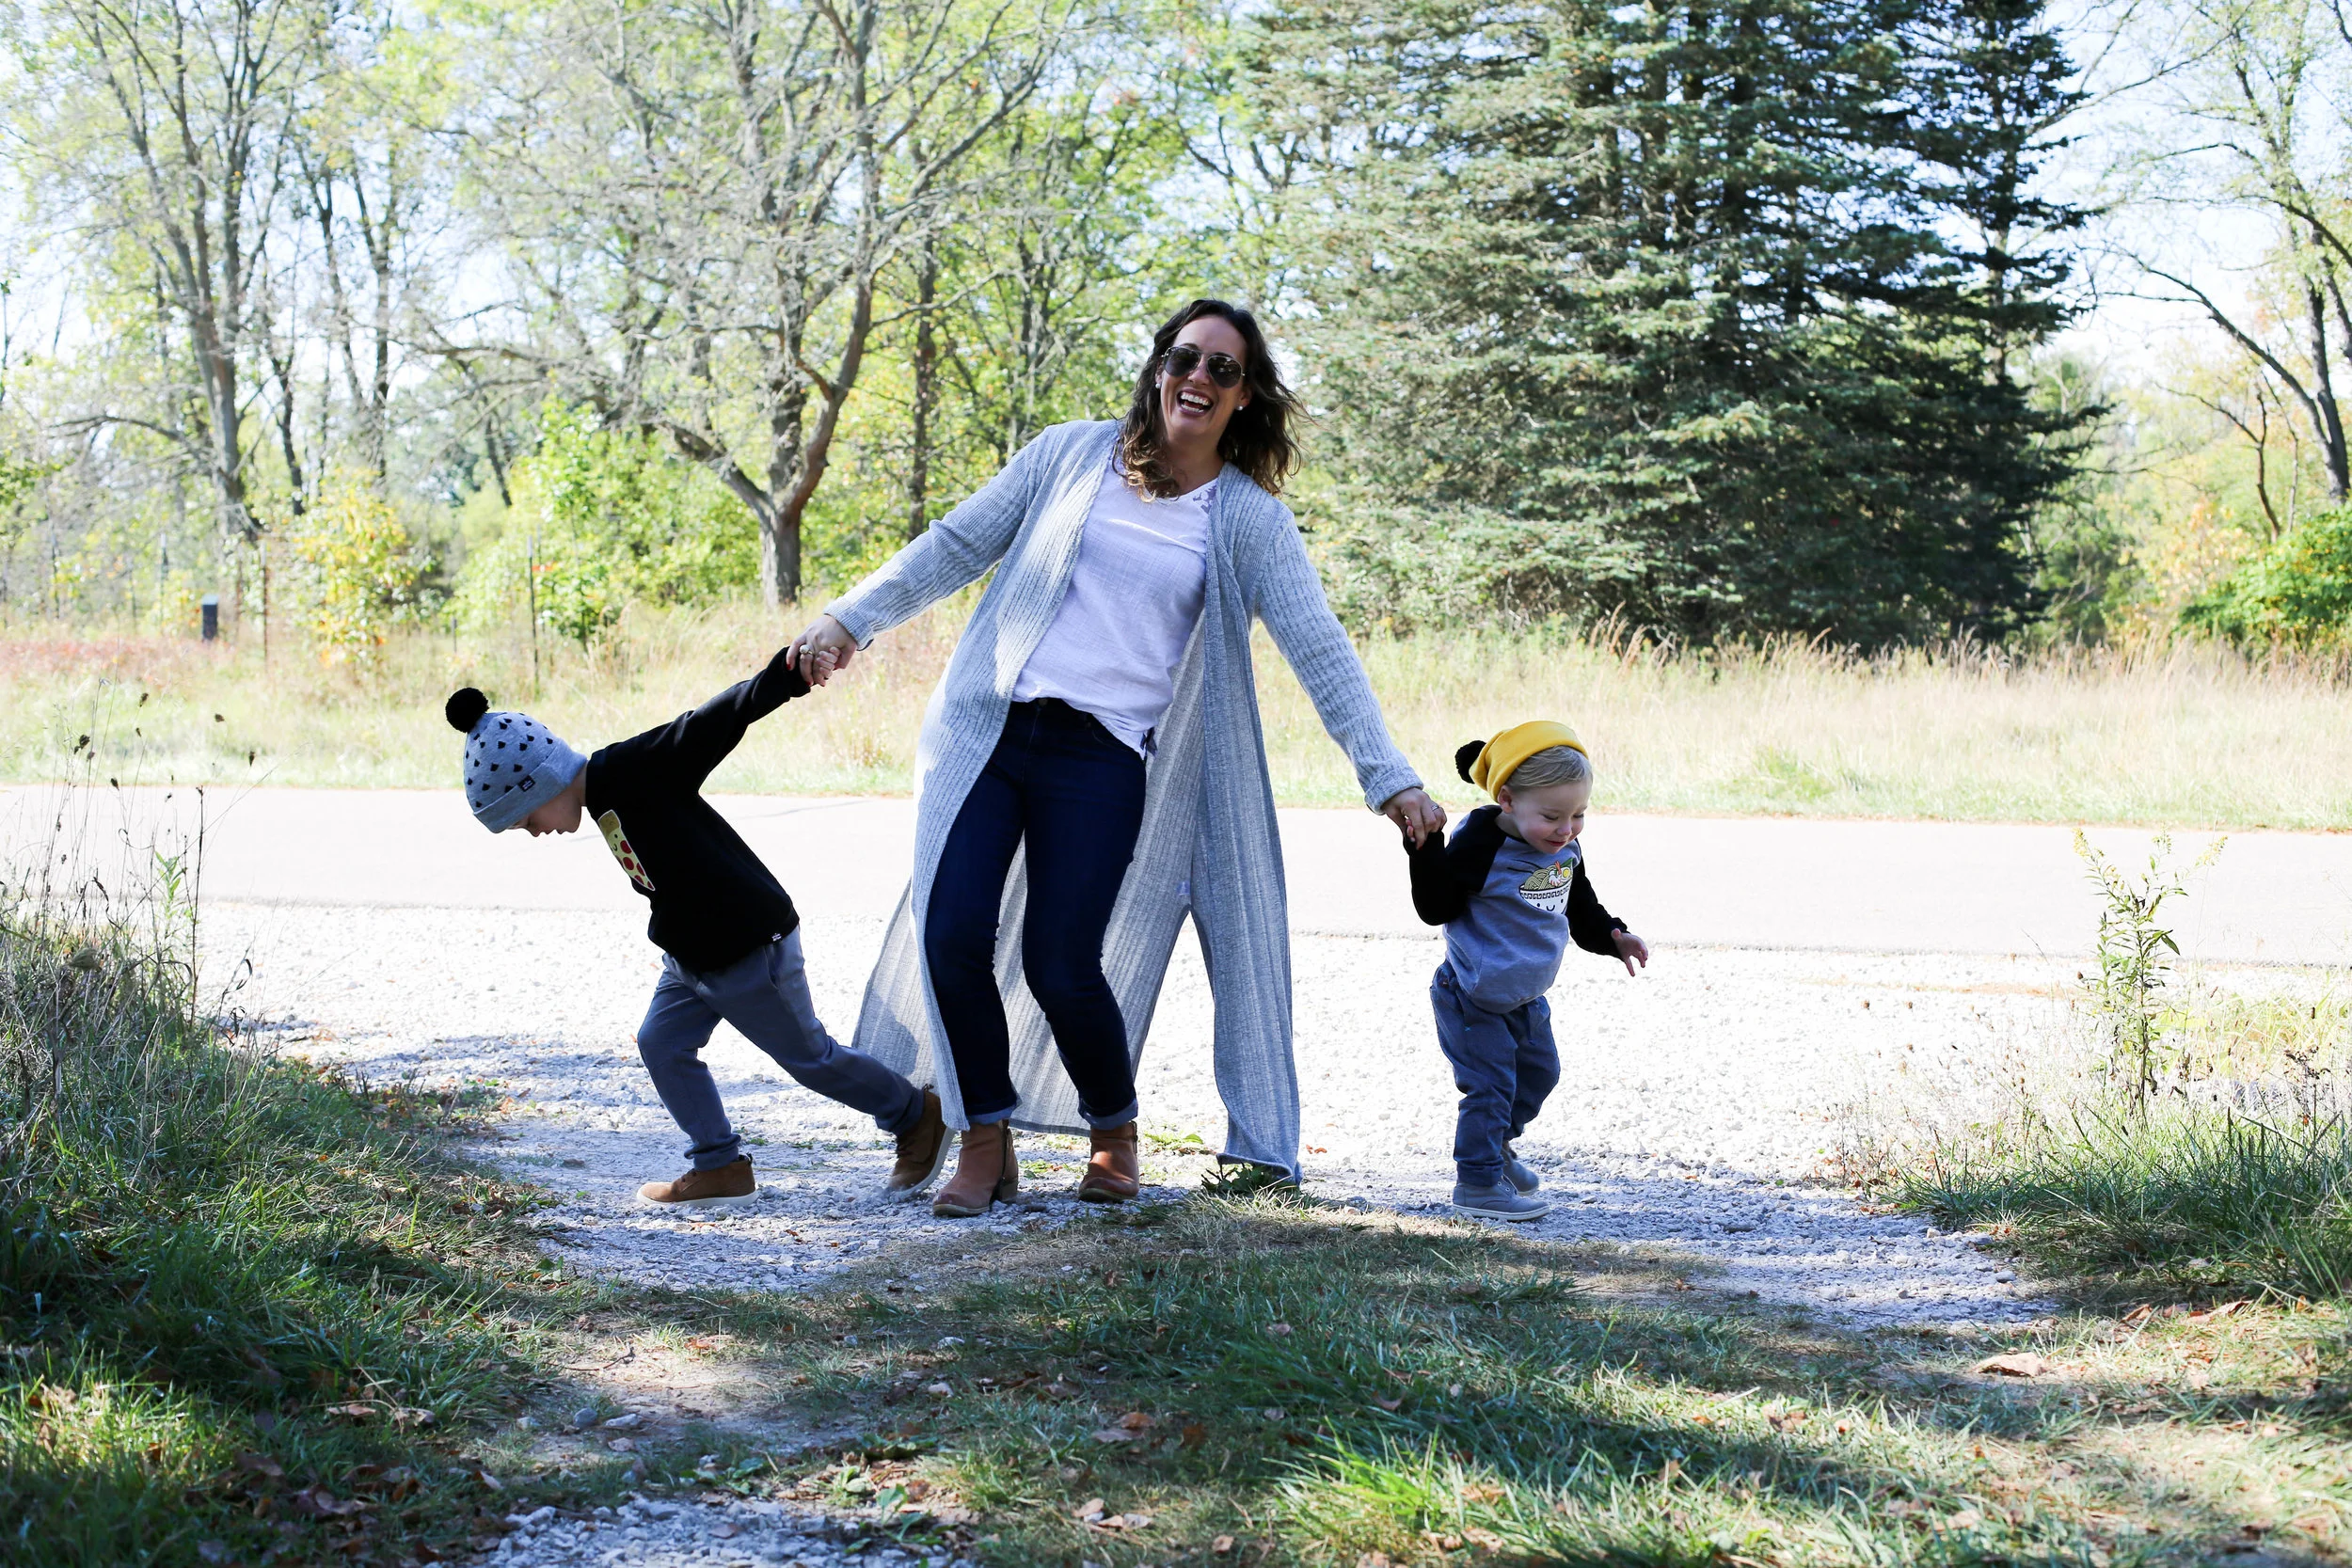
    I blog about two to three times a week. I would love to be able to put out new content five days a week, but that just isn’t realistic for me. I need to be able to work and spend quality time with my dudes, just being their mom. So three days a week if it’s a good week and two otherwise. But with that being said if we’ve got a lot of crazy things going on in life and blogging just isn’t happening as consistently as we’d like. I always chose motherhood first hence the reason I had very few posts in the month of August. And we definitely feel it, it hurts. The numbers decline…but that’s ok.

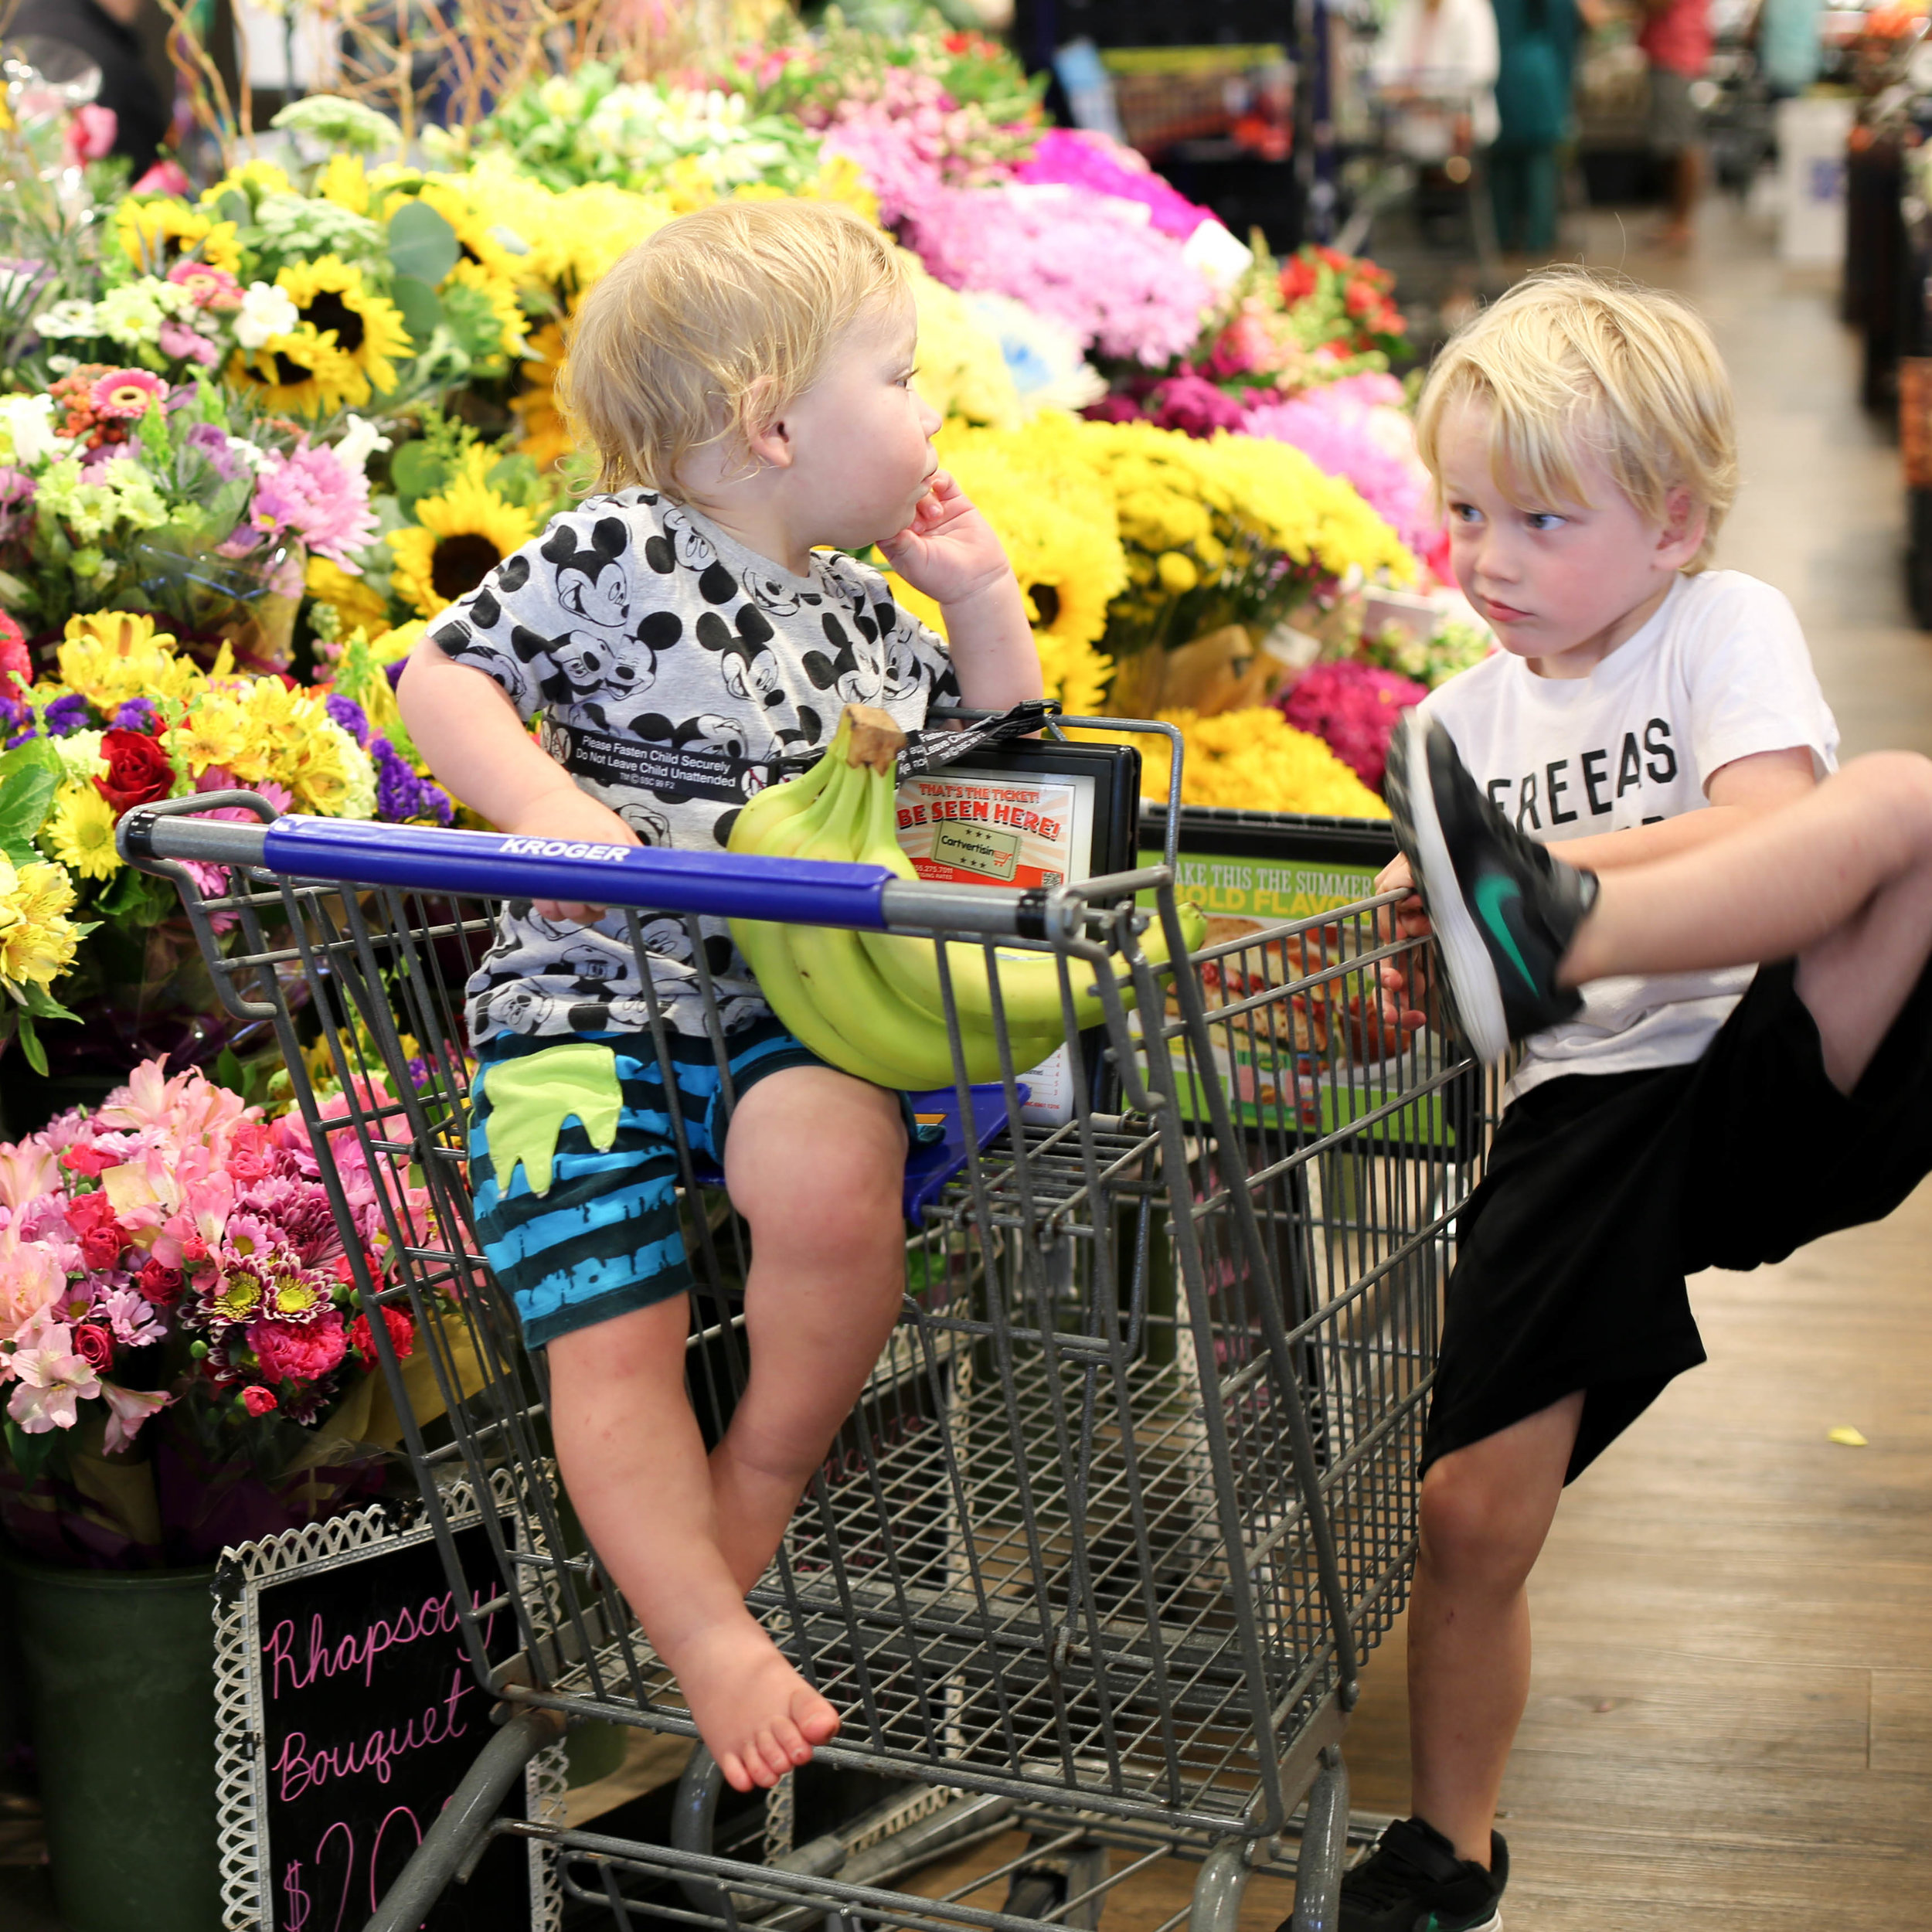
    When it comes to Instagram I post there 5 to 6 times a week. Lately I’ve been posting only during the week and trying to keep my weekends IG free. Not so sure how that helps with their algorithm, but I am not going to stress about it. At the end of the day we know that these social platforms are businesses, and in order to “be seen” you have to pay to play…and for me, that simply is not authentic.

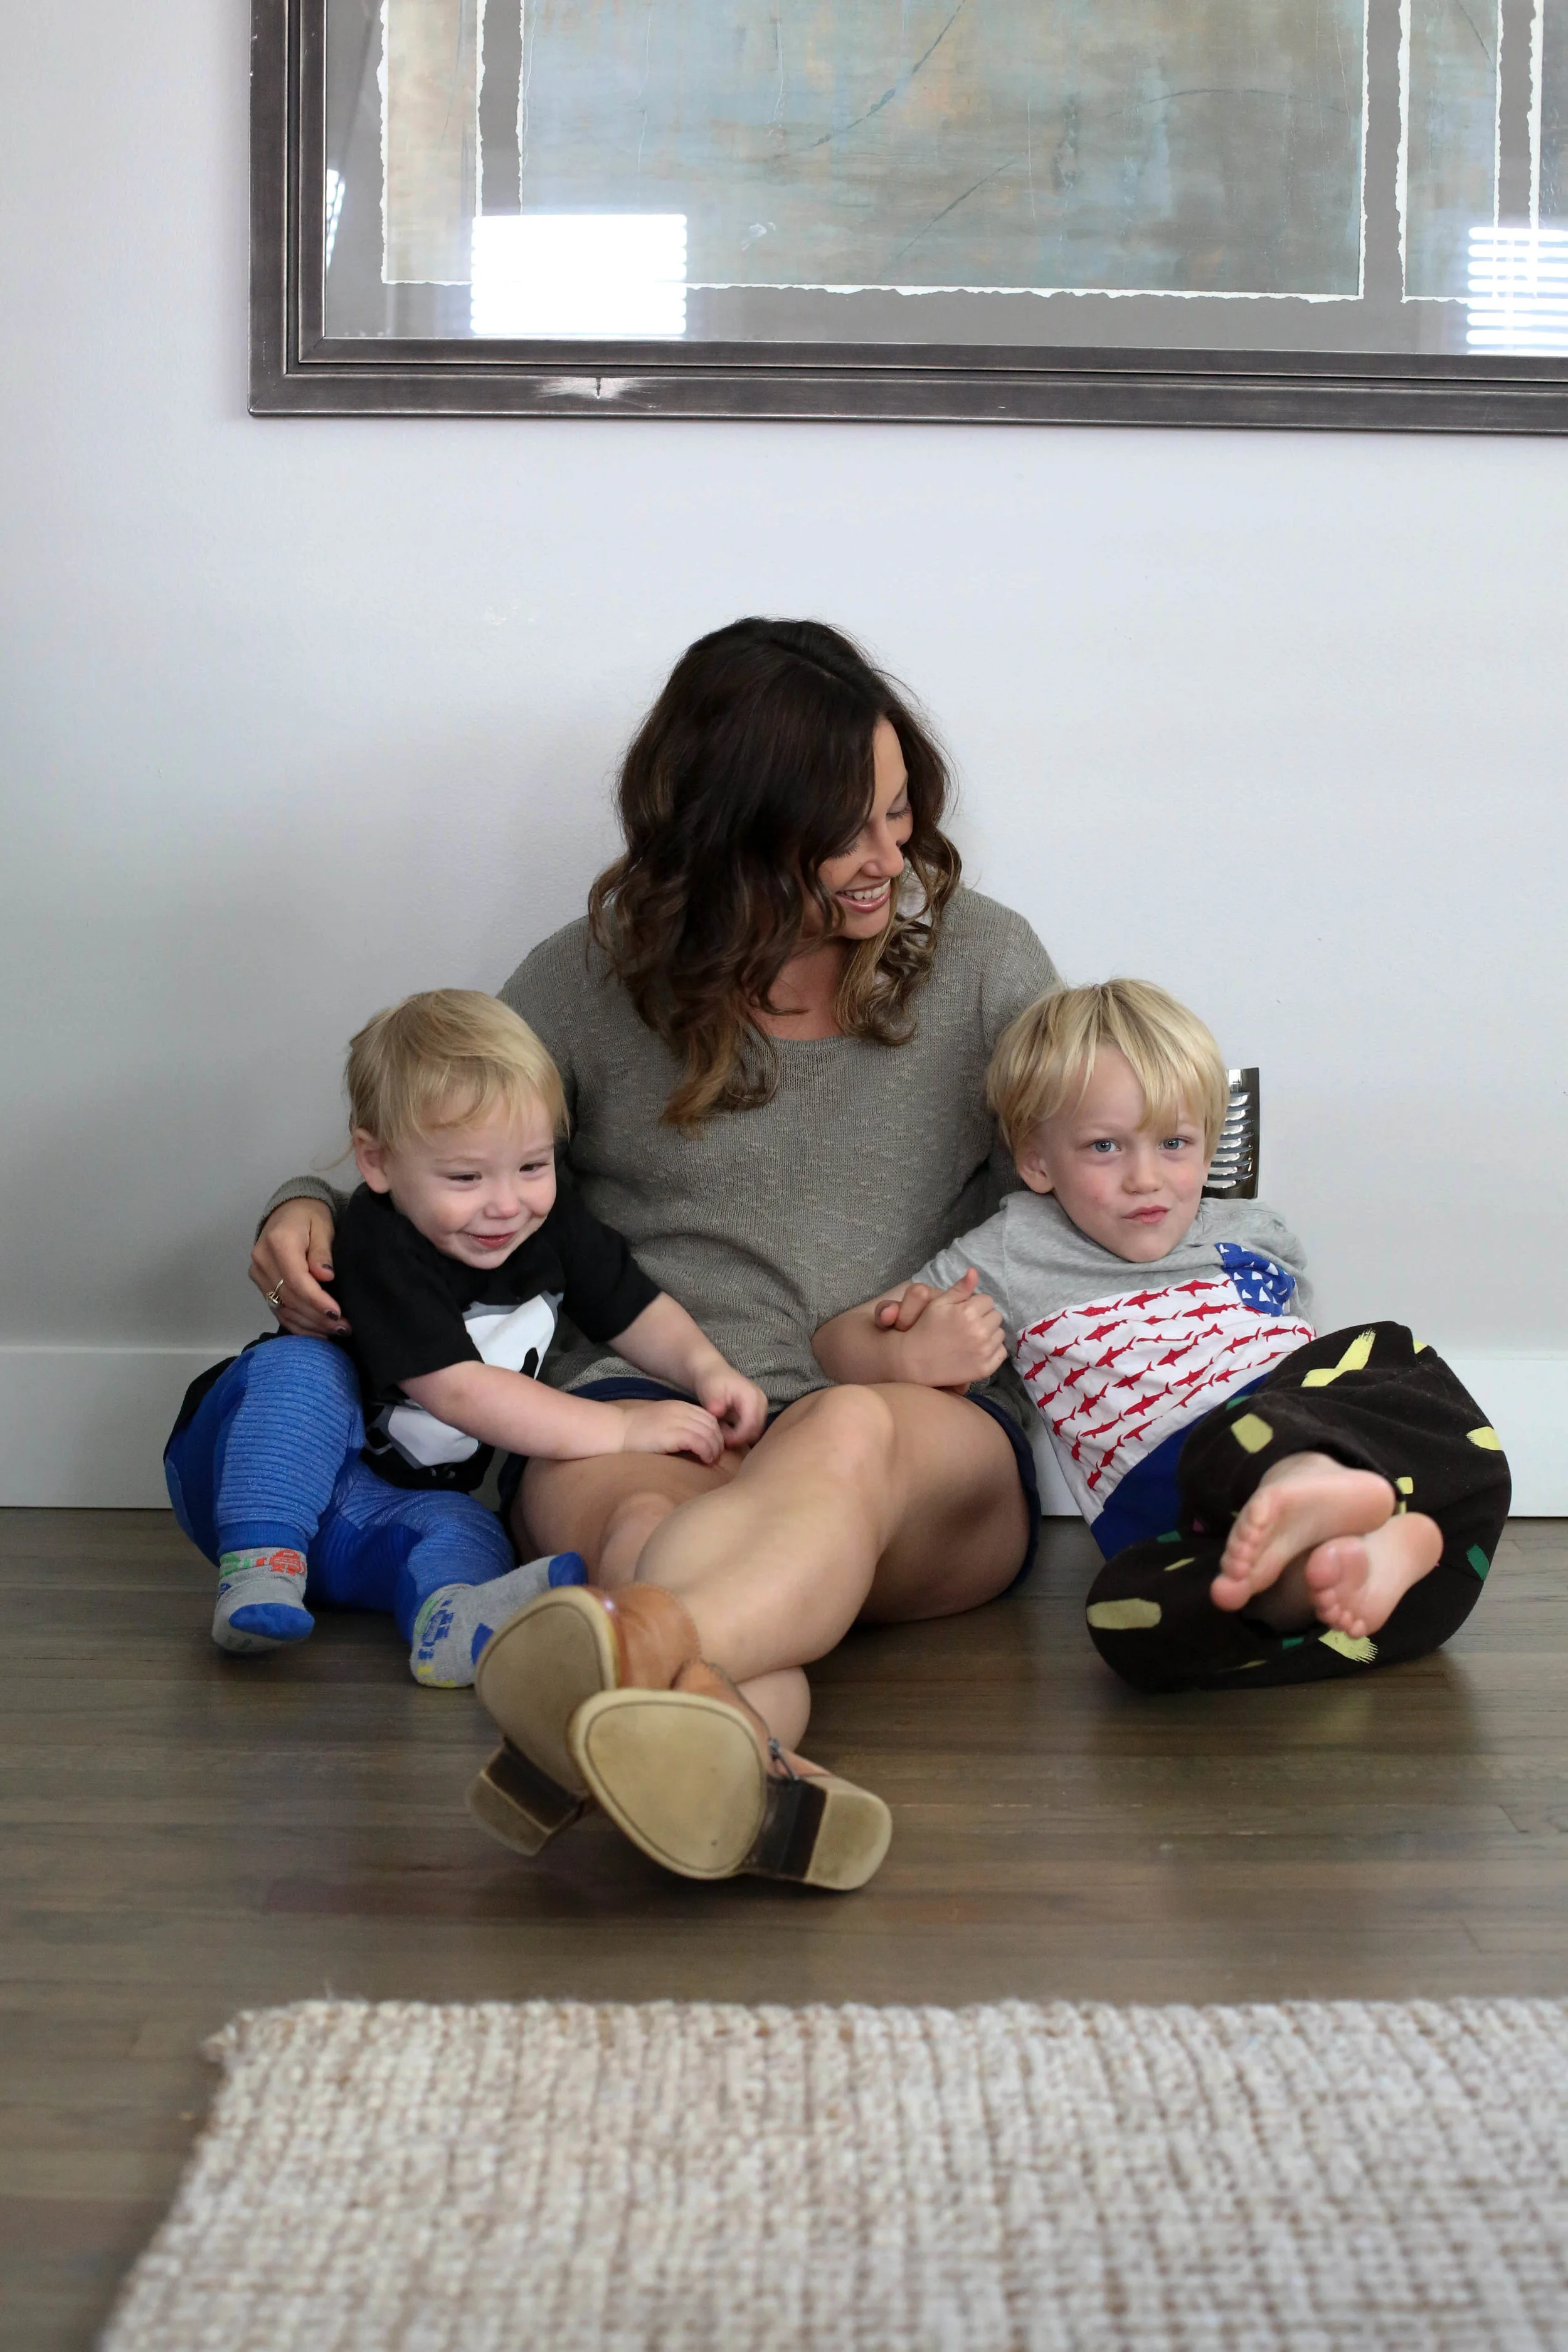
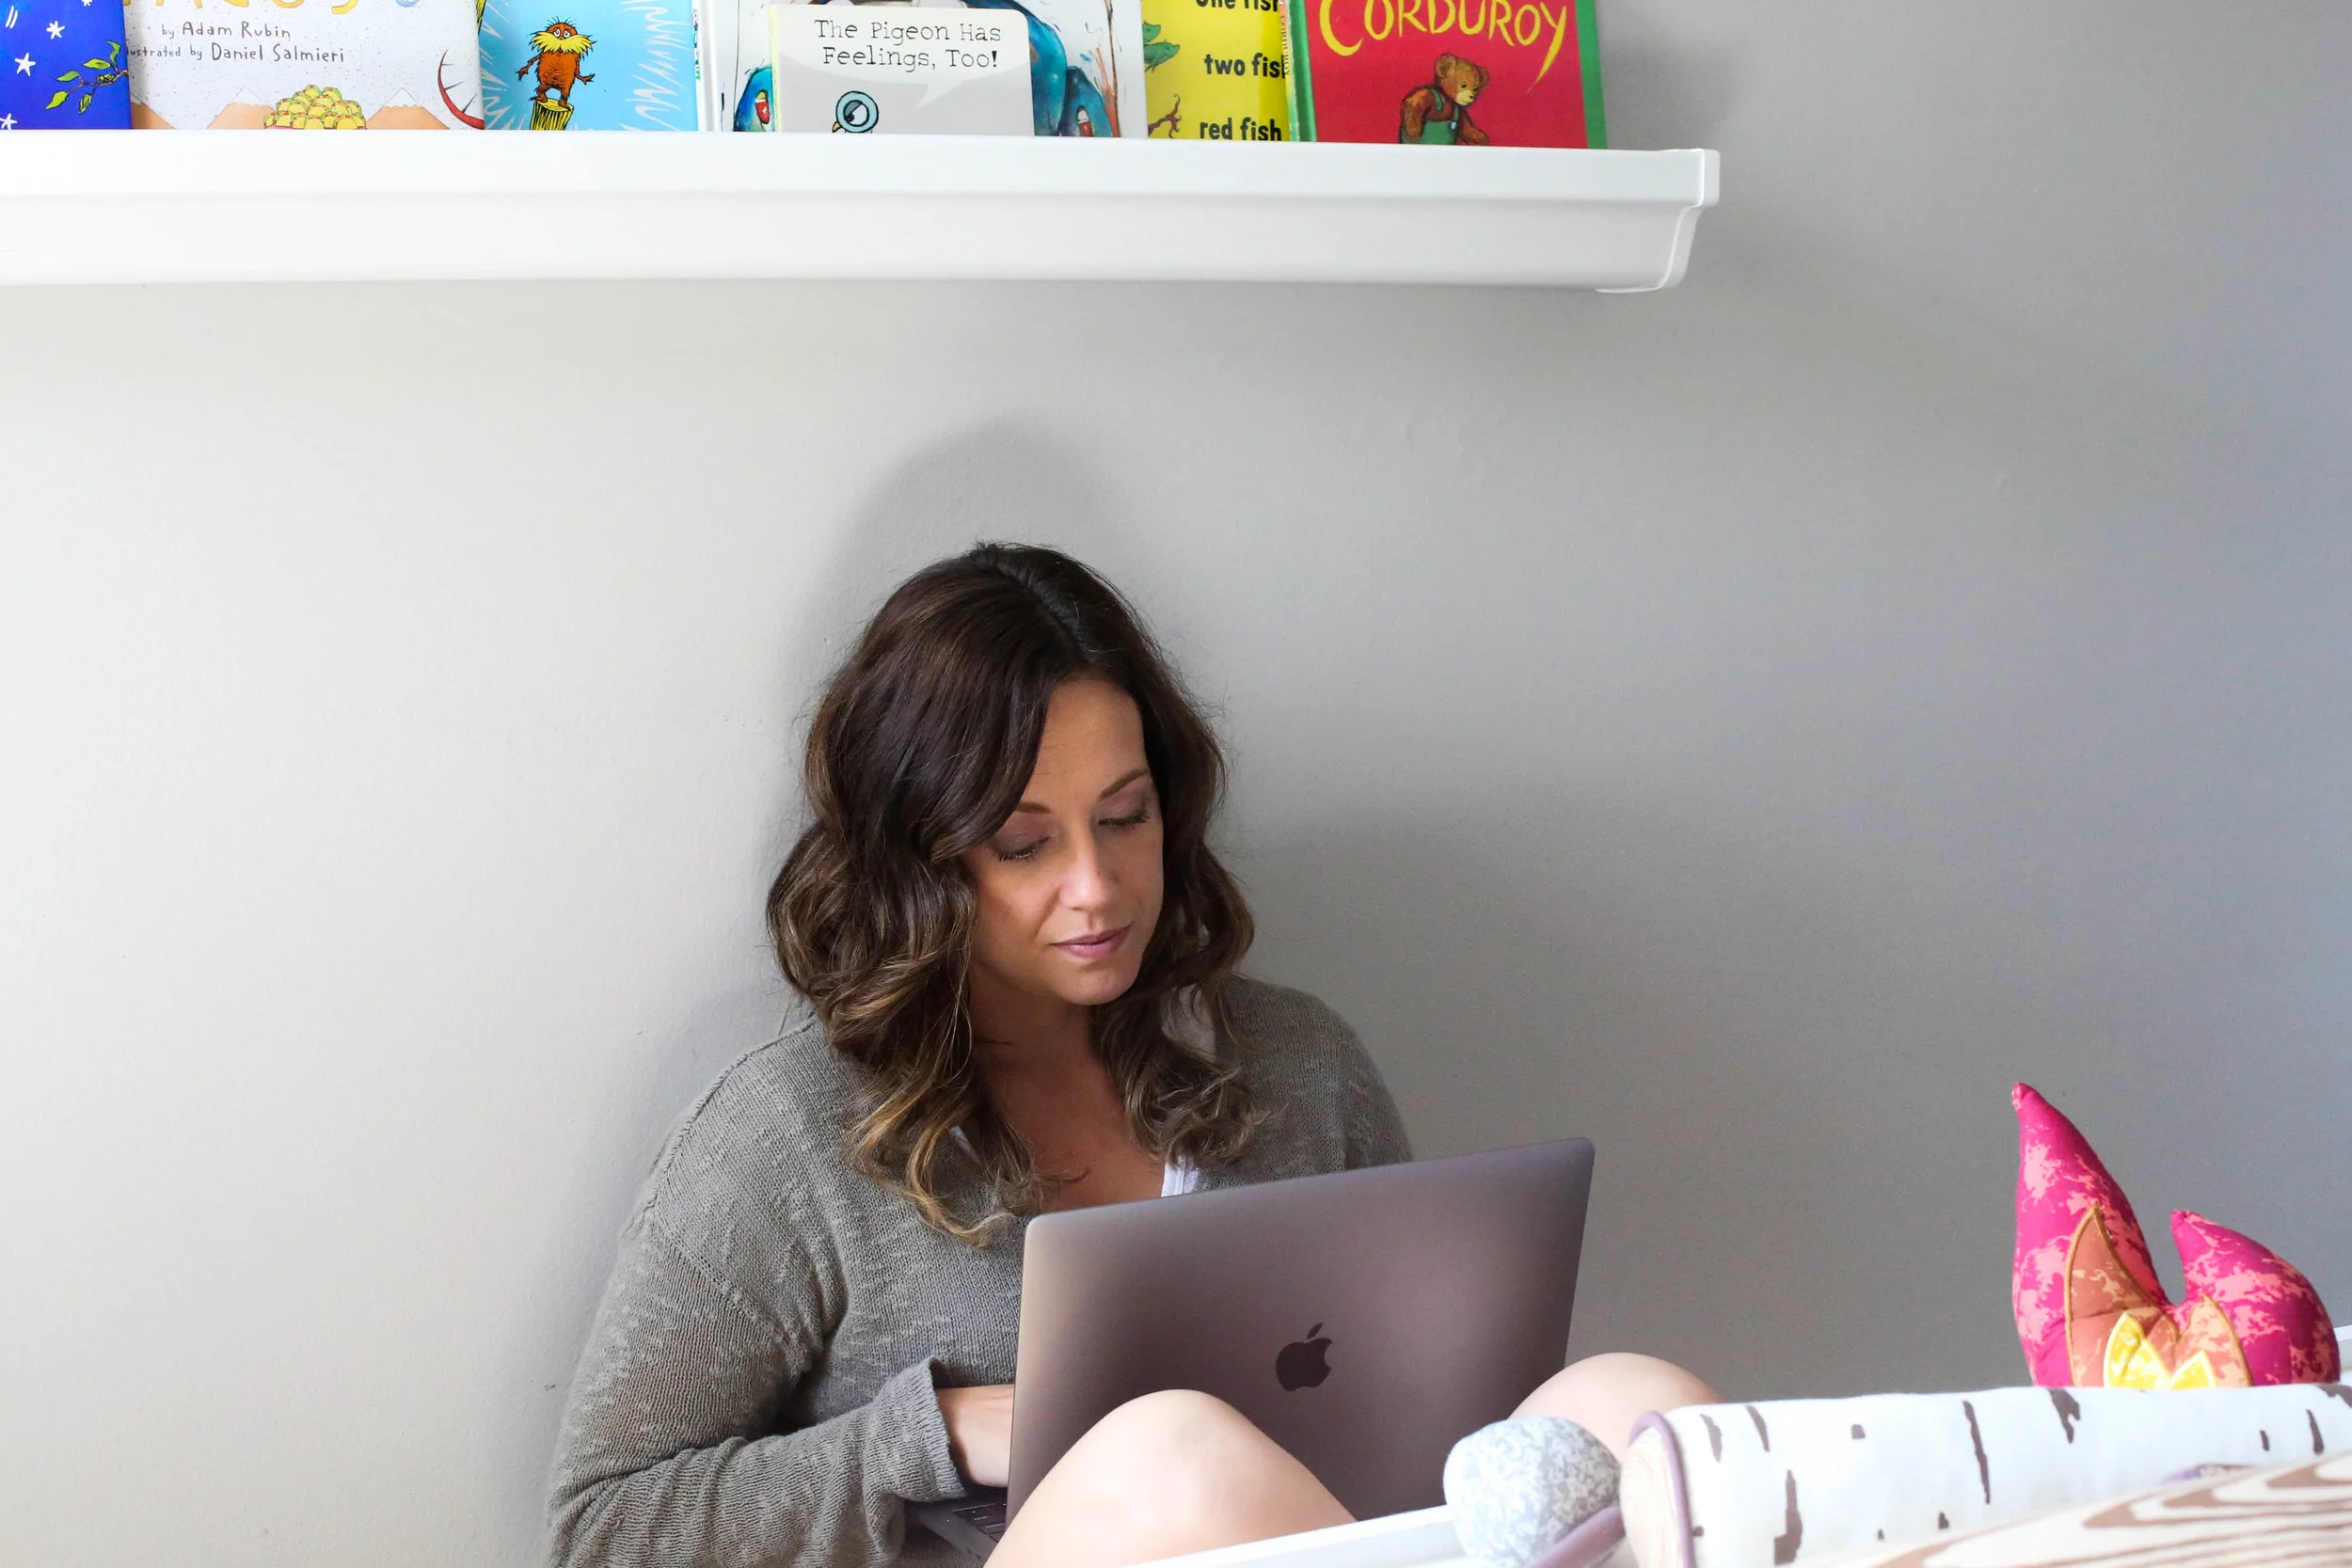
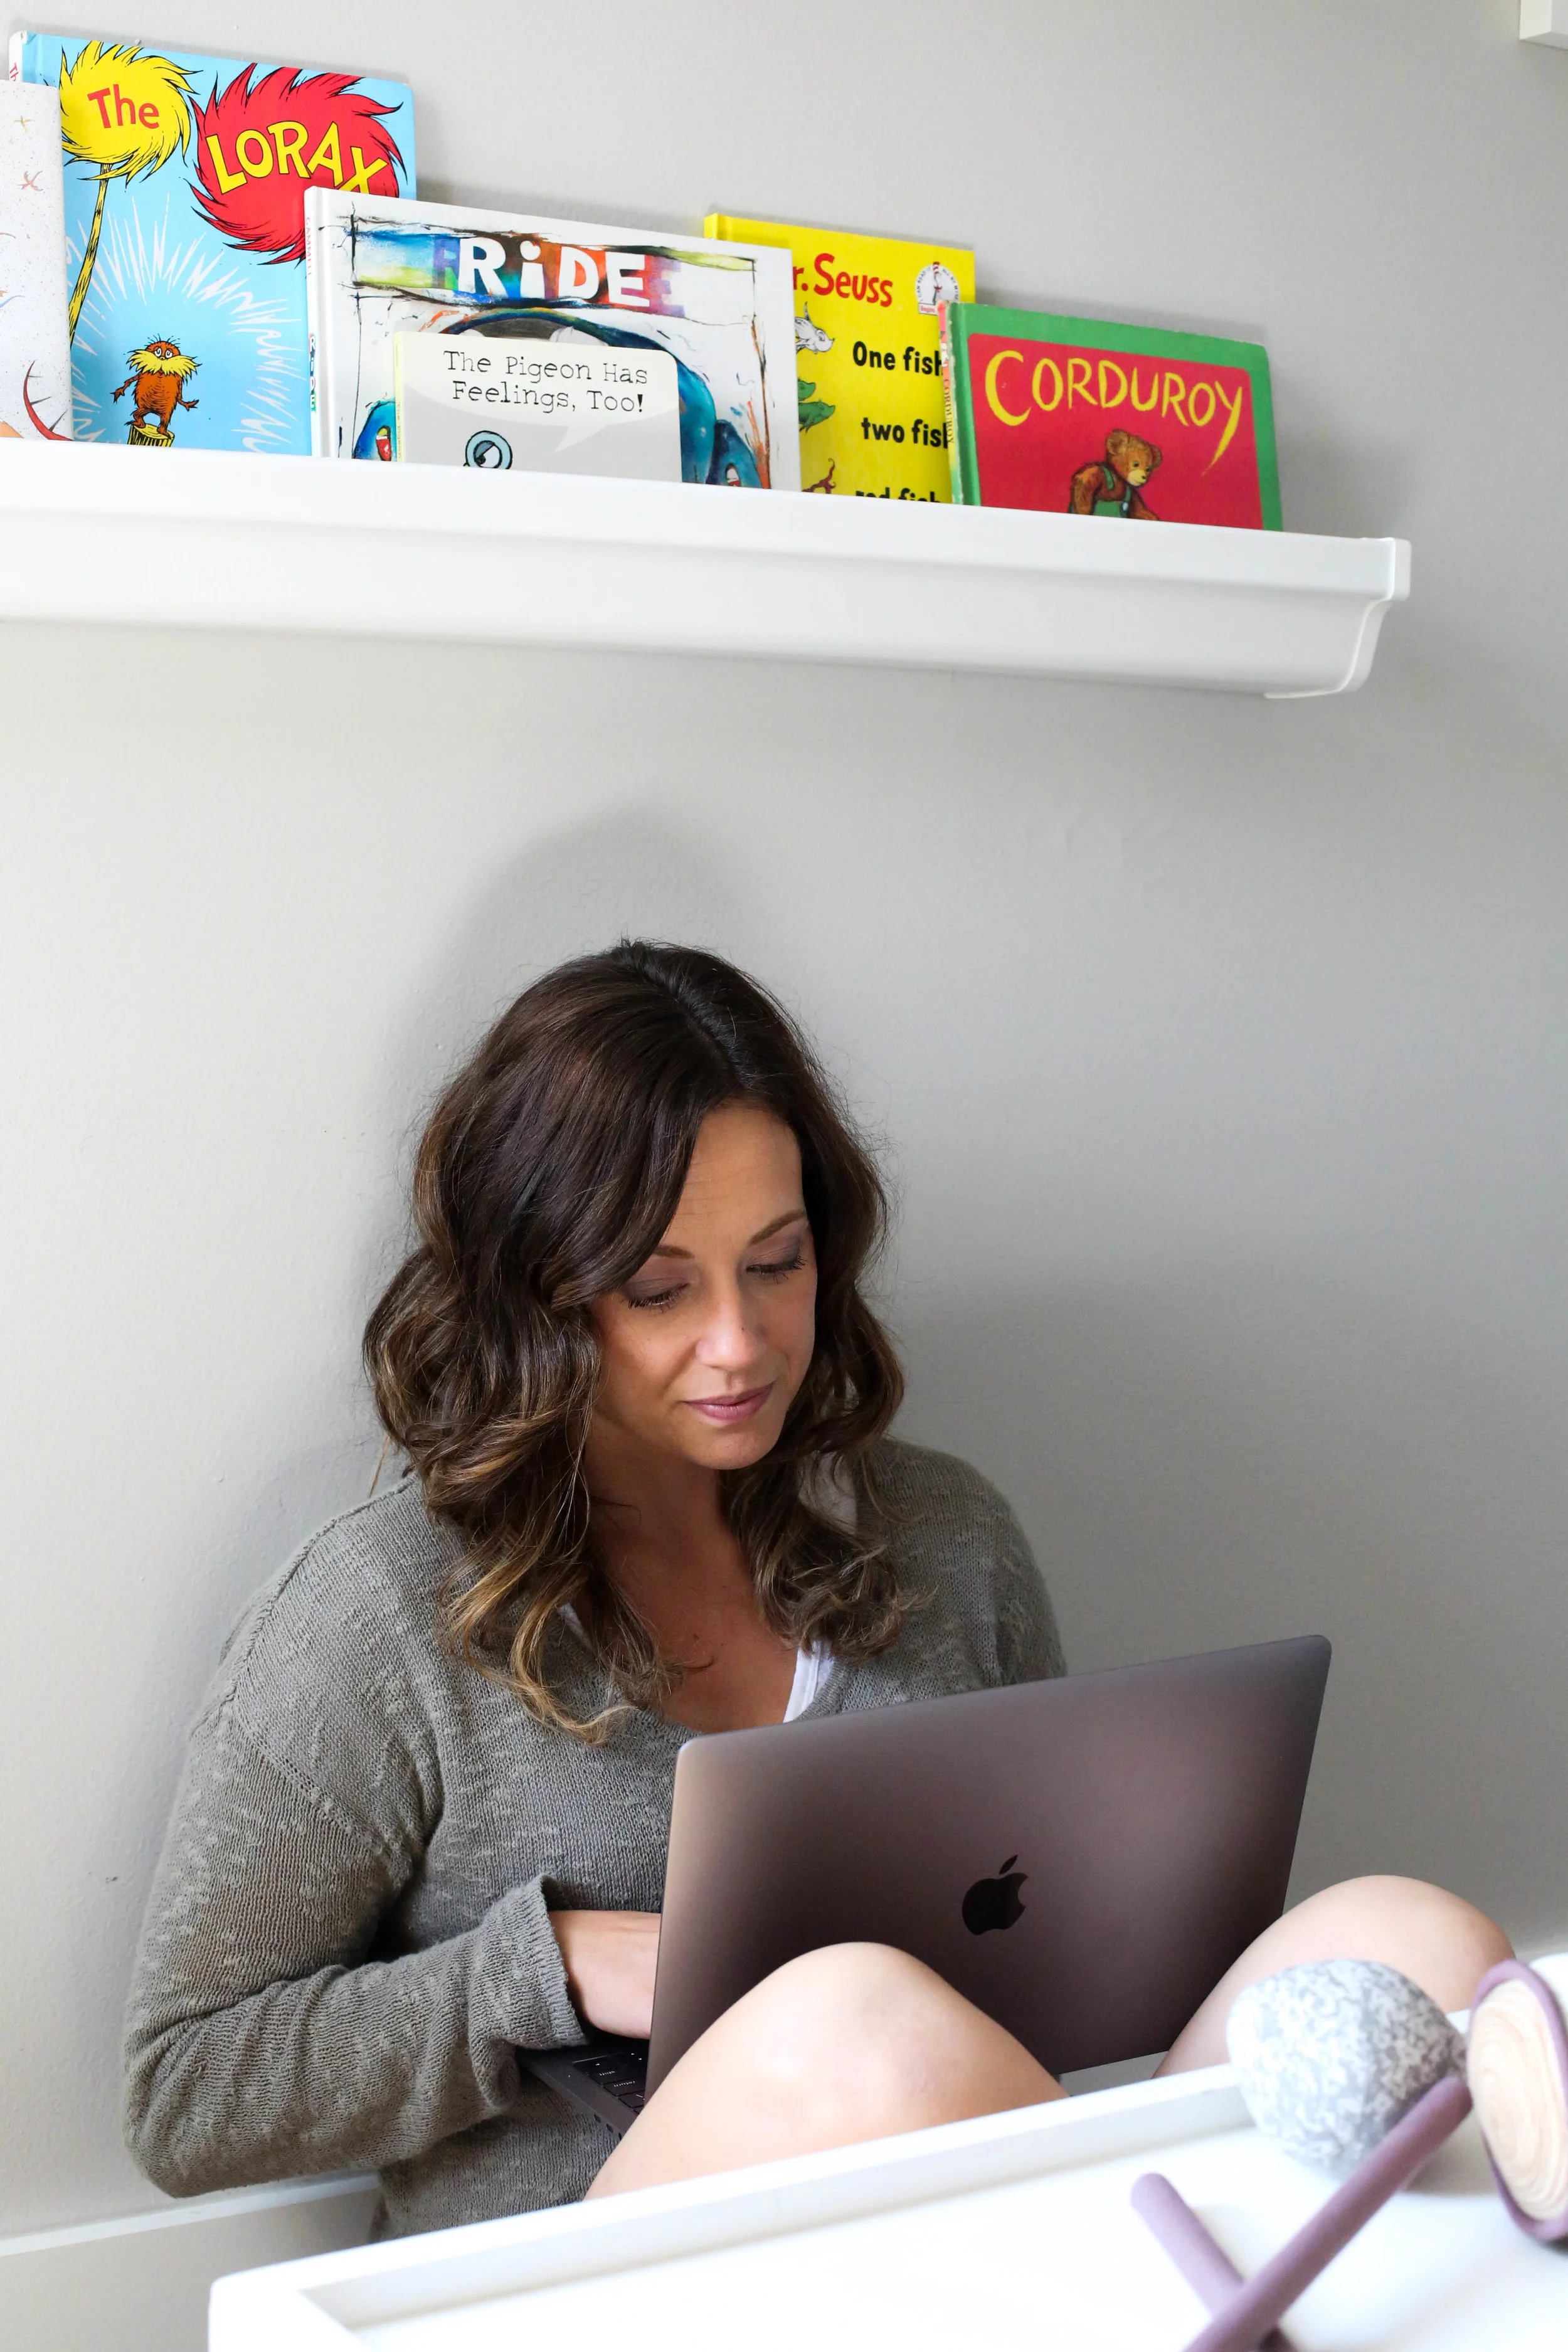
    Early mornings, late nights and nap time tend to be my blogging time. I find that I am really an early riser when it comes to working. For a long time I would power through things at night. But lately that’s just not working for me. I would much rather go to bed earlier and get up earlier to start my day out alone. Yes, I totally come downstairs and write in complete silence with coffee and it’s wonderful. Nap time is tricky. I usually use this time to engage with social media, since only Ziggy naps. Enzo likes to enjoy his down time but he also enjoys that one-on-one time we get when ZIggy is sleeping. So I have to be careful to split the time. Because yes Instagram can bring me down a rabbit hole and sometimes feels like I’m never coming out ????I try to post when I know my readers and followers are on their phones too. But with most of my followers being fellow mamas I know their time is always fluctuating with what’s going on in their life!

    Time management is something I swear I am still struggling with. There are for sure days where I feel like I’ve got it all together like I said before. But others don’t seem to feel that way almost like time is just passing me by and I am not being effective with it at all. I have turned to planning out my time using an actual planner. I love love love the passion planner. In fact I did an entire blog post earlier in the year about it. Check it out if you’re in the need for something new! I try to schedule one major task a day. That way I can really have a focus when it comes to blogging. For example, one day I plan my Instagram, the next day is dedicated to planning for Facebook, the following day is dedicated to Pinterest and so forth. I schedule time to write, time to engage with my readers/followers and time to do everyday life things. For me planning my time is essential to my success.

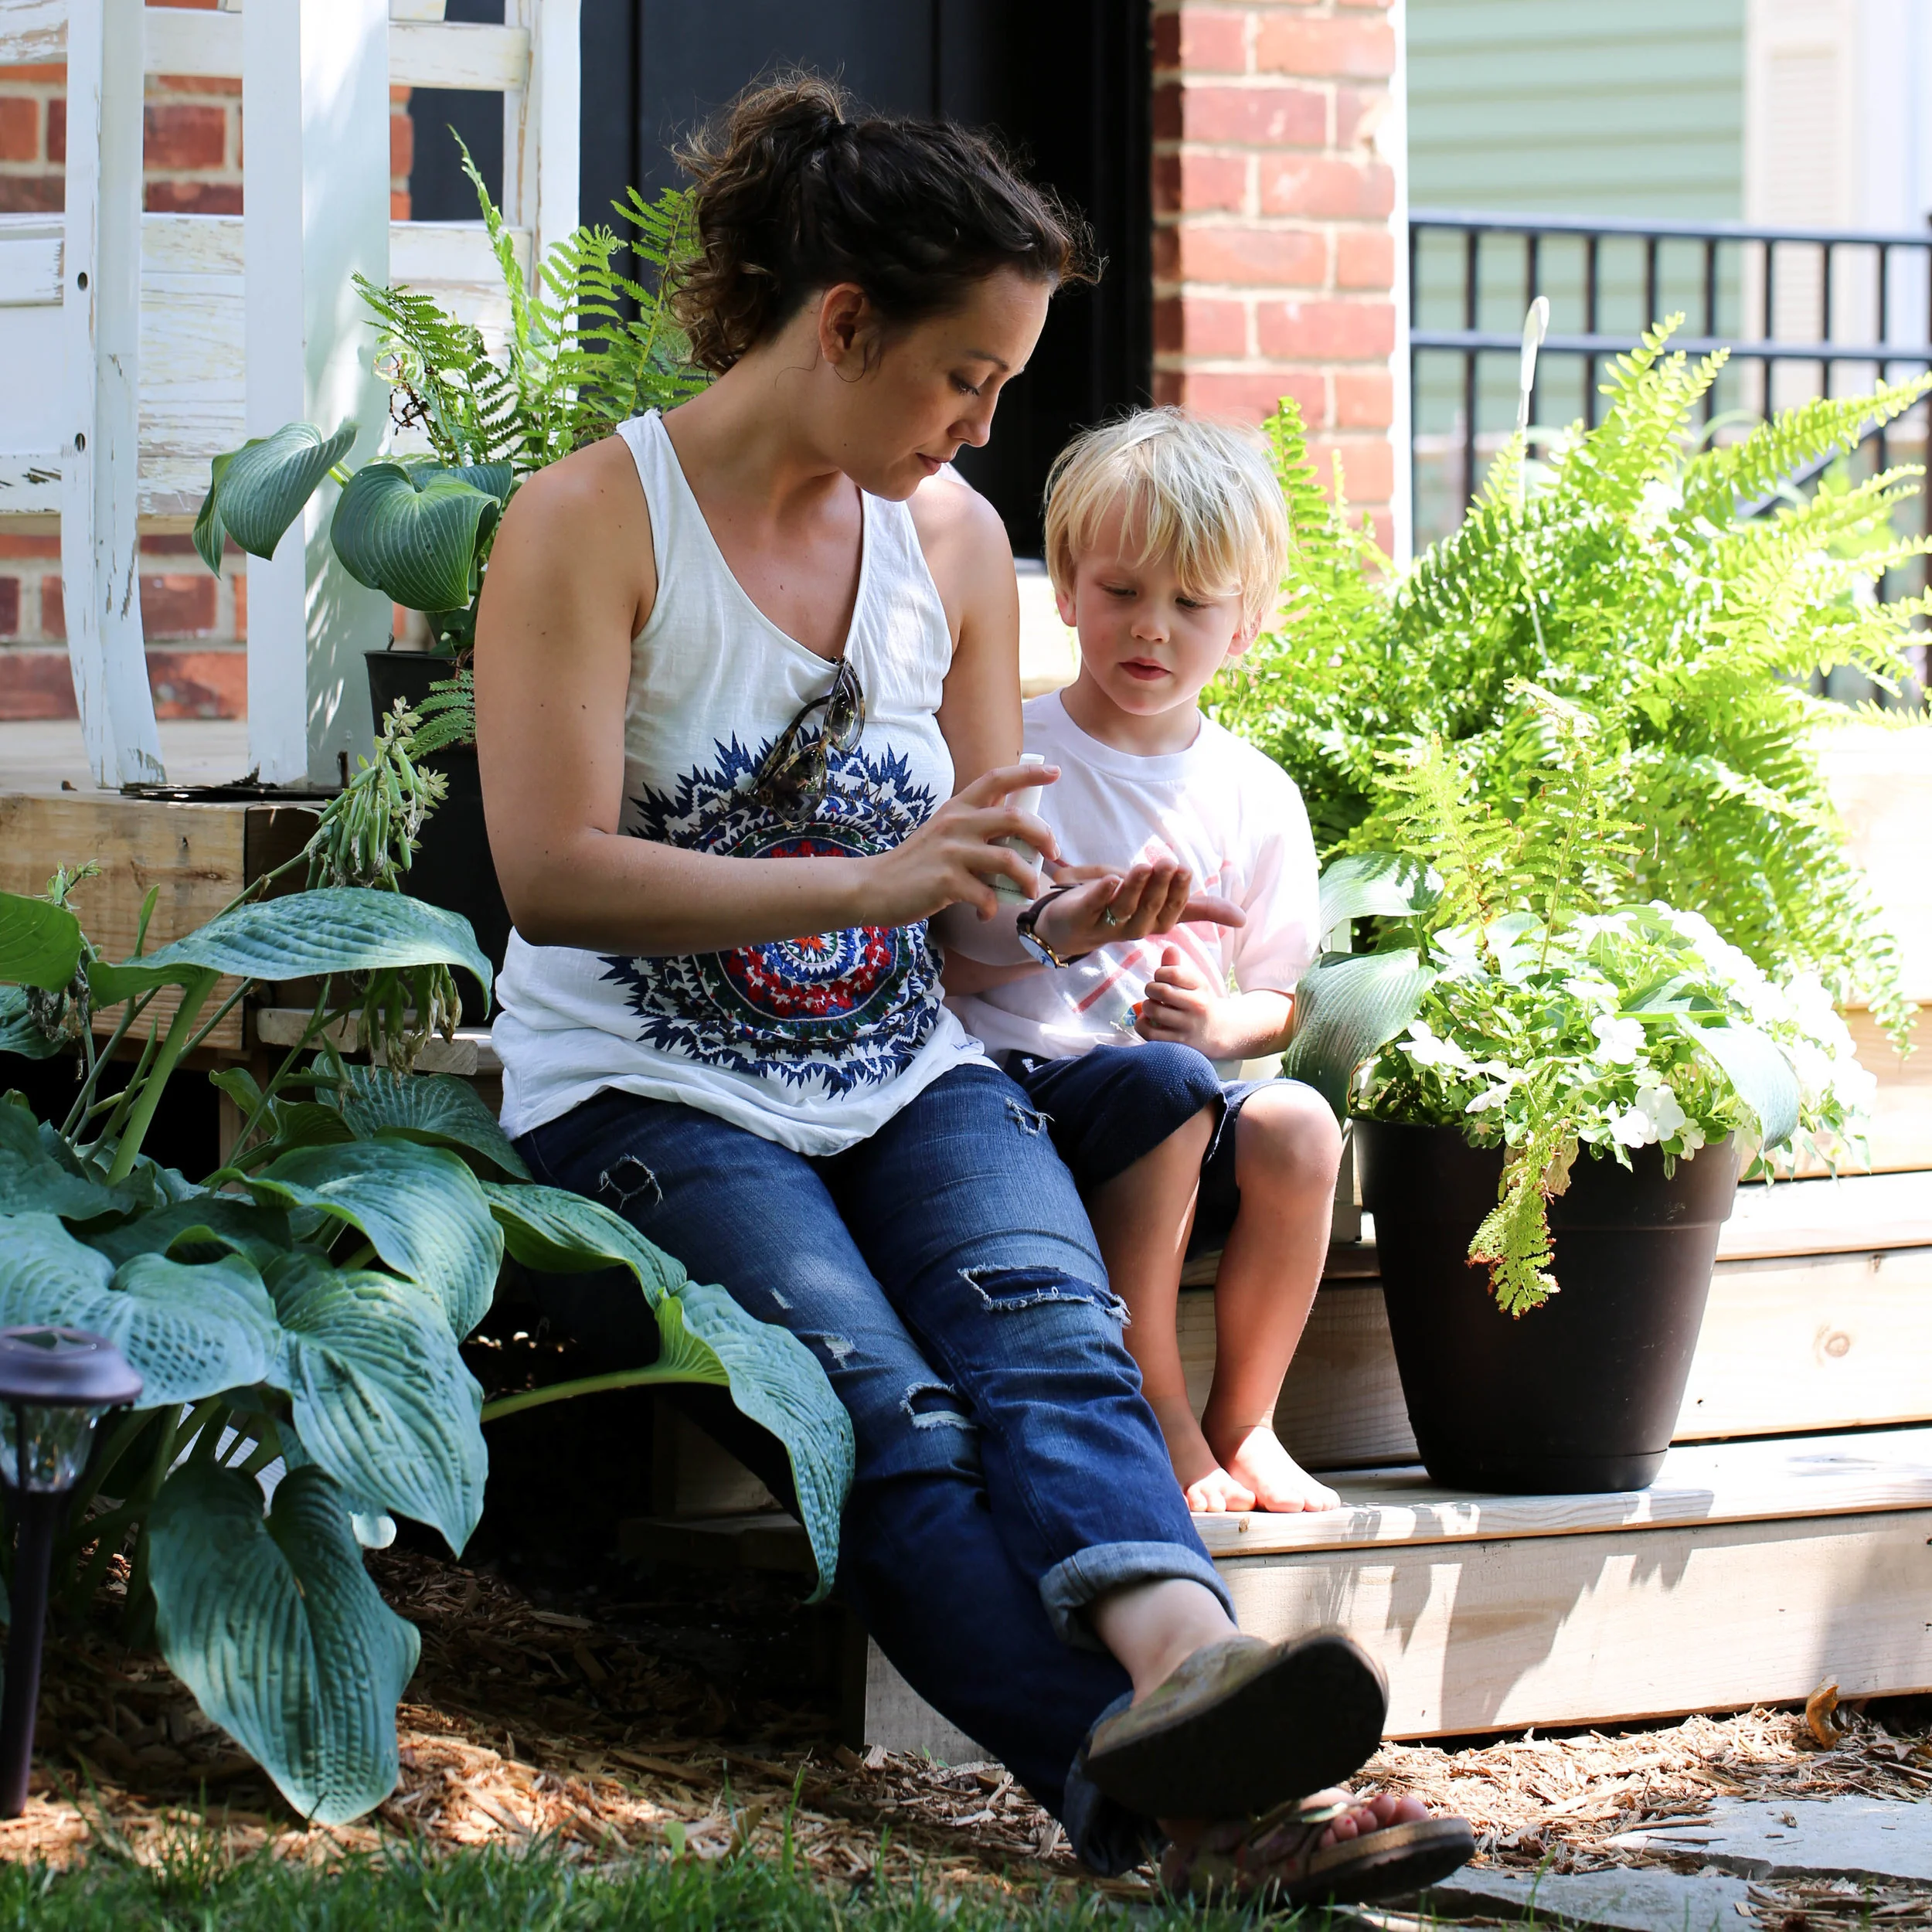
    When it comes to collaborations I don’t have a number that I am willing to take on or work with each month, week, or year. What I have done is worked with brands that feel right to us. So what that means is if I truly don’t love it even if the brand is willing to pay us a whole lot of money we are not working with them. I look to partner with brands that fit our everyday lifestyle. Ones that we use or have just discovered. I turn down 90% of the brand collaboration opportunities presented to me because they are just not the right fit for us. Maybe some day I’ll be to the point that I’ll have a number that we can collaborate with per month, week or year. But right now we are going with what feels right to us and our brand.

    Wow, I clearly had lots to say about blogging and motherhood. I’d love to know if you’ve got any questions. Please email me, dm me or leave a comment below. And the best part is you get to learn how all these inspiring mamas do it too!

    occasionallyperfectstyle.com | @occasionally_perfect

    mrsseacannon.com | @mrsseacannon

    britthavens.com | @britthavens

    koleimpressions.com | @steph__pollock

    cultivatemotherhood.com | @cultivatemotherhood

    www.ashleynoel.life | @_ashley_noel_

    http://www.hellobabybrown.com/ | @hellobabybrown

    thelovedesignedlife.com | @thelovedesignedlife

    https://henandcompany.com/ | @henaandco

    amandapahls.com | @amandapahls

    enjoy!

    much love,

    danielle

    xoxo

  • EVERYONE NEEDS LAYERS

    I’m over here patiently waiting for Fall to (officially) arrive in the mitten state. We’ve got lots of little glimpses but nothing permeant, yet. As you already know I love fall. Every part of it makes me happy. But my favorite has to be the layering. It’s the start to my layering obsession that only get’s more intense as we enter the winter season.

    I am excited to share that I have legit found the best layering items from Cuddl Duds + Bon-Ton. I am not even joking here Cuddl Duds is so incredibly soft to the touch and layers perfectly. I’m totally one of these people who needs a layer when I first wake up or when it’s time to settle down for the night and love Cuddl Duds  Flecewear with Stretch Hooded Wrap for that. Added bonus…it has flexible pockets and thumbholes for the perfect easy layering look?

    I’ve been on the hunt for velvet this fall because you know it’s on trend yet again and who doesn’t love some velvet. ? I am rocking Cuddl DudsDouble Plush Velour Crew Neck Sweater and leggings. The sweater is perfect, not too snug and I can totally see myself wearing it with denim for running around or even a night out! And the leggings fit perfect. They are for sure going to be my go to for walks around our neighborhood or outings at the park with the boys! I am wearing a size small in everything I got here just so get you an idea for sizing. And just in case you haven’t figured it out you can pick these rad pieces up at Bon-Ton.

    Now let’s all go live in layers this fall!

    much love-

    danielle

    xoxo

  • LOVE, HOPE, & PIZZA

    One of my true beliefs in life is that we are all here to support each other. Praise each other in the good times and support each other through the rough times. As humans we can all make a positive impact on life with the small everyday things we do.

    When Hungry Howie’s asked me to join this campaign I knew it was the right fit for us. It’s a simple way to help raise awareness for a good cause and educate my readers about the importance supporting those with Breast Cancer.

    We all know someone who has had breast cancer or been effected by breast cancer; a mother, sister, aunt, cousin, friend, co-worker. This common cancer in women is one we have to all be aware of. We need to know what to look for, when to see a doctor and what questions to ask. Let’s turn to the experts on this one ladies. Please take a few minutes to educate yourself on how to properly give yourself a breast exam. Did you know that 40% off all breast cancer cases are found from self exams?!? That’s crazy! It is so important for us to be aware and know how to do it!

    Now, on to the fun part: pizza, crafting, and pictures! This month for every pizza sold at Hungry Howie’s they will be donating to the National Breast Cancer Foundation. Fun fact for you – they’ve already raised over $2 million for free breast cancer screening and research from the #LoveHopePizza campaign! Let’s have some fun and bring awareness to the #LoveHopePizza campaign now too. Hungry Howie’s have turned their boxes pink and are asking their pizza lovers out there to show how they are warriors! In return you are entered to win FREE PIZZA FOR A YEAR ????✨????

    As much as I love to cooking, having pizza delivered or the experience of picking up with my little dudes just has a special place in my heart. They just love pizza (I mean, we’re Italian)! I’m all about the easy clean ups and the family nights spent together. Both boys got a total kick out of creating their own warrior costumes. Michael helped in crafting our boxes and the boys went to town with all the fun pretend play! Now let’s make this magic happen at your house too!

    How Enter to Win Free Pizza for a Year:

    1. Get yourself a Hungry Howie’s pizza ????make sure to ask for it to be in the pink box????
    2. Now bring out your inner crafting. Here’s where we got the boys involved.
    3. Use your pink pizza box to create a fun way to show your inner warrior
    4. Snap a few pictures (especially if kids are involved????)
    5. Post your picture to Instagram tagging @hungryhowies and use the hashtags #LoveHopePizza and #Contest
    6. Make sure to post your photo to Instagram no later than 11:59:59 PM ET on October 31, 2017.

    Talk about a simple way to support breast cancer awareness!

    much love-

    danielle

    xoxo

  • DIY MUDROOM SPACE

    Here we have it. The final feature of our house makeover…our beloved mudroom. I know you’ve likely seen our office/mudroom reveal but now we’re going into a bit more detail on how we made it happen. So many of you have asked how we did it…or how Michael did it rather – and today he is here to talk about it.

    It was a total team effort. By team effort I mean I showed Michael about 5 different things I liked from 5 different mudrooms and asked him if he could make those dreams come turn. And you guessed it, he made that magic happen. So what home post wouldn’t be complete without him chatting about how to build your own mudroom.

    Hey everyone! I’m back again. And while this is the last home makeover feature (for the moment) I promise to stop by again from time to time. 

    As D said, she asked me to create something special where it did not exist. Bungalows have not traditionally included a mudroom space, but seeing as we renovated ours from top to bottom I just had to create one in the space we had. Adding one in the foyer (or lack thereof) wasn’t an option, and our side entrance is extremely tight…so another no go. However, the rear entry door is in our office which provided the perfect opportunity for a custom addition – and a custom addition I did. 

    First, I measured the space to see exactly how large I could make it without disrupting the flow of the room. Second, we went to our local Ikea to find a piece that could serve as the base of the bench. A must have was storage (for us that meant 3 baskets we found at Home Goods after searching 20+ stores) for seasonal items. We chose this low profile TV unit from Ikea that includes 3 storage spaces. This unit was nowhere near the height we needed for a bench, so I made a base using 2X4’s. The trick here was to leave precisely enough space to add our 5in base board molding around, which created a true built-in. If memory serves me correctly, the base was 5in high. 

    The next hurdle with this project was adding some duct work to connect the vent on the wall to the new vent on the outside of the built-in. I simply measured the distance from the wall to the front of the unit, purchased enough duct work to make a custom extension and secured it with screws to the existing duct. Geez these seems like a lot of work, but I promise you this took all of 20 minutes.
    Once the base was built, and the ductwork was in place, I pushed the unit tightly against the wall, and measured and cut my 5in base pieces. I attached to the unit and custom base using my brad nailer. 

    Then it was time for the base! For this I purchased solid oak 5in planks, and a couple pieces of 3in oak to create a crown. I laid the 5in base planks first (using my brand nailer) attaching directly to the unit. I think had to make a custom cut on the crown to ensure that the pieces left enough room for us to slide baskets in and out. Once these were installed, I added a 2in piece of MDF trim to the sides of each unit enclosing the gap between the unit and the wall. 

    As with any oak you want to ensure you prep the surface accordingly. I sanded all of the oak with a final sand paper, water popped with a wet towel, and applied 1 coat of cool gray stain to match our floors. 2 more coats of triple thick polyurethane and viola…a smooth and shiny oak base is in place. 

    Once the oak base was installed it was time for the vertical 2in MDF boards to be installed – these would serve as the decorative support beams for our top shelf and the corbels for the shelf to sit. I marked my top line where the shelf would sit and measured each of the 4 boards to size – no matter the year of the home you will always find discrepancies in measurement. Each of the 4 were installed using my brad nailer, and the a corbel was added to the top center of each vertical board. I then caulked ALL of my newly installed MDF boards, including the base boards, and corbels and filled all of the brad nail holes.

    While the caulk and hole fillers was drying I took a piece of 8in oak shelving and cut to the exact width of the base. Once cut, I placed on the top of each corbel to ensure proper placement, marked the wall, then prepped the oak (same procedure as the base) prior to adding stain and poly. Once dried, I set aside while I painted all of the MDF boards and corbels. 

    Once all of the paint was dry I placed the top shelf in place and secured to the corbels with wood glue and a couple brad nails – be very careful and precise when you nail down. 

    That’s it. Seems like a lot, and it certainly is time consuming, but I had this completed in about 8 hours (4 of which is required dry time). As always, please comment with any questions and we will help in anyway possible!

    enjoy!

    much love-

    danielle (and michael)

    xoxo

  • 2 FALL PIECES WORTH INVESTING IN

    green utility vest  |  green utility jacket

    I read a quote a few days ago that really stuck with me – “quality over quantity, less is more”. As a mom of two little dudes that tends to get stuff all over me I know this seems like a strange concept, right?!? What if they ruin it? Well I guess this mama is worth taking the risk. Don’t get me wrong I’m not spending hundreds and hundreds of dollars on individual pieces. But quality pieces are what I’m on the hunt for.

    Let’s talk about two pieces I think are totally worth adding to your fall wardrobe: a green utility vest & green utility jacket. What I love is that they basically go with EVERYTHING. But just in case you run into that problem of “I just don’t know how to style them”, I went ahead and styled them both for you! So go ahead and take a look. And happy wardrobe styling!

    much love-

    danielle

    xoxo

  • DIY CUSTOM HOME WORKSPACE

    Having your own personal workspace is something I’ve absolutely grown to love. When we lived in Chicago the thought of a real work space was pretty dreamy. I mean, Michael owned his own company and worked from home – but it was his space, not our space. So when we made the move to Michigan and found our home I was beyond geeked to create a functioning workspace for us. Since both Michael and I do a lot of work from home, having a large desk area we could both function in was essential. After hunting for the perfect desk we came to the conclusion that it just wasn’t out there. The easiest way to fix that…build your own! As you already guessed Michael’s about to tell you how to do just that!

    So, I did actually find two desks that I really loved – one from West Elm and another from Ikea. Both were completely different in style and function – but they had one thing in common…they were not big enough. So, as Danielle mentioned, I took it upon myself to start a 10 day project in our garage (cough, our workshop).

    I started with a trip to my home away from home – Home Depot – where I purchased a piece of 1/2in plywood. I cut that to size (7ft x 3ft) for my base and placed on 2 saw horses. I knew that I wanted to create a piece that looked as if it belonged – something custom – and I happened to have a nice selection of left over oak planks from the new hardwood in the kitchen and other needy spots throughout the first floor. I started my line on the edge and began tacking each board in with my brad nailer. Row after row the table began to take shape. I completed the surface and moved on to the side trim. For that I used 1×4 oak. Each of the 4 sides were fitted using 90 degree cuts and brad nailed together.

    Once all of the oak was installed I began sanding with my circular sander. I started with a coarse grit (40) to take off the finish – the oak planks I used for the top surface were pre-finished, but I wanted to stain a custom finish to match our floors. Once the finish was removed, I took another pass with an 80 grit sand paper, then another pass with a 100 grit and the final finishing pass was with a 220 grit (very fine coarse) on the top and sides. When you sand bare oak (or any type of fine wood) you simply need to sand with a fine grit to remove any particles or splintery pieces that may be lurking in the wood. Taking steps such as this will ensure your final finish will be smooth. 

    DIY Custom Home Worspace

    Once the sanding was complete I took 2 tack clothes and wiped down the wood – a tack cloth will remove any dust and debris. Once that was complete it was time to “water pop”. When you sand a surface, you remove the depth of grain. And when staining fine woods such as oak, the grain is what gives each board its unique character. Water popping simply pulls the grain out a bit and allows stain to penetrate the wood deeper once applied.

    The next step, you guessed it, is to apply your stain. For our desk and floors we used a custom “classic gray”. I prefer paying 1 thicker coat using a lambs wool pad versus taking multiple passes…but it is preference for everyone. You will need to allow at least 4 hours to dry (but I recommend 24 hours). Once it is dry, begin your first application of polyurethane. I used a triple poly and applied with a lambs wool pad. I applied 3 coats, and in between the 1st and 2nd coat, I took a piece of steel wool and made a pass over the entire surface, then took another tack cloth to pick up the debris. On the 3rd and final coat, I let dry for 24 hours prior to installing the legs and placing in the office. 

    Patience is key with projects like this. I have no patience at all, and had a brand new 27in iMac 5K Retina sitting in the box waiting to be setup…it was there for the 2 weeks leading into this project and its completion. But honestly, we couldn’t be happier with how it turned out. 

    Another important area of our office space was both a bookshelf and storage! Since we both love to read we have plenty of books that need homes. To add a fun element to the room we made our books color coordinated throughout the shelving unit. The bottom two shelves have kids books and no they don’t stay in order all the time?only when we have our home photographed or maybe if we’ve got people coming over! Both our bookshelf and storage is from Ikea. I went ahead and linked everything in the room below for you! For the storage drawers I really wanted to jazz up the feel. So Michael helped make that happen with a little gold paint!

    Happy working!

    Much love-

    danielle & michael

    xoxo

  • 5 THINGS EVERY PARENT SHOULD BE DOING

    Life is full of these. Teachable moments. Moments in all of our everyday lives where WE can teach our children. We can teach them right from wrong, we can teach them manners, we can teach them social skills and we can teach them to respect. We as a society can help teach our children everyday you guys! Teachable moments are moments where we can teach right then and there.

    Michael and I are constantly finding ways we can teach our little dudes. I’m sure part of this has to do with the fact that I’ve got a decade of teaching experience backing my mindset. But we both feel strongly that everyday we can and will teach our children new things. Let’s break this down to simple everyday teachable moments in our day that we work to teach our two boys.

    1. Right From Wrong This one seems pretty straight forward, but it’s one that all too often can get overlooked. If you see your little doing something wrong you’ve got to correct the behavior right then and there. This is one that can start from the get go. As soon as your little starts to make wrong choices you’ve got the perfect teachable moment on your hands. One that comes to mind right away for me is pulling hair or biting! Two things both my boys did…and two things I wanted to stop right away.
    2. How To – The endless opportunities to teach your child how to do something I believe is literally never ending. I can honestly say my parents still teach me how to do things today! Since we’ve got two little dudes let’s talk about some how to’s we are working on right now. For Zig, we’re working on how to eat with utensils, how to pet our dog, how to follow simple directions (go get your shoes, where do your socks go, etc.). For Zo, we are working on how to get dressed, how to zip a zipper, how to set a table and how to make simple foods for himself (you know I’m big on this one????), and of course, how to wash your hands every time you go to the bathroom!
    3. Manners – MY ALL TIME FAVORITE teachable moment and yes that totally needs to be in capital letters because it’s that important. Manners are taught! Those skills don’t just come naturally, we’ve got to teach them, and we’ve got to teach them everyday! Please, thank you, you’re welcome, may I, can I, will you…simple everyday things we can work on with our kids. My favorite go to phase for this is “what do you say…” leaving it up to Zo or Zig to answer.
    4. Social Skills – Can we say playdates! This is good for everyone. As your kids interact more with other people so do their social skills. I love working on social skills while shopping or dining out too. This is the perfect time to teach your kids how to talk with other adults, we all know kids can attract people. We love to use this as a way to teach our dudes how to say hi or have small talk by making eye contact and talking loud enough for others to hear.
    5. Respect – Here you can teach you littles ways to respect themselves, those around them and their things (home, toys, clothing…you get where I’m going with this one). Respect is another big one and it literally comes up everyday. Can we say picking up toys! Ok, so clearly we don’t pick up every toy everyday because you guys I’m not a magic worker over here. But we do clean up and set simple games to help our dudes learn to respect their things.

    One thing I love about being a parent is that I get to teach. Teaching my children how to grow into good human beings is priceless. I’d love to hear how you teach your littles everyday. Please share your favorite teachable moment with me!

    much love-

    danielle

    xoxo

  • BATHROOM MAKEOVERS ON A BUDGET

    Here we are week 3 of our whole house transformation reveal. For those of you that have asked, no we aren’t posting these as we go. Michael and I have been working on our house for over two years now. We are just no finally getting around to blogging about each room and showing the total transformation…but just take a look at my or michael’s Instas and you’ll see glimpses of it out there.

    So if you have any questions or are wondering how we’ve done anything please don’t hesitate to reach out. We love hearing from you all and want to keep you informed too! This week we are going to talk about both our bathrooms. In each room we’ve done some small updates that really anyone could do for a simple and budget friendly transformation.

    Before (master bath)
    After (master bath)

    Here’s our three tips to making your bathroom over on a budget.

    1. Paint is your wow factor. The easiest and most effective way to transform a space is with paint. Both bathrooms were a dark color when we moved in so we immediately changed the color to brighten up the space.
    2. Accents are essential. The next thing we did was update both the lighting and mirrors. Since we were working with a small budget we took our time and shopped around. The lighting is from home depot (Master Bath) and Ikea. Both mirrors I found at Home Goods. My favorite part about that store is they are always getting new items which makes it easy to keep checking back in if you don’t find something just right the first time.
    3. Cabinets matter. The last thing we did to update both spaces was update the cabinets. Since buying new ones was just out of our budget we simply updated both with a change of color and added new hardware.
    Before (main bath)
    After (main bath)

    Now for all you DIYers out there I am going to pass the ball over to Michael and let him get into some fun ways to DIY your bathroom too.

    Hi again! AH how I love bathroom renovation. Spaces are usually quite tighter than your standard rooms in the house, but a little can go a long way. 

    Let’s start with the cabinetry. In both spaces we had cabinets that worked, but desperately needed updating. In the master we had an oak finish and in the lower bath a white (and aged white at that) finish. Whenever you attempt to refinish cabinetry you need to first clean all surfaces, remove doors and drawers and sand each piece to ensure a solid finish. In the master bath we chose to finish the cabinets in an off white color with oiled bronze hardware to give that rustic feel, and in the main bath a more modern grey with french gold hardware. After 3 coats of paint and an hour or so re-assembling, each space has drastically transformed. 

    When it comes to lighting a mirrors specifically, size matters. You certainly want to choose fixtures that give you the space and light you need and desire, just avoid covering up too much wall space. You need some buffer room to make the fit seamless. 

    The last thing we updated in the master bath, and quite honestly our favorite addition, is a barn door. It really ties in the hall way to the bath while still leaving a private feeling inside. Adding a barn door also makes the room feel much more spacious, when in reality you’re not gaining all that much space. It’s all about perception. 

    much love –

    danielle (and michael)

    xoxo

  • ONE FALL PIECE EVERY GIRL NEEDS

    Ok so clearly I am a little late to the overall game. But I’m not gonna lie I’m totally digging that these are back in. They have become my go to favorite. You can for sure catch me in them once, if not twice a week. They’re what I like to call my ‘I wore this outfit yesterday look but I am totally seeing different people today so it makes it ok for me to wear them again’. That’s a thing…right? Or maybe it sounds better if I said I was using it for a capsule wardrobe, yes I think that sounds much better?. I know there are lots of people out there doing the capsule wardrobe thing so maybe this post will help ya’ll out!

    For me I find myself falling back on items I love and wearing them over and over again. So I decided to style overalls three ways to keep it simple, easy and everyday with black, white and gray! So you too can pair your favorite overalls with these.

    I love the off the shoulder look with a pair of booties. It’s the perfect transition into fall.

    Overalls and long sleeves for those crisp days. I went with a basic black but I would totally dig a striped shirt here too. I pair them with a sandal because I want to hang on to the summer vibe just a while longer.

    Last I did this basic v-neck tee in gray with a plaid shirt around the waist, paired with sneakers. I love how this look is so transitional.

    Happy styling love.

    much love-

    danielle

    xoxo