Wow! This past week has been insane. As life goes we’ve had some wild ups and downs. Which leads us to where we currently are at…BEHIND! This week we had planned to showcase the rad transformation of one of the walls in the boys room and that you guys just didn’t happen. But have no fear we’ve got another fun wall transformation to showcase for you. This week we took a bland looking wall and added some life though color and photos of our dudes. It was a simple and easy project that just about anyone could do. You just need a few simple tools and these easy steps and you will be good to go!
ESSENTIAL SUPPLIES TO MAKE A COLORFUL WALL
- Cutting board
- Knife
- Ruler
- Colorful Matte
- 4×4 black and white photos
- Double sided tape
- Invisible glass cleaner
- MicroFiber Cloth
- 8×8 frames
- Nails and photo hooks
- Tape Measure
- Level
- Hammer
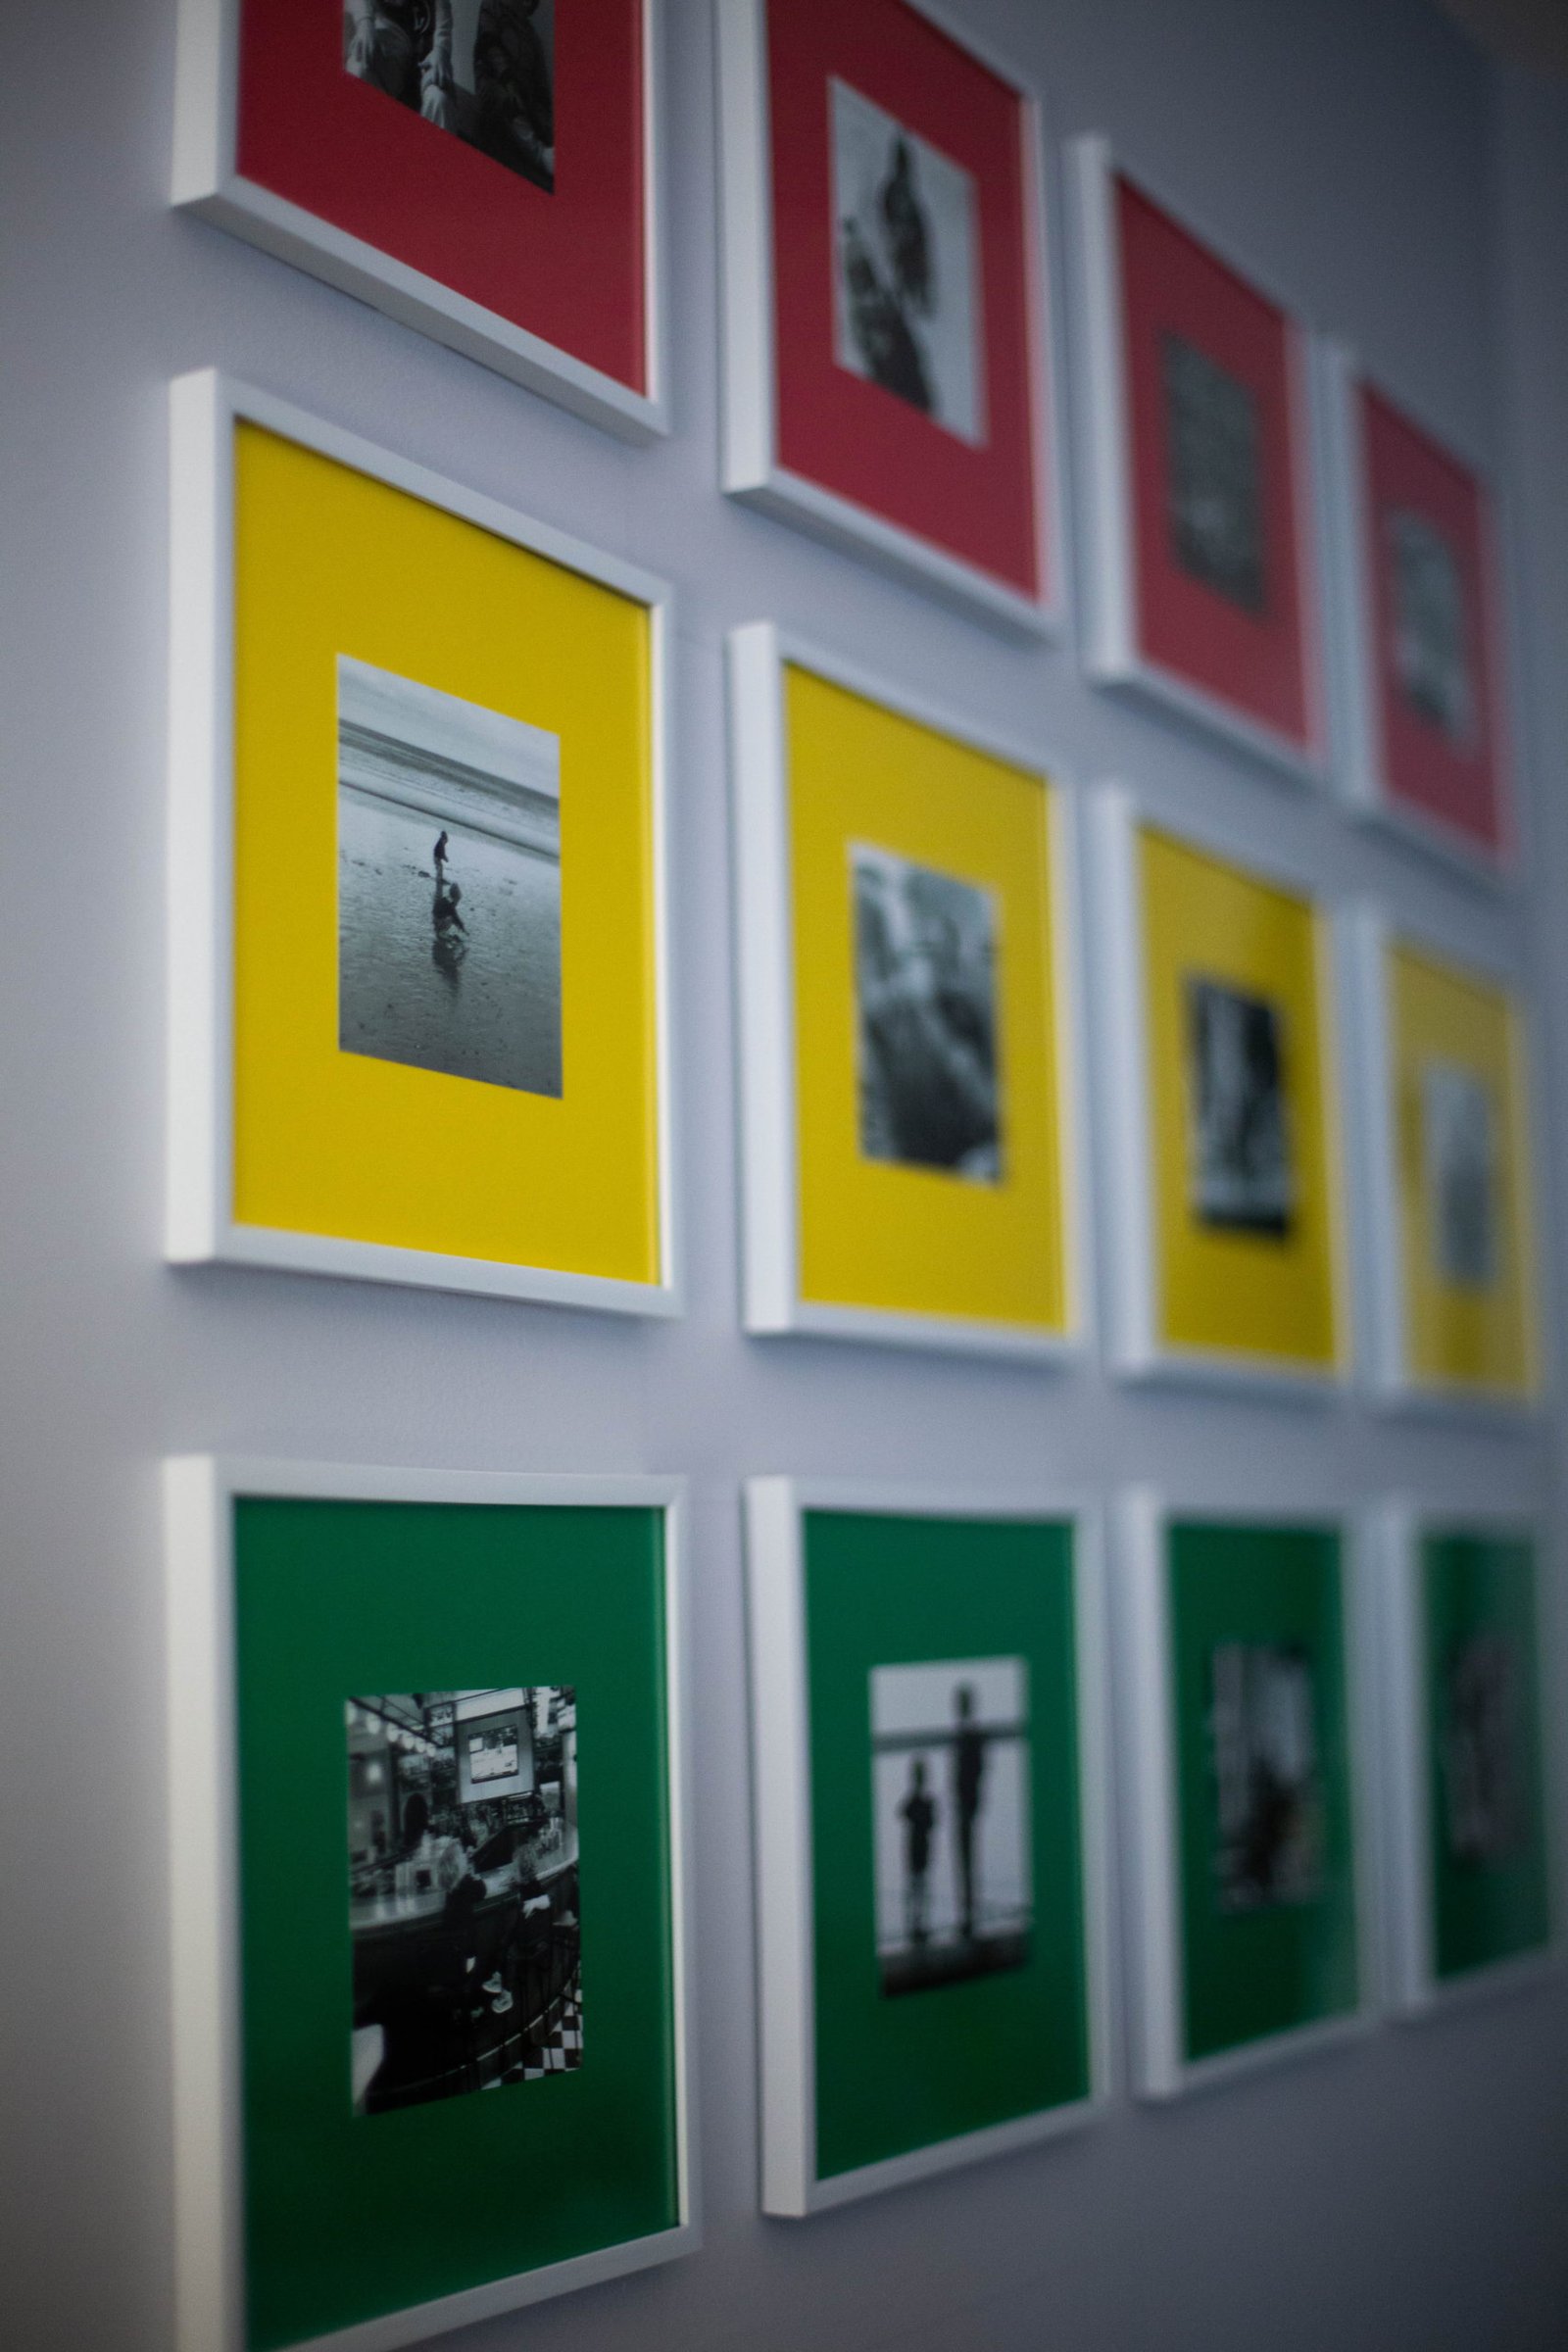
HOW TO MAKE A COLORFUL INSTAGRAM WALL
-
Cut matte down to 8×8 using a straight edge razor and ruler.
-
Pre-plan where you want all the images to go before taping them down on the matte.
-
Using the double sided tape, tape on 2 or 4 corners to secure the image.
-
Clean both sides of the glass prior to putting the image and matte in.
-
Measure the space where you plan to hang the images. Be sure to calculate vertical and horizontal some space between each frame, assuming you’re doing rows like we did. Once you’ve found your top line, place a level on the wall and draw a line. This is where you’ll place your nails for the first row.
-
Hang your frames 1 by 1. We like to use a small piece of 3M Double Sided Tape to secure the leveled frame to the wall.
-
Repeat steps for each frame and row.
Next week we plan to showcase our how we are tranforming another space in this room and the process we did to get it just right. If you’re still itching for more make sure to check out week one where you’ll find our design inspiration for this space. And don’t forget to click the image below to see all the awesome rooms happening for the One Room Challenge right now!

Much love-
Danielle & Michael


Leave a Reply to Nicki Cancel reply