HOW TO PAINT A DARK CEILING

how to paint a dark ceiling

I can’t even believe we are at week 4 of the One Room Challenge. It feels like this is the week on almost all our projects that I can really start to see the design come together. For us that had everything to do with the ceiling. Yes, you totally read that right. In this space the ceiling is doing all the talking. Its dark, it’s moody and it’s everything my heart wanted and more!


But before we go any further, be sure to catch up on our boys room makeover by visiting week 1, week 2 and week 3.


I honestly couldn’t be happier with how it has all come together. When Michael and I started chatting about how the dark ceiling would truly transform the space we realized that painting a ceiling dark does have an art to it. An experience we wanted to share just in case you’re dying to have a dark ceiling or even wall, you too can make your moody dark space come true.


ESSENTIAL SUPPLIES TO PAINTING A CEILING

  • Paint (sheen is important when dealing with a ceiling)
  • Drop cloths
  • Roller
  • Roller Cover
  • Brush
  • Paint cup
  • Paint tray
  • Paint tray liner
  • Tape
  • Patience


how to paint a dark ceiling


HOW TO DIY A DARK CEILING

  1. Prep your space. We can not stress this enough. Proper prep will make or break your paint project. Start by laying drop cloths on your floor and over any windows (window treatments) and doors. For a ceiling, this is pretty much all that matters.
  2. Be sure to remove any lights or smoke/carbon monoxide detectors that are secured to your ceiling.
  3. Open your paint, stir in each direction, and pour a bit into a paint cup.
  4. Begin your first cut around all of the edges. It is a really fun process…(insert sarcasm emoji).
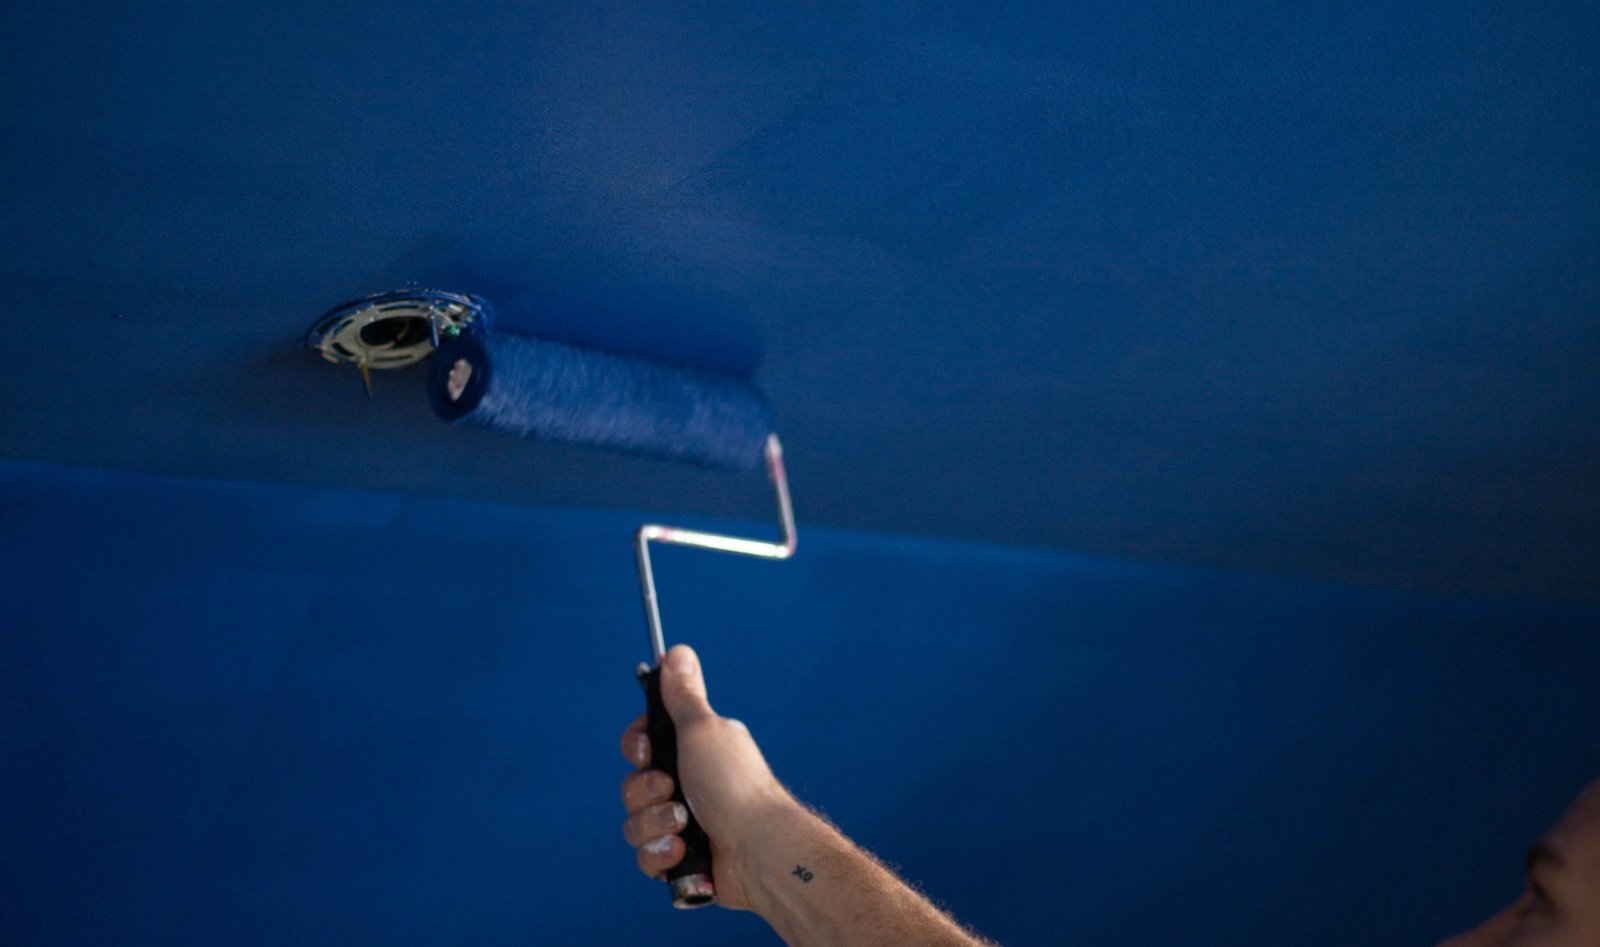
  5. Once you’ve cut the entire perimeter it is time to roll. So pour some paint into your paint tray, load your roller with some paint and begin to roll.
  6. Make your way across the entire perimeter and allow time to dry.
  7. Repeating steps for your 2nd coat of cutting and rolling.
  8. Allow time to dry…I like to give it a full 8 hours when dark.
  9. For dark and tricky colors (especially red) a third coat is an absolute must. I find that cutting a 3rd time is not always necessary. But you make the call.
  10. Allow the final coat to dry and inspect in all different times of the day and night to ensure you’ve covered well. If a 4th coat is needed, apply.


We hope you enjoyed this tutorial! And in case you haven’t yet, head over to the one room challenge and check out all the other fun design projects happening there.


Till next week!


Much love-


Danielle & Michael


Comments

  1. Jewel Avatar

    I’m stoked about this color blue and this room in general!

    1. Michael Gutelli Avatar

      Thank you! I was totally stoked about the color choice too. It turned out super rad.

  2. Emy Avatar

    The ceiling looks amazing! Love the color!

  3. Tee at Beauteeful Living Avatar

    Great tutorial! I bet your boys will sleep better with the dark ceilings as well! 🙂

    1. Michael Gutelli Avatar

      I never even thought about that. But they totally have been.

  4. Libbie@alifeunfolding.com Avatar

    Hey guys!

    LOOOOVE the dark ceiling and the paint tips I think I was good until that last one. :0

    Looking forward to the reveal.

    1. Michael Gutelli Avatar

      It’s always fun learning something new when it comes to DIYing. Glad we could help out with some new learnings!

  5. Denise Avatar

    Loving that blue ceiling!! Good work!

    1. Michael Gutelli Avatar

      Thank you very much.

  6. Lindi Avatar

    We painted a dark ceiling too! Yours looks so good!! 🙂 Almist at the finish line!

    1. Michael Gutelli Avatar

      Gotta love a bold ceiling space. Michael has a really steady hand for sure.

  7. Chelsea @ Making Manzanita Avatar

    Wow!!! That painted ceiling adds so much character! Love the bright bold color. Looking good.

    1. Michael Gutelli Avatar

      Thanks Chelsea! I love how different the space feels now.

      Danielle

  8. Cape Cod House Painters Avatar

    The blog was very interesting and informative. The blog provided all the essential information regarding painting the dark ceiling. The materials, equipment, and steps you need to do are all listed in the blog. Thanks for sharing such piece of information to widen our knowledge.

    1. Danielle Gutelli Avatar

      Of course! We are always looking for ways to help others. Glad you found what we are sharing informational.

  9. Heidi Avatar
    Heidi

    I’m curious, you said the sheen was important, but you didn’t give any tips on selecting the right one? How can I figure that out?

    1. Danielle Gutelli Avatar

      Heidi,

      That’s such a great question! Sorry we completely left that out. We used statin on the ceiling. When it comes to deciding on sheen I believe it comes to a personal preference as to what you like. The reason we land on statin is because we like how it doesn’t leave a glossy finish and has a more matte look. We can absolutely go more in depth if you need us too!

      Thank you,

      Danielle

  10. Rhiannon Barbour Avatar
    Rhiannon Barbour

    Thanks for clarifying on sheen. Anymore info is greatly appreciated! I’m currently using SW Dark Knight on the wall in flat sheen. And wonder if I should go a shade lighter for my trim & ceiling?

    1. Danielle Gutelli Avatar

      Hi Rhiannon,

      We actually love Sherwin Williams Matte paint, it has a very similar feel to flat but it is washable which is a major win. When it comes to you trim if you’re looking to keep the same moody feel I would recommend just switching the sheen to satin. And I love keeping the ceiling the same sheen as the wall either flat or matte!

      Danielle

Leave a Reply to Emy Cancel reply

Your email address will not be published. Required fields are marked *